Appearance
Zapier
Zapier is a powerful automation tool that connects HeadlessForms with thousands of other apps and services.
Introduction to Integration
Zapier enables you to create custom workflows known as "Zaps" without requiring any coding.
Each "Zap" consists of:
- Trigger: An event that initiates a Zap, such as "New Submission".
- Action: A task performed by a Zap once it is triggered, for instance "Send Email".
The Plan
- 1. Retrieve all necessary data from HeadlessForms
- 2. Log in to Zapier
- 3. Set up your first Zap
- 4. Launch
Step-by-step:
- 1. Retrieve all necessary data from HeadlessForms
- 2. Log in to Zapier
- 3. Set up your first Zap
- 4. Launch
1. Retrieve all necessary data from HeadlessForms
1.1. Get API Token
To begin, you'll need to create an API Token for Zapier to securely access your submission data:
Navigate to Account Settings -> API Tokens.
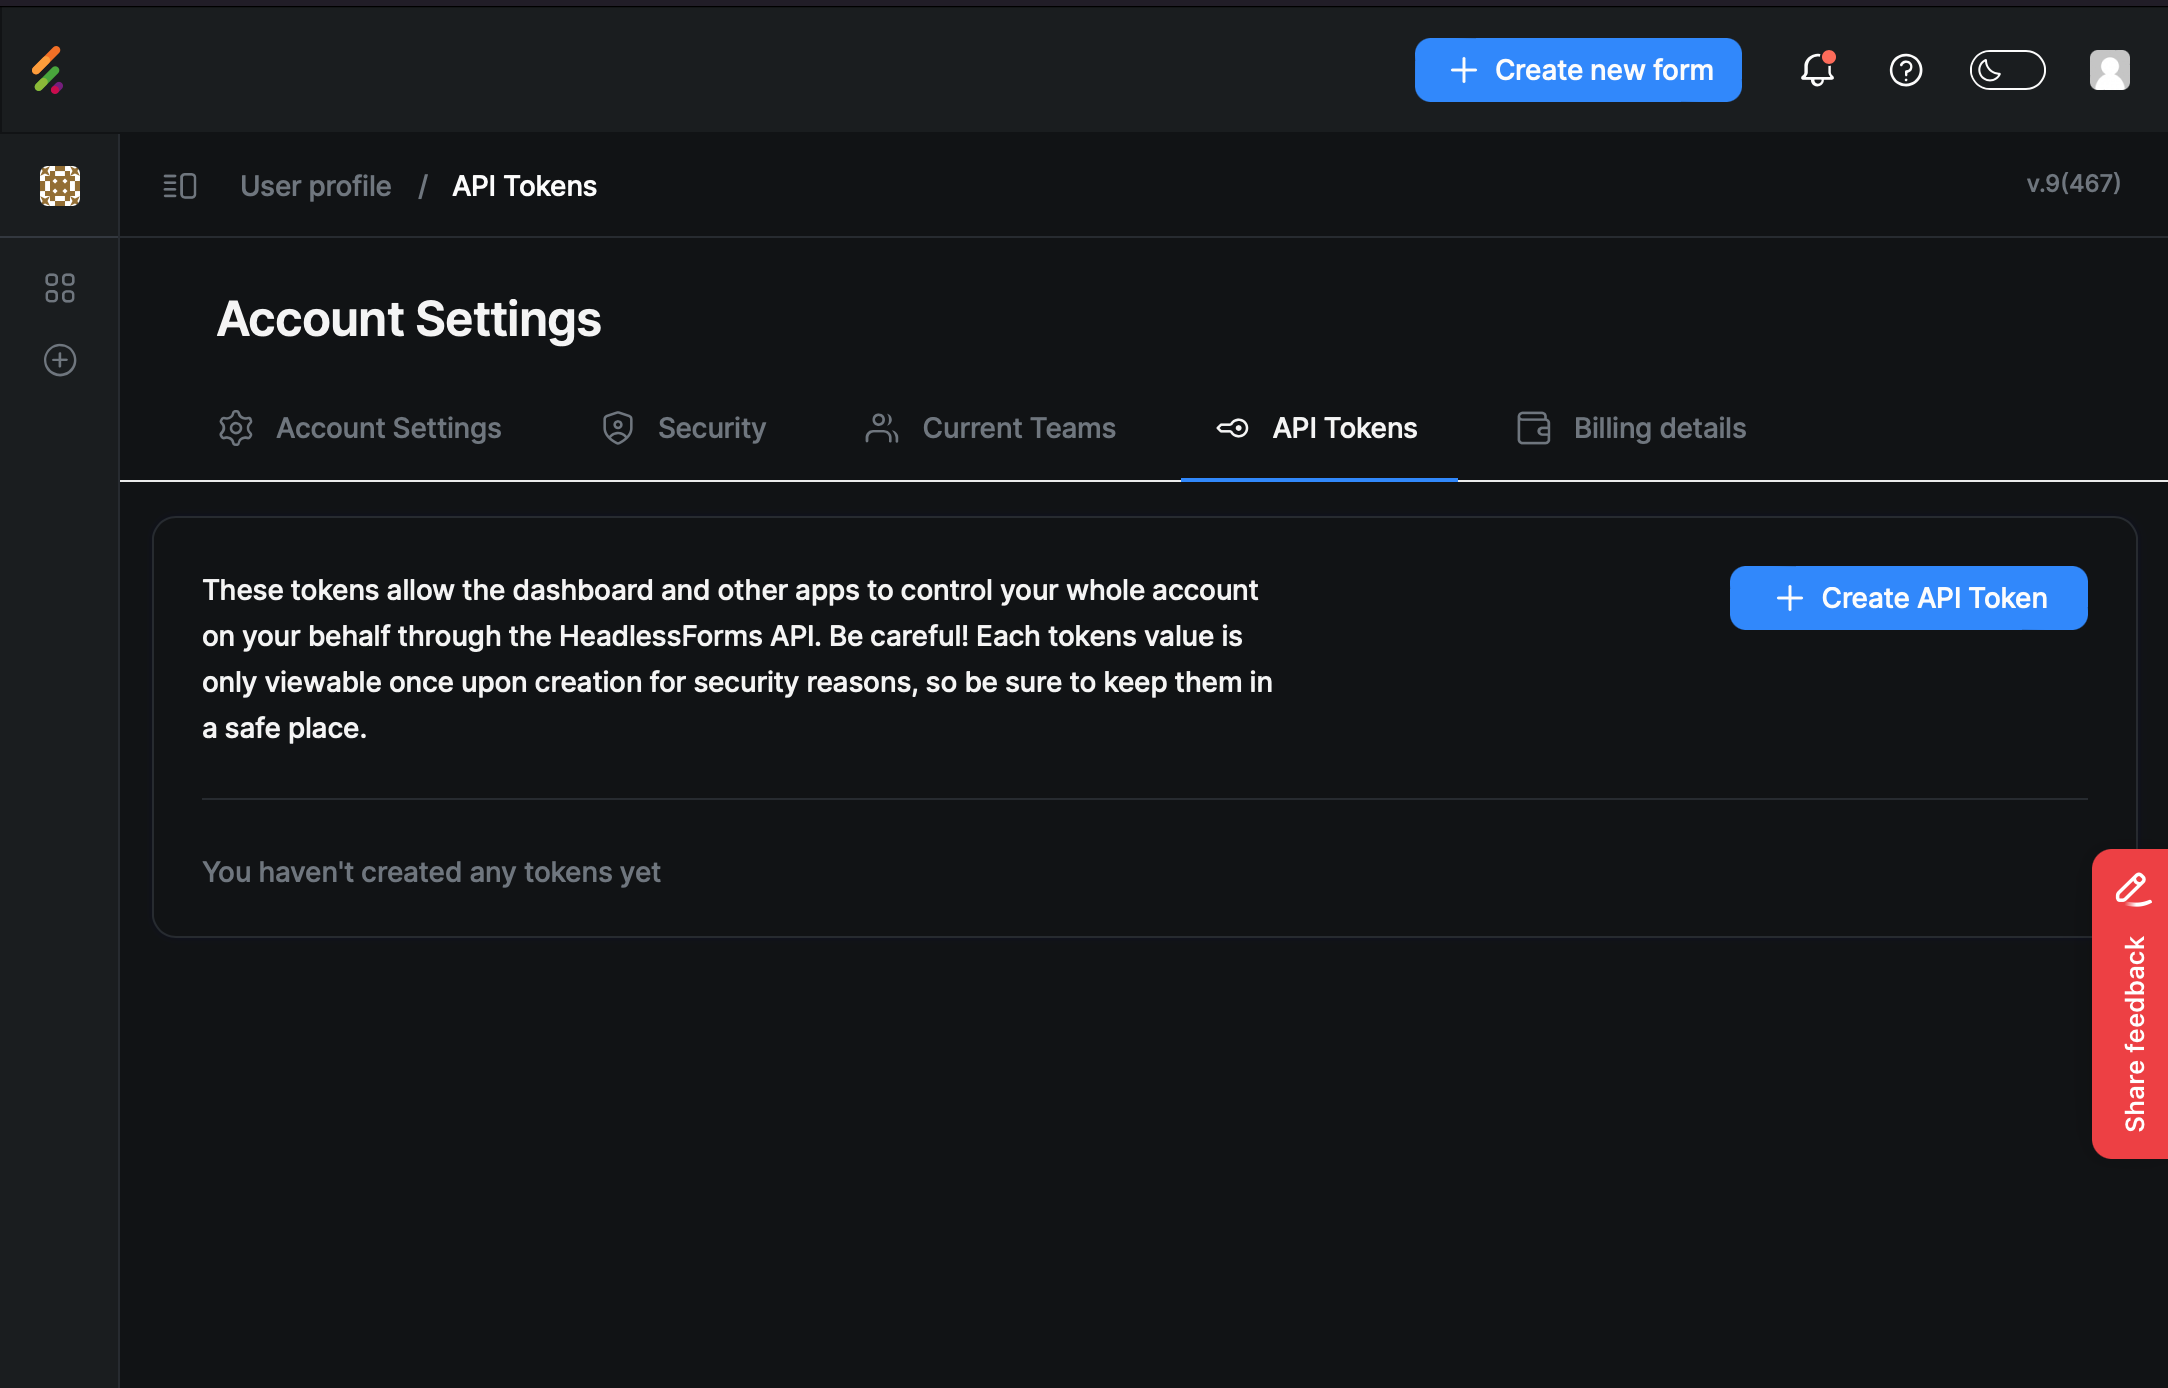
Create a new API Token and assign it a name of your choice.
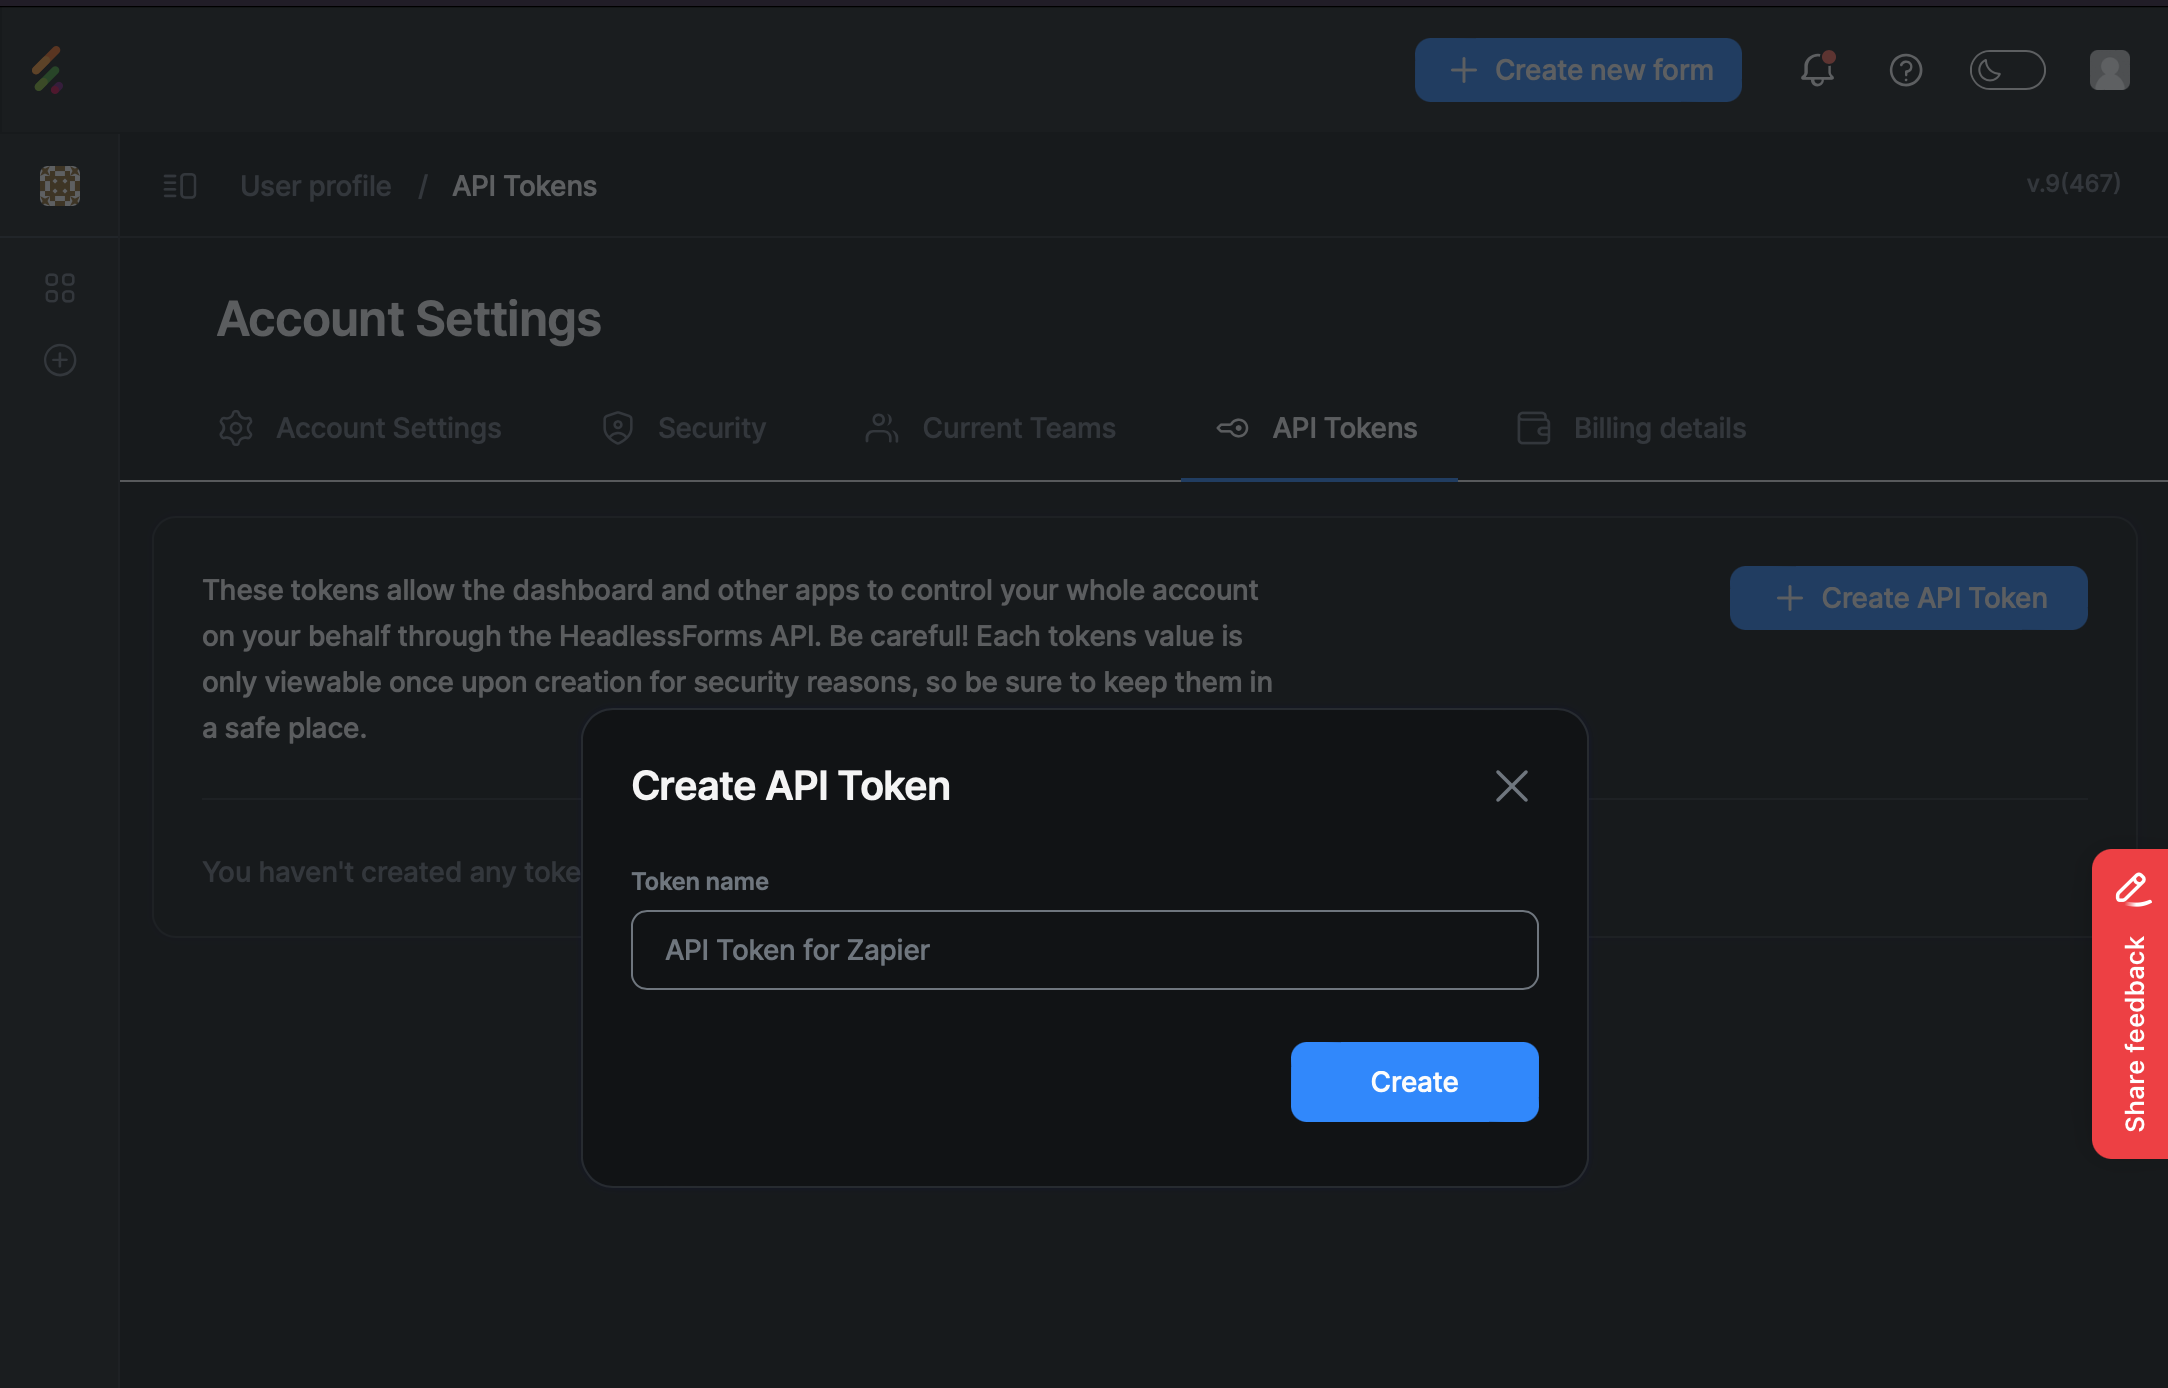
Copy and securely store the API Token. Note that all tokens are encrypted keys and cannot be retrieved once saved.
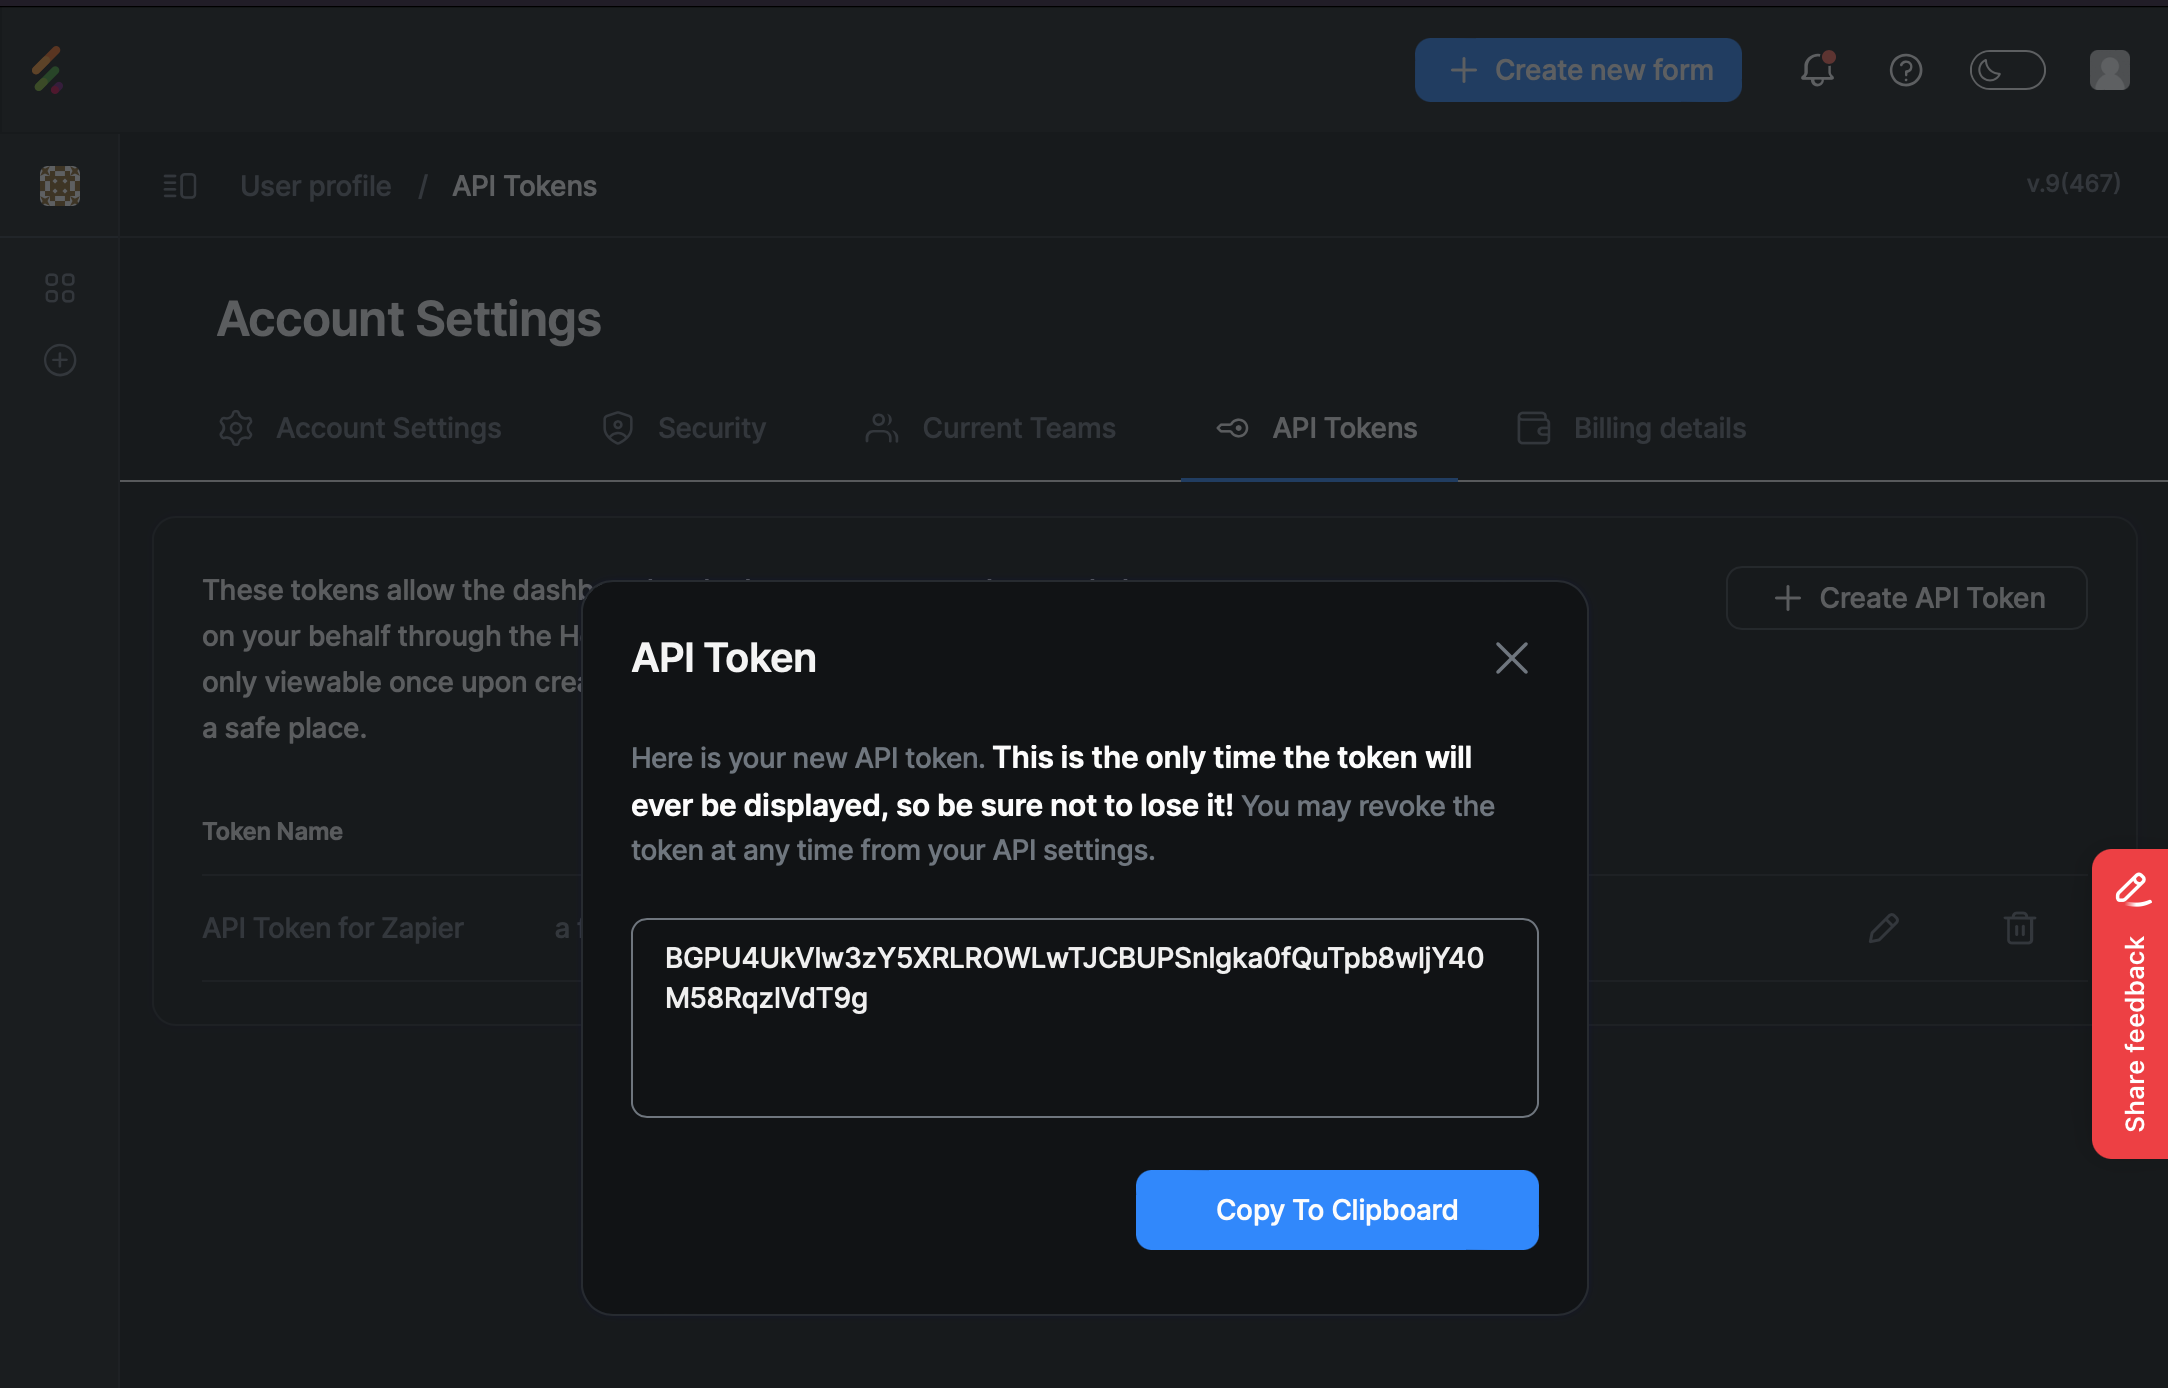
Example API Token:
BGPU4UkVlw3zY5XRLROWLwTJCBUPSnlgka0fQuTpb8wljY40M58RqzlVdT9g
1.2. Get the Form Token
Next, retrieve the Form Token from the form you wish to connect to Zapier:
Navigate to the form and make a test submission if there are no existing submissions.
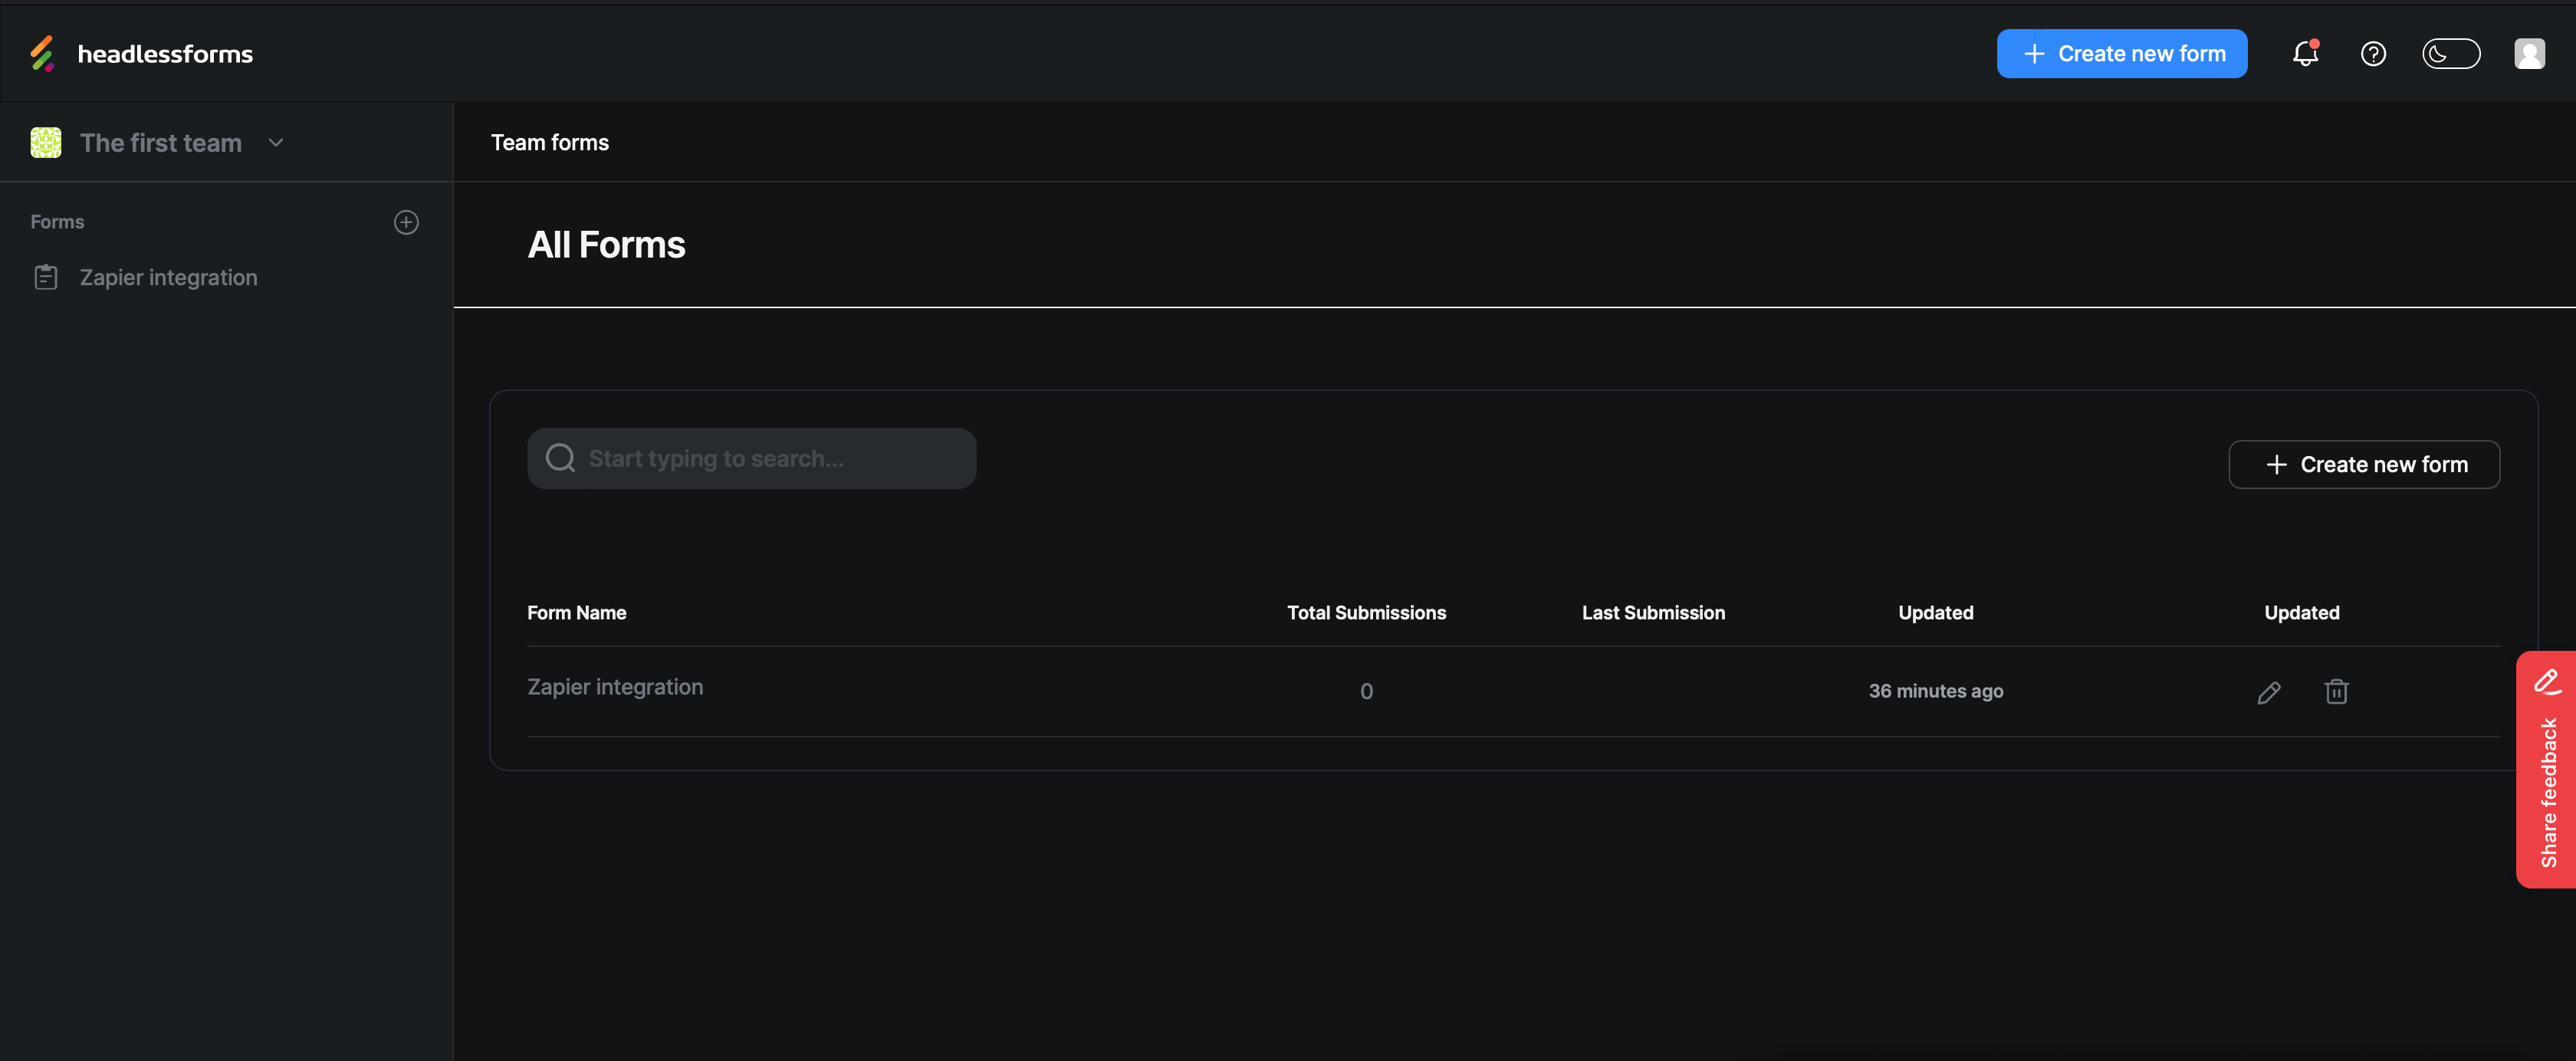
Copy the form token. This token is publicly accessible and can be retrieved at any time.
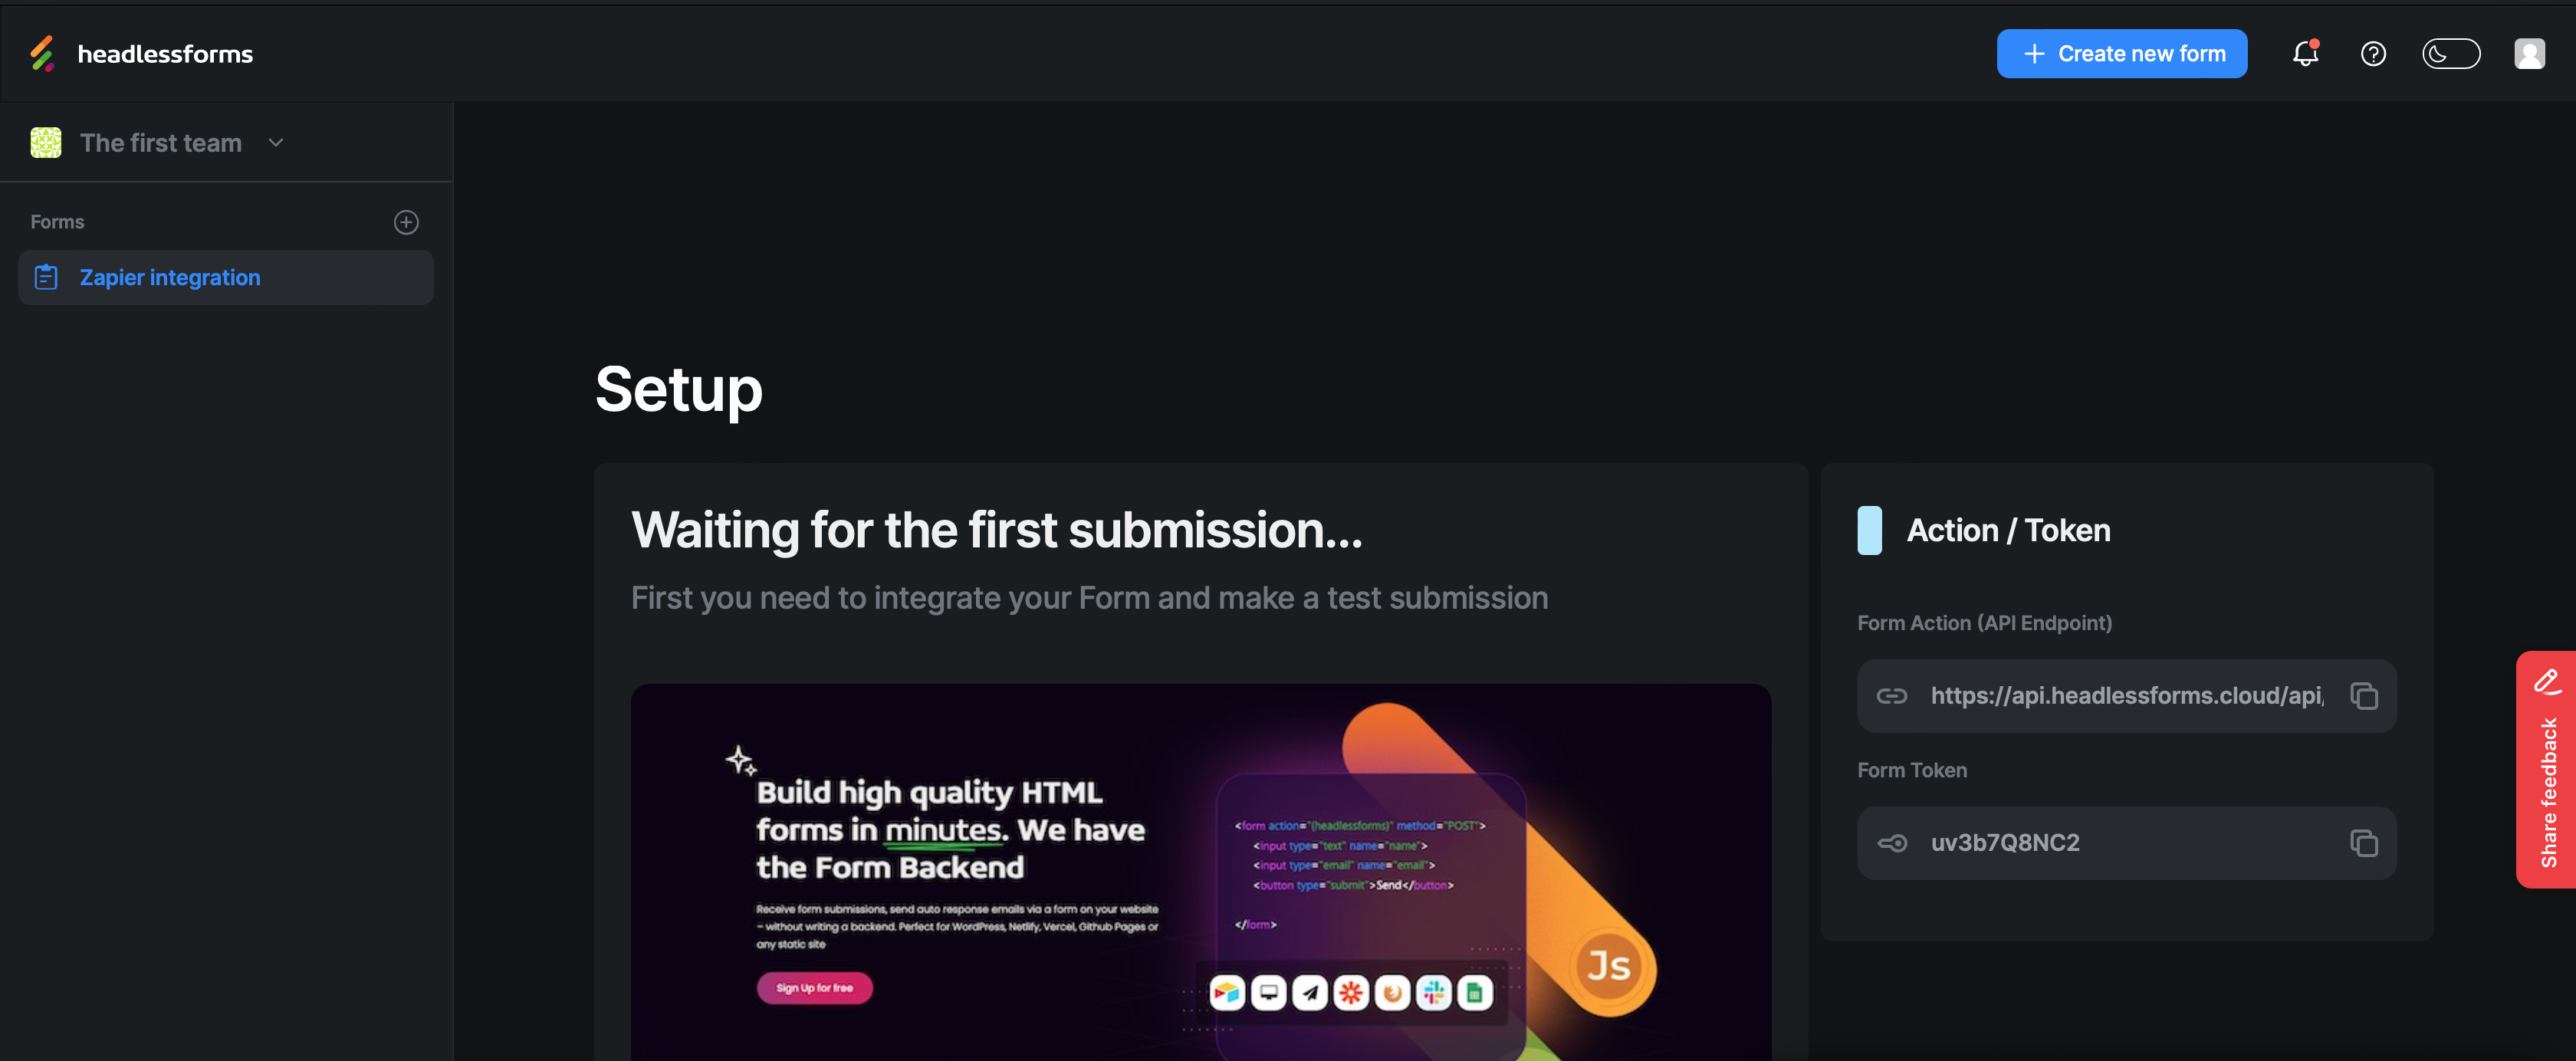
Example form token:
uv3b7Q8NC2
Summary:
- API Token:
BGPU4UkVlw3zY5XRLROWLwTJCBUPSnlgka0fQuTpb8wljY40M58RqzlVdT9g - Form Token:
uv3b7Q8NC2
2. Log in to Zapier
If you haven't already signed up, visit zapier.com to create a new account.
3. Set up your first Zap
3.1. Authenticate HeadlessForms
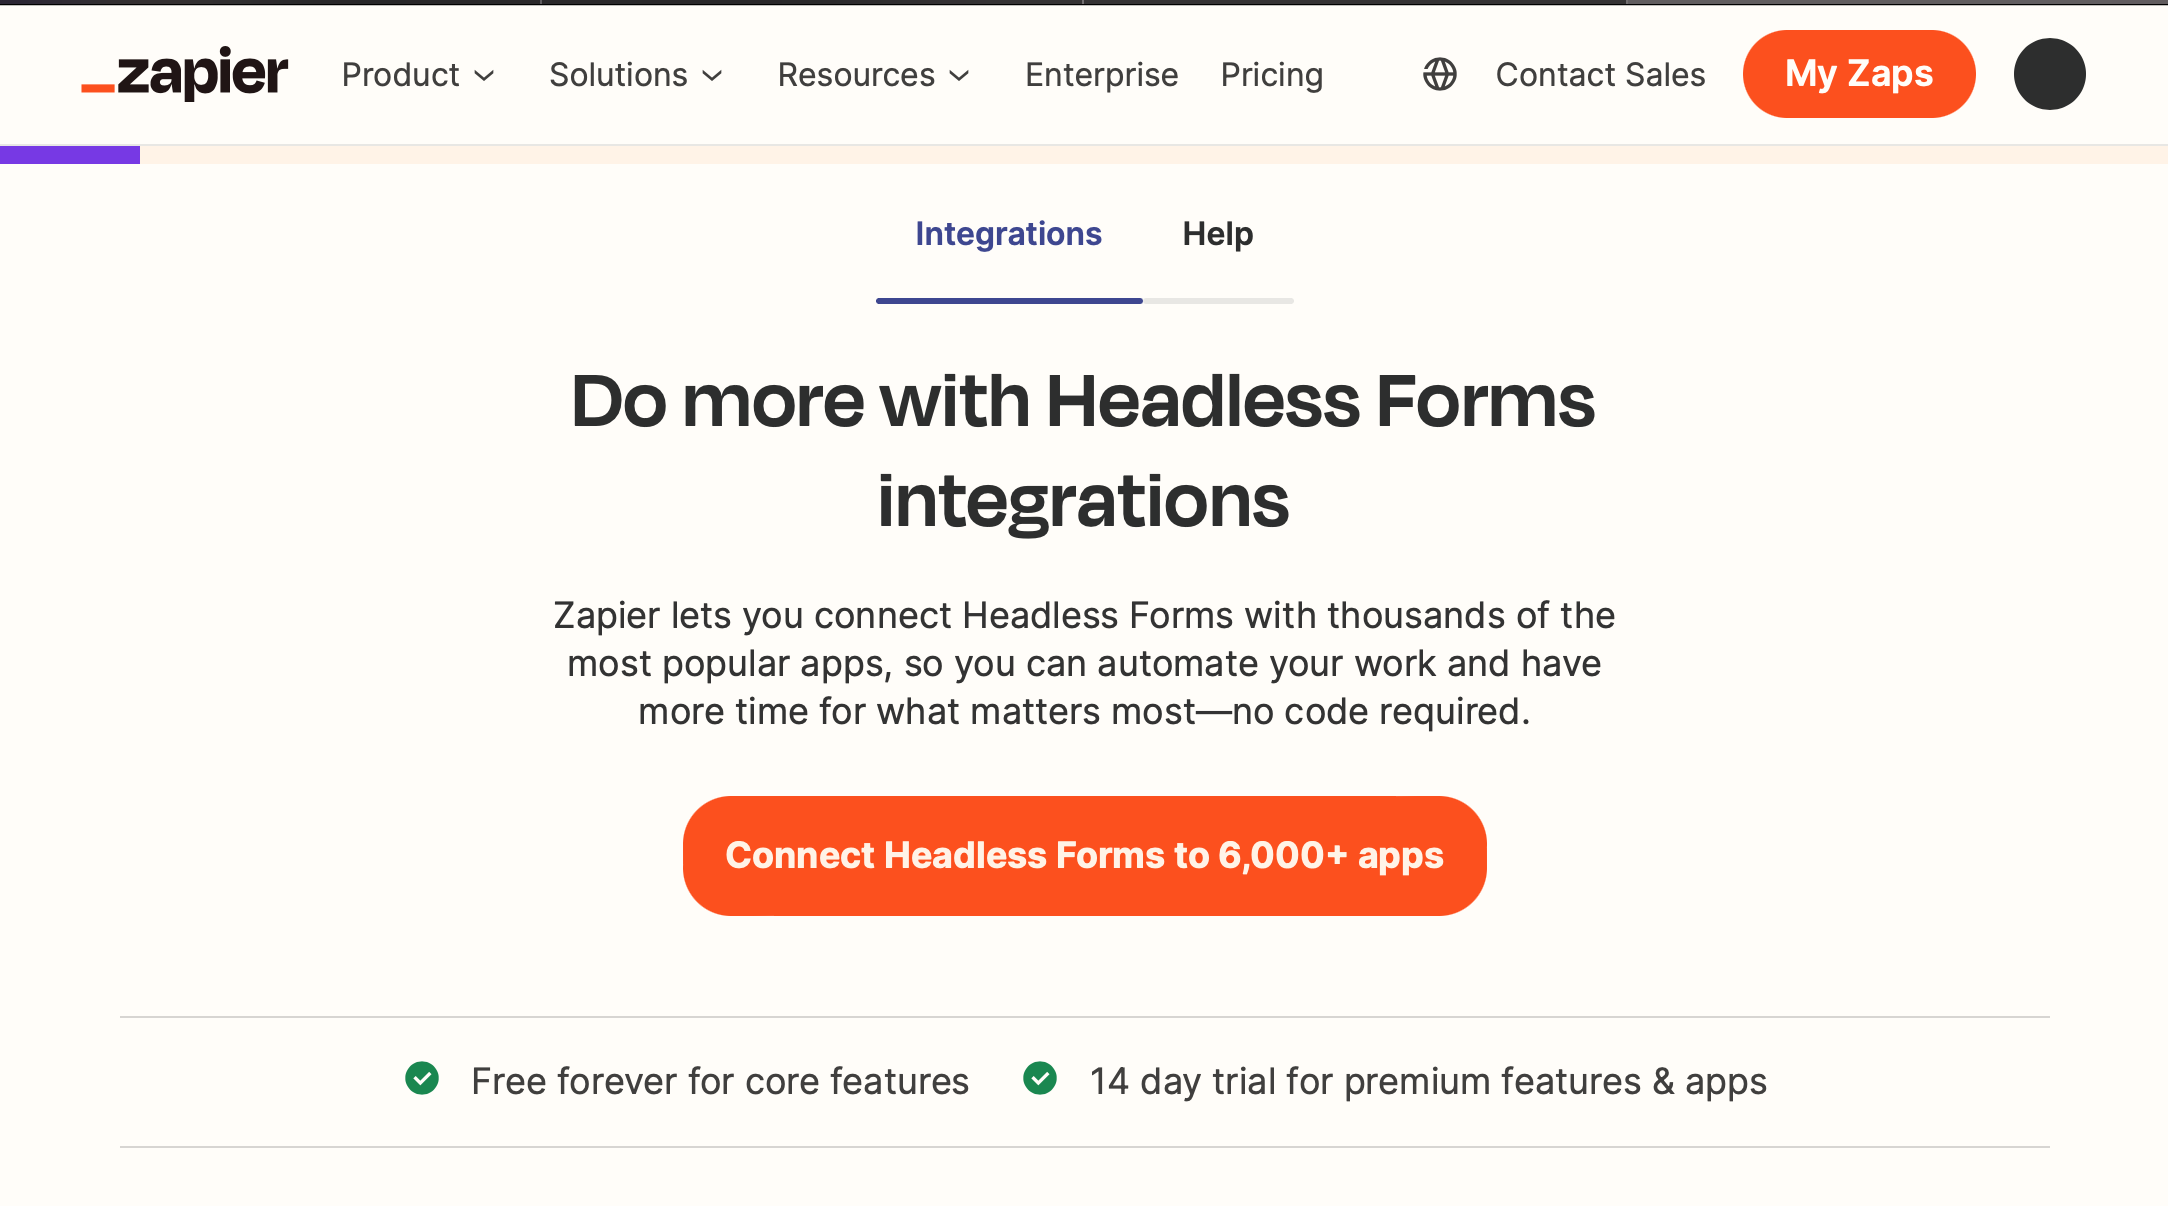
Visit the Zapier HeadlessForms integration page and click on "Connect Headless Forms" to begin.
3.2. Set up "Trigger"
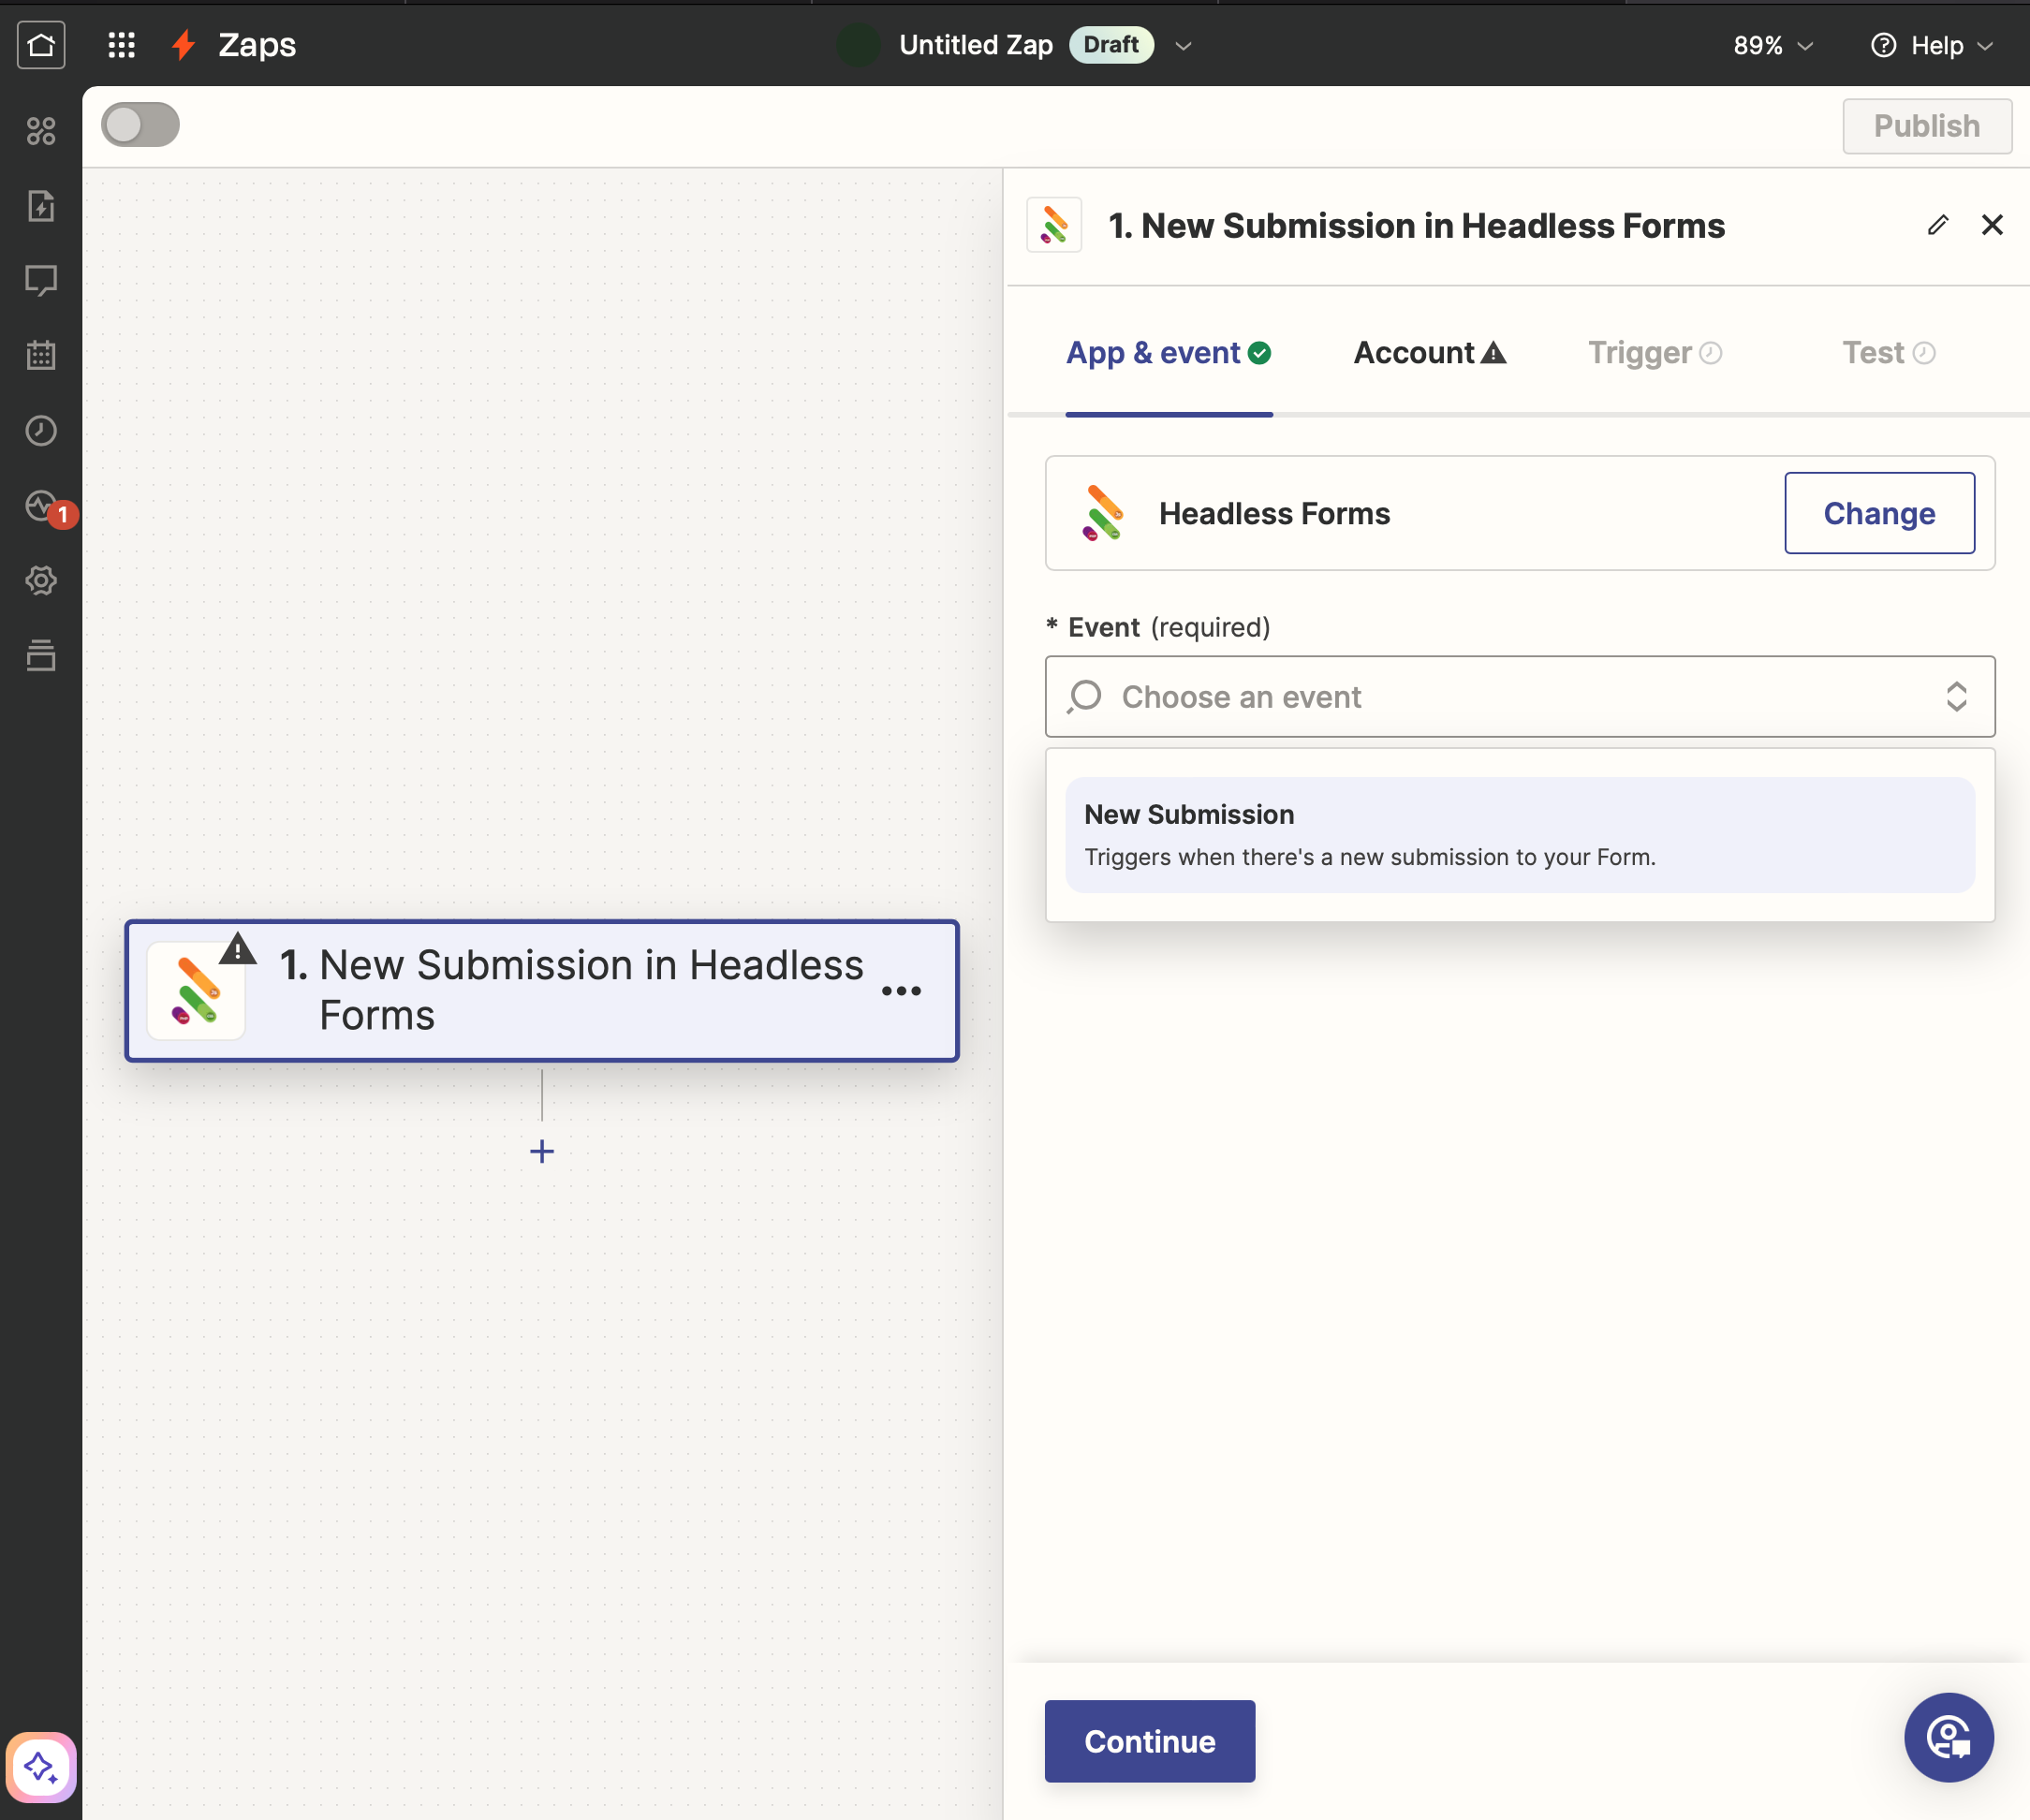
3.2.1. Set up event
Select "New Submission" and click Continue.
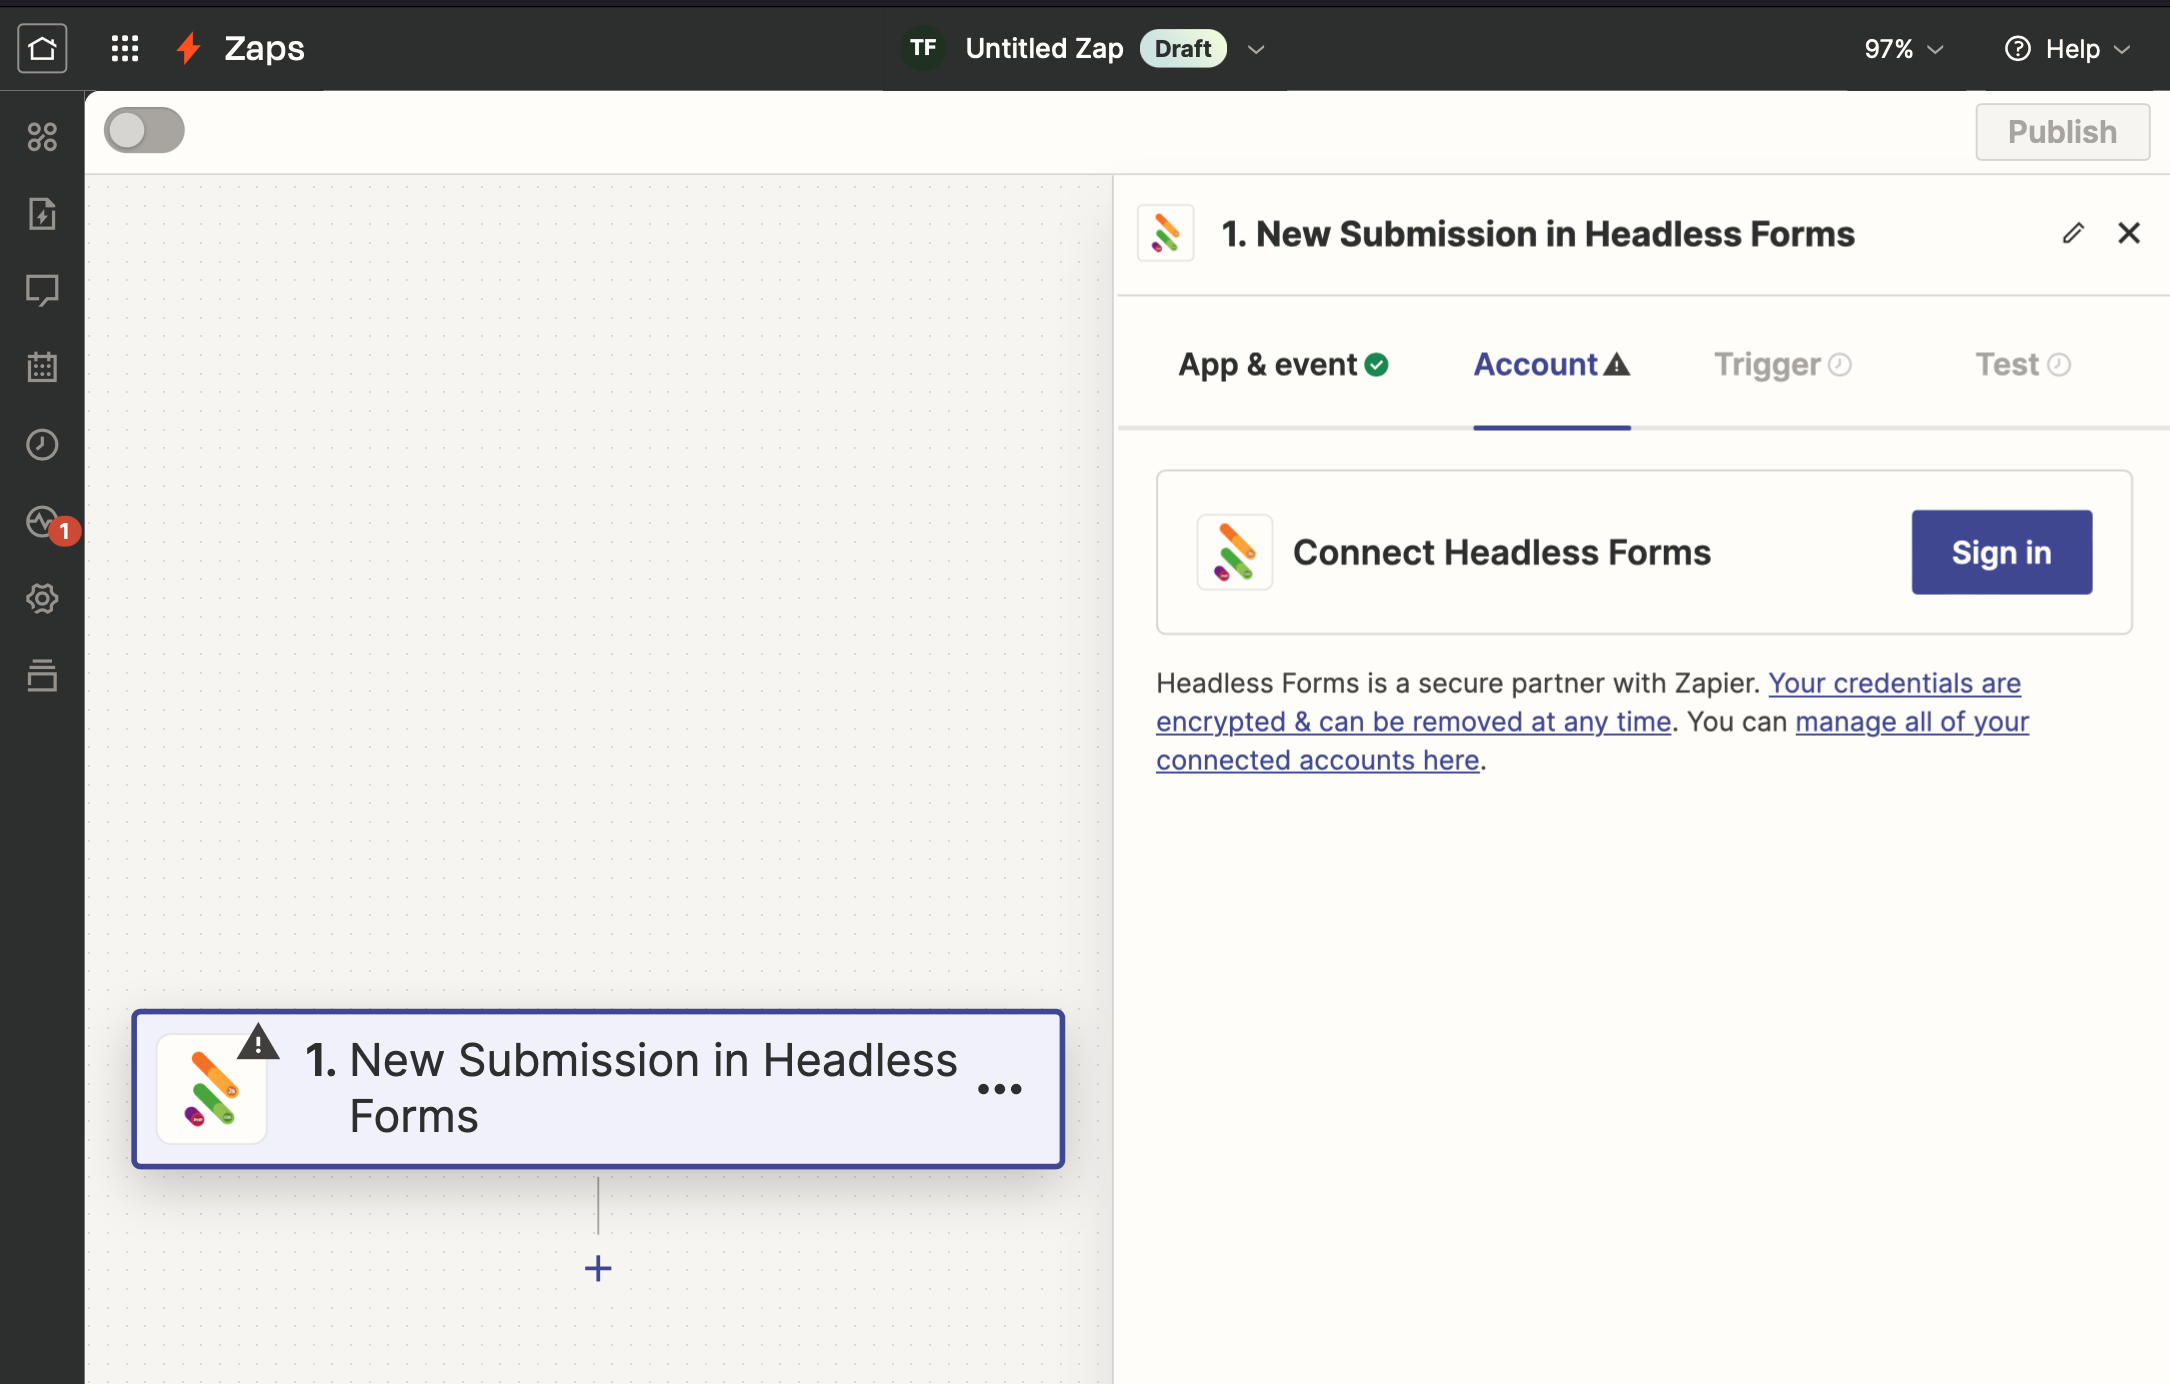
3.2.2. Set up Account
Click the "Sign in" button to connect your Zap to HeadlessForms.
Insert the API Token from step 1.1. Get API Token in the new window that appears.
(Ensure any pop-up blockers are disabled if you don't see the window.)
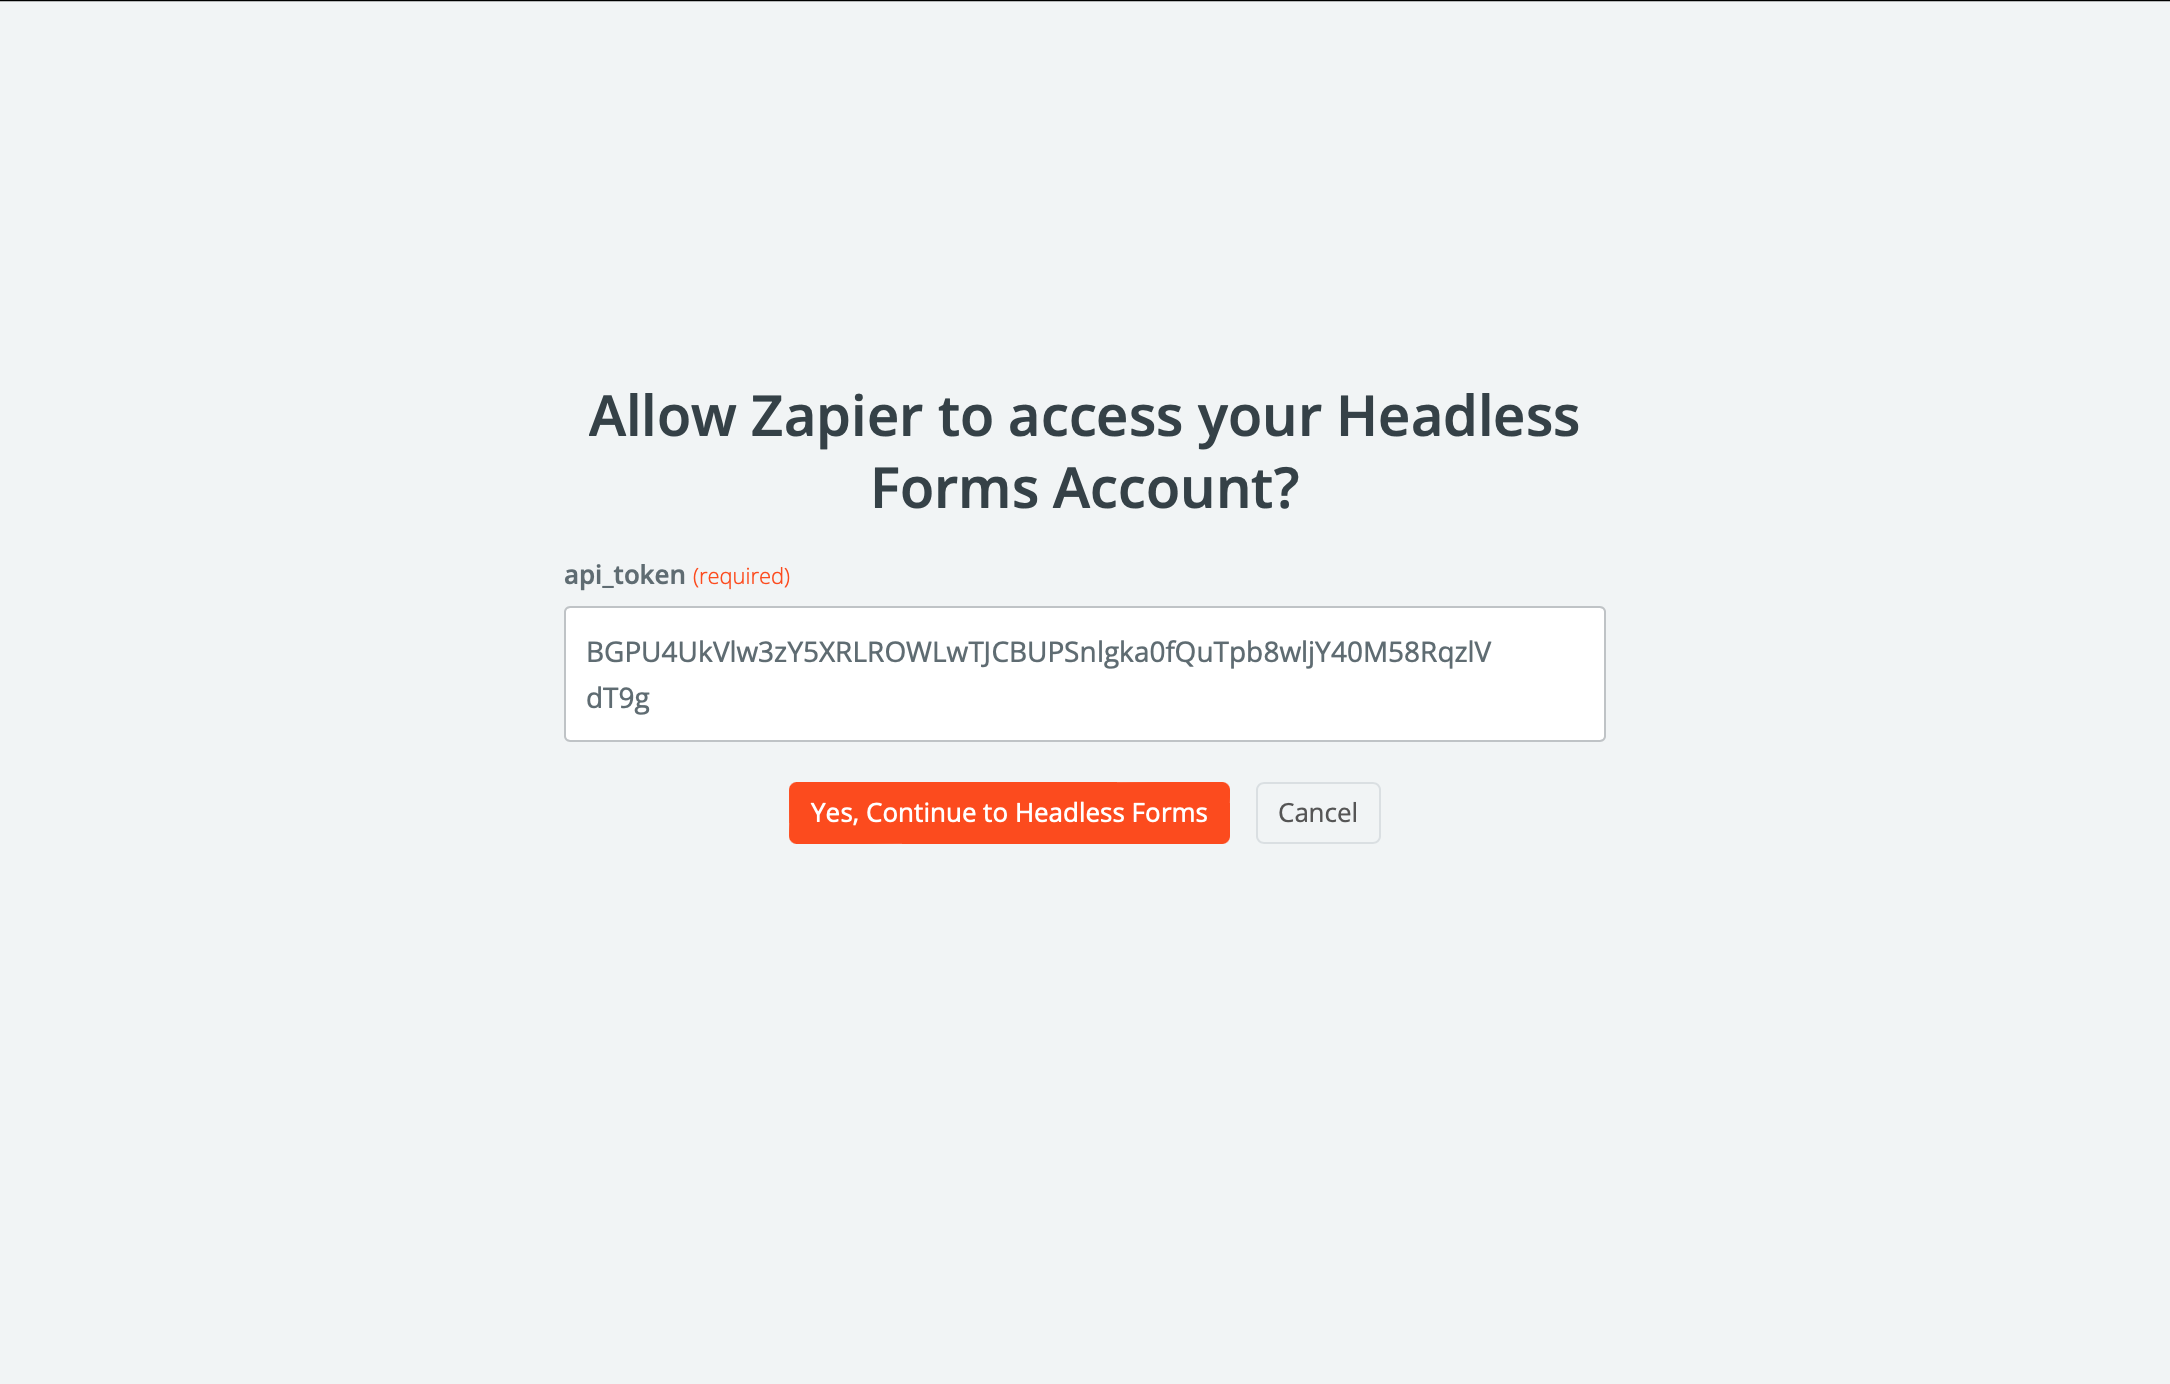
Submit the form. The result should resemble this:
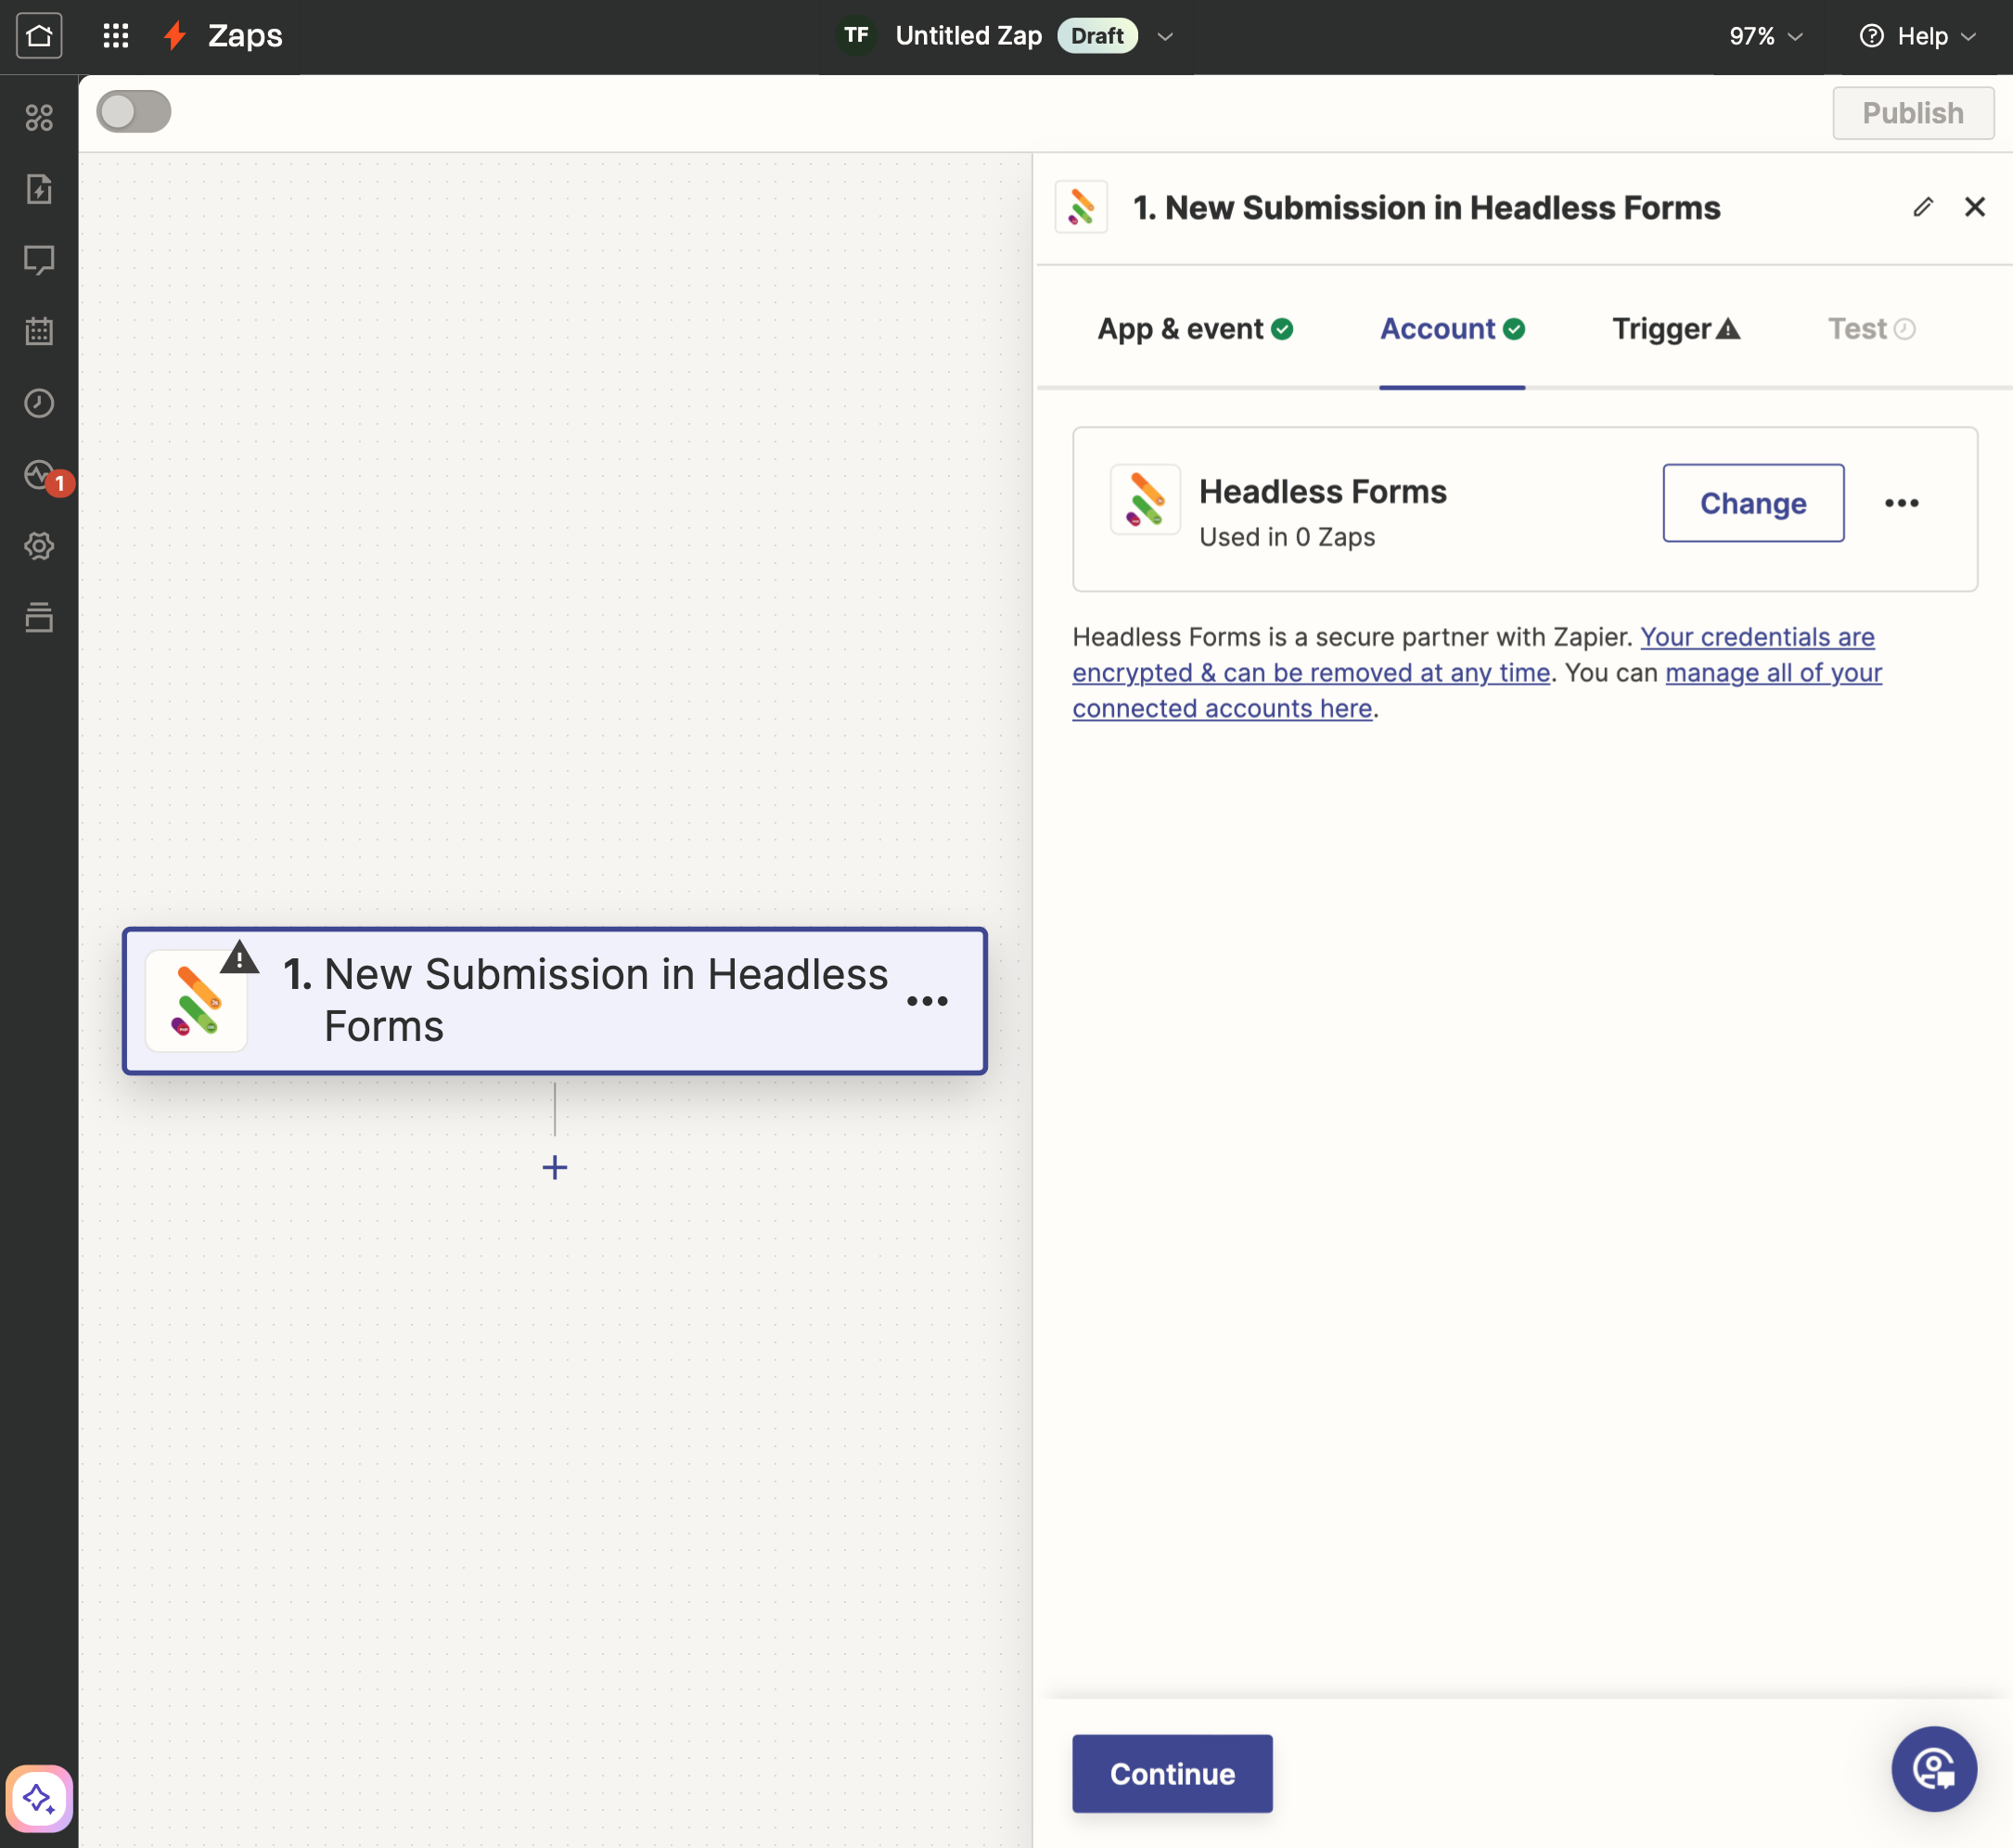
Click "Continue".
3.2.3. Set up Form
Insert the Form Token from step 1.2. Get the Form Token.
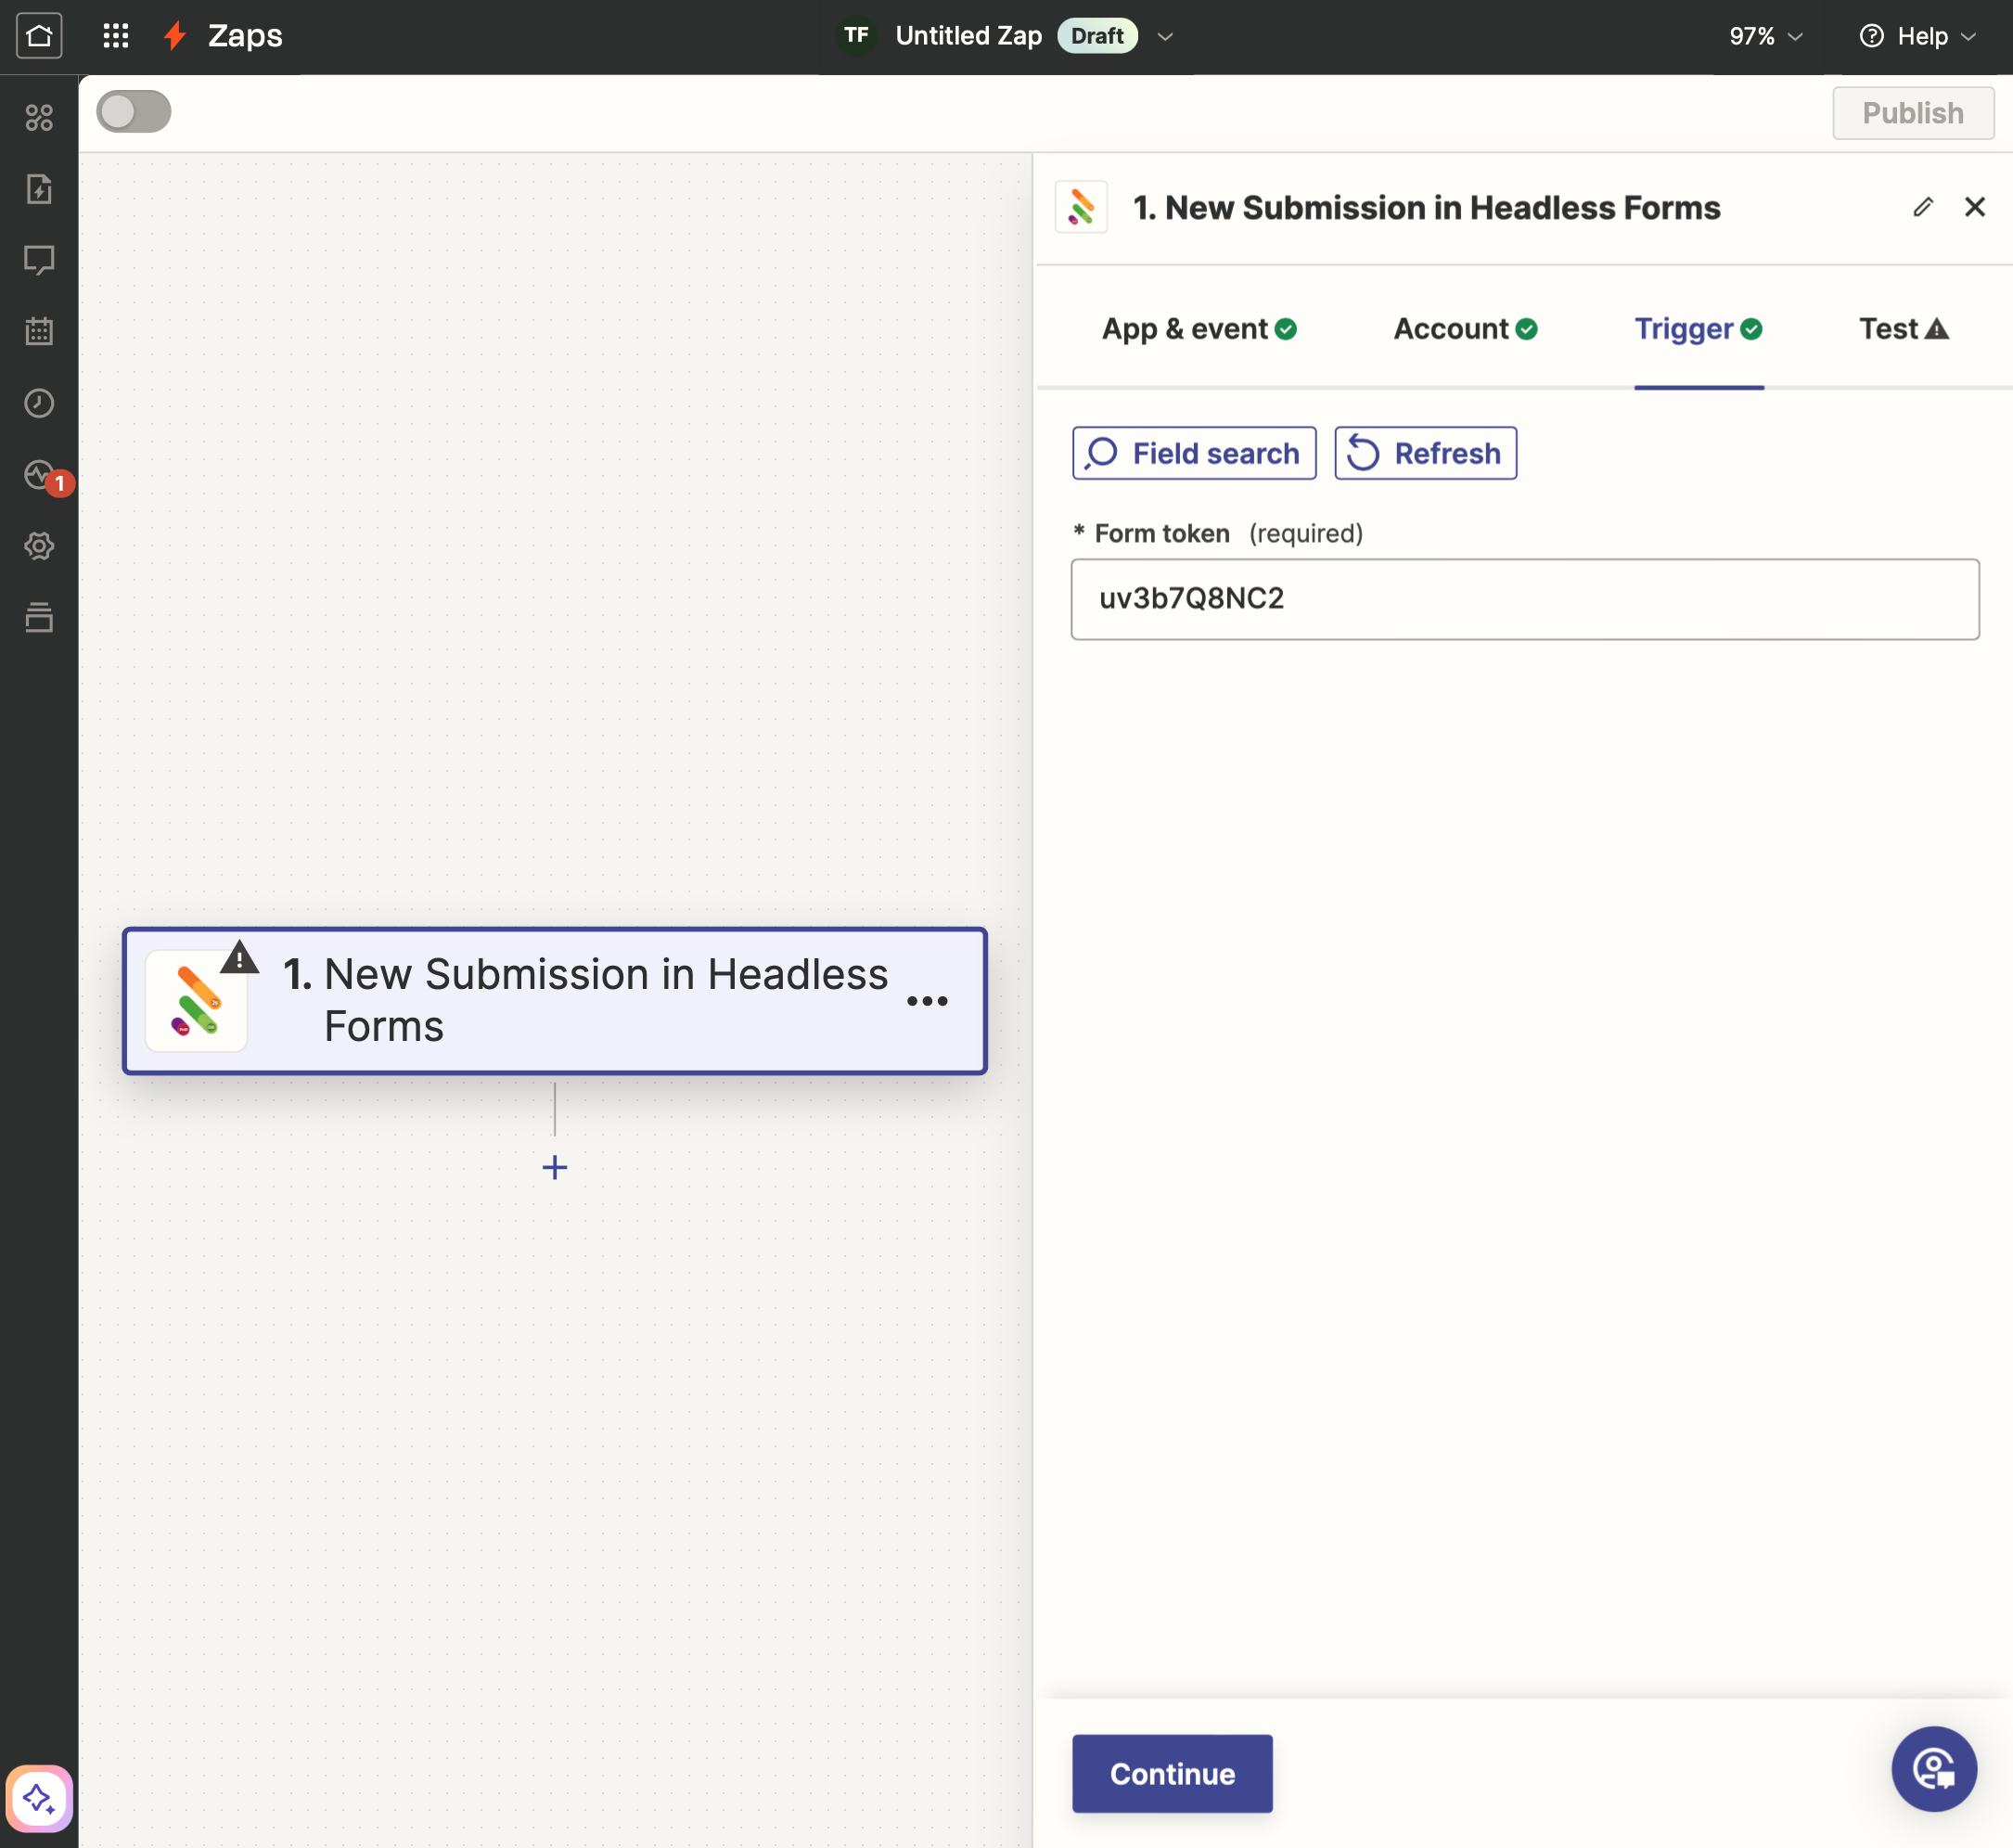
Click "Continue".
3.2.4. Test trigger
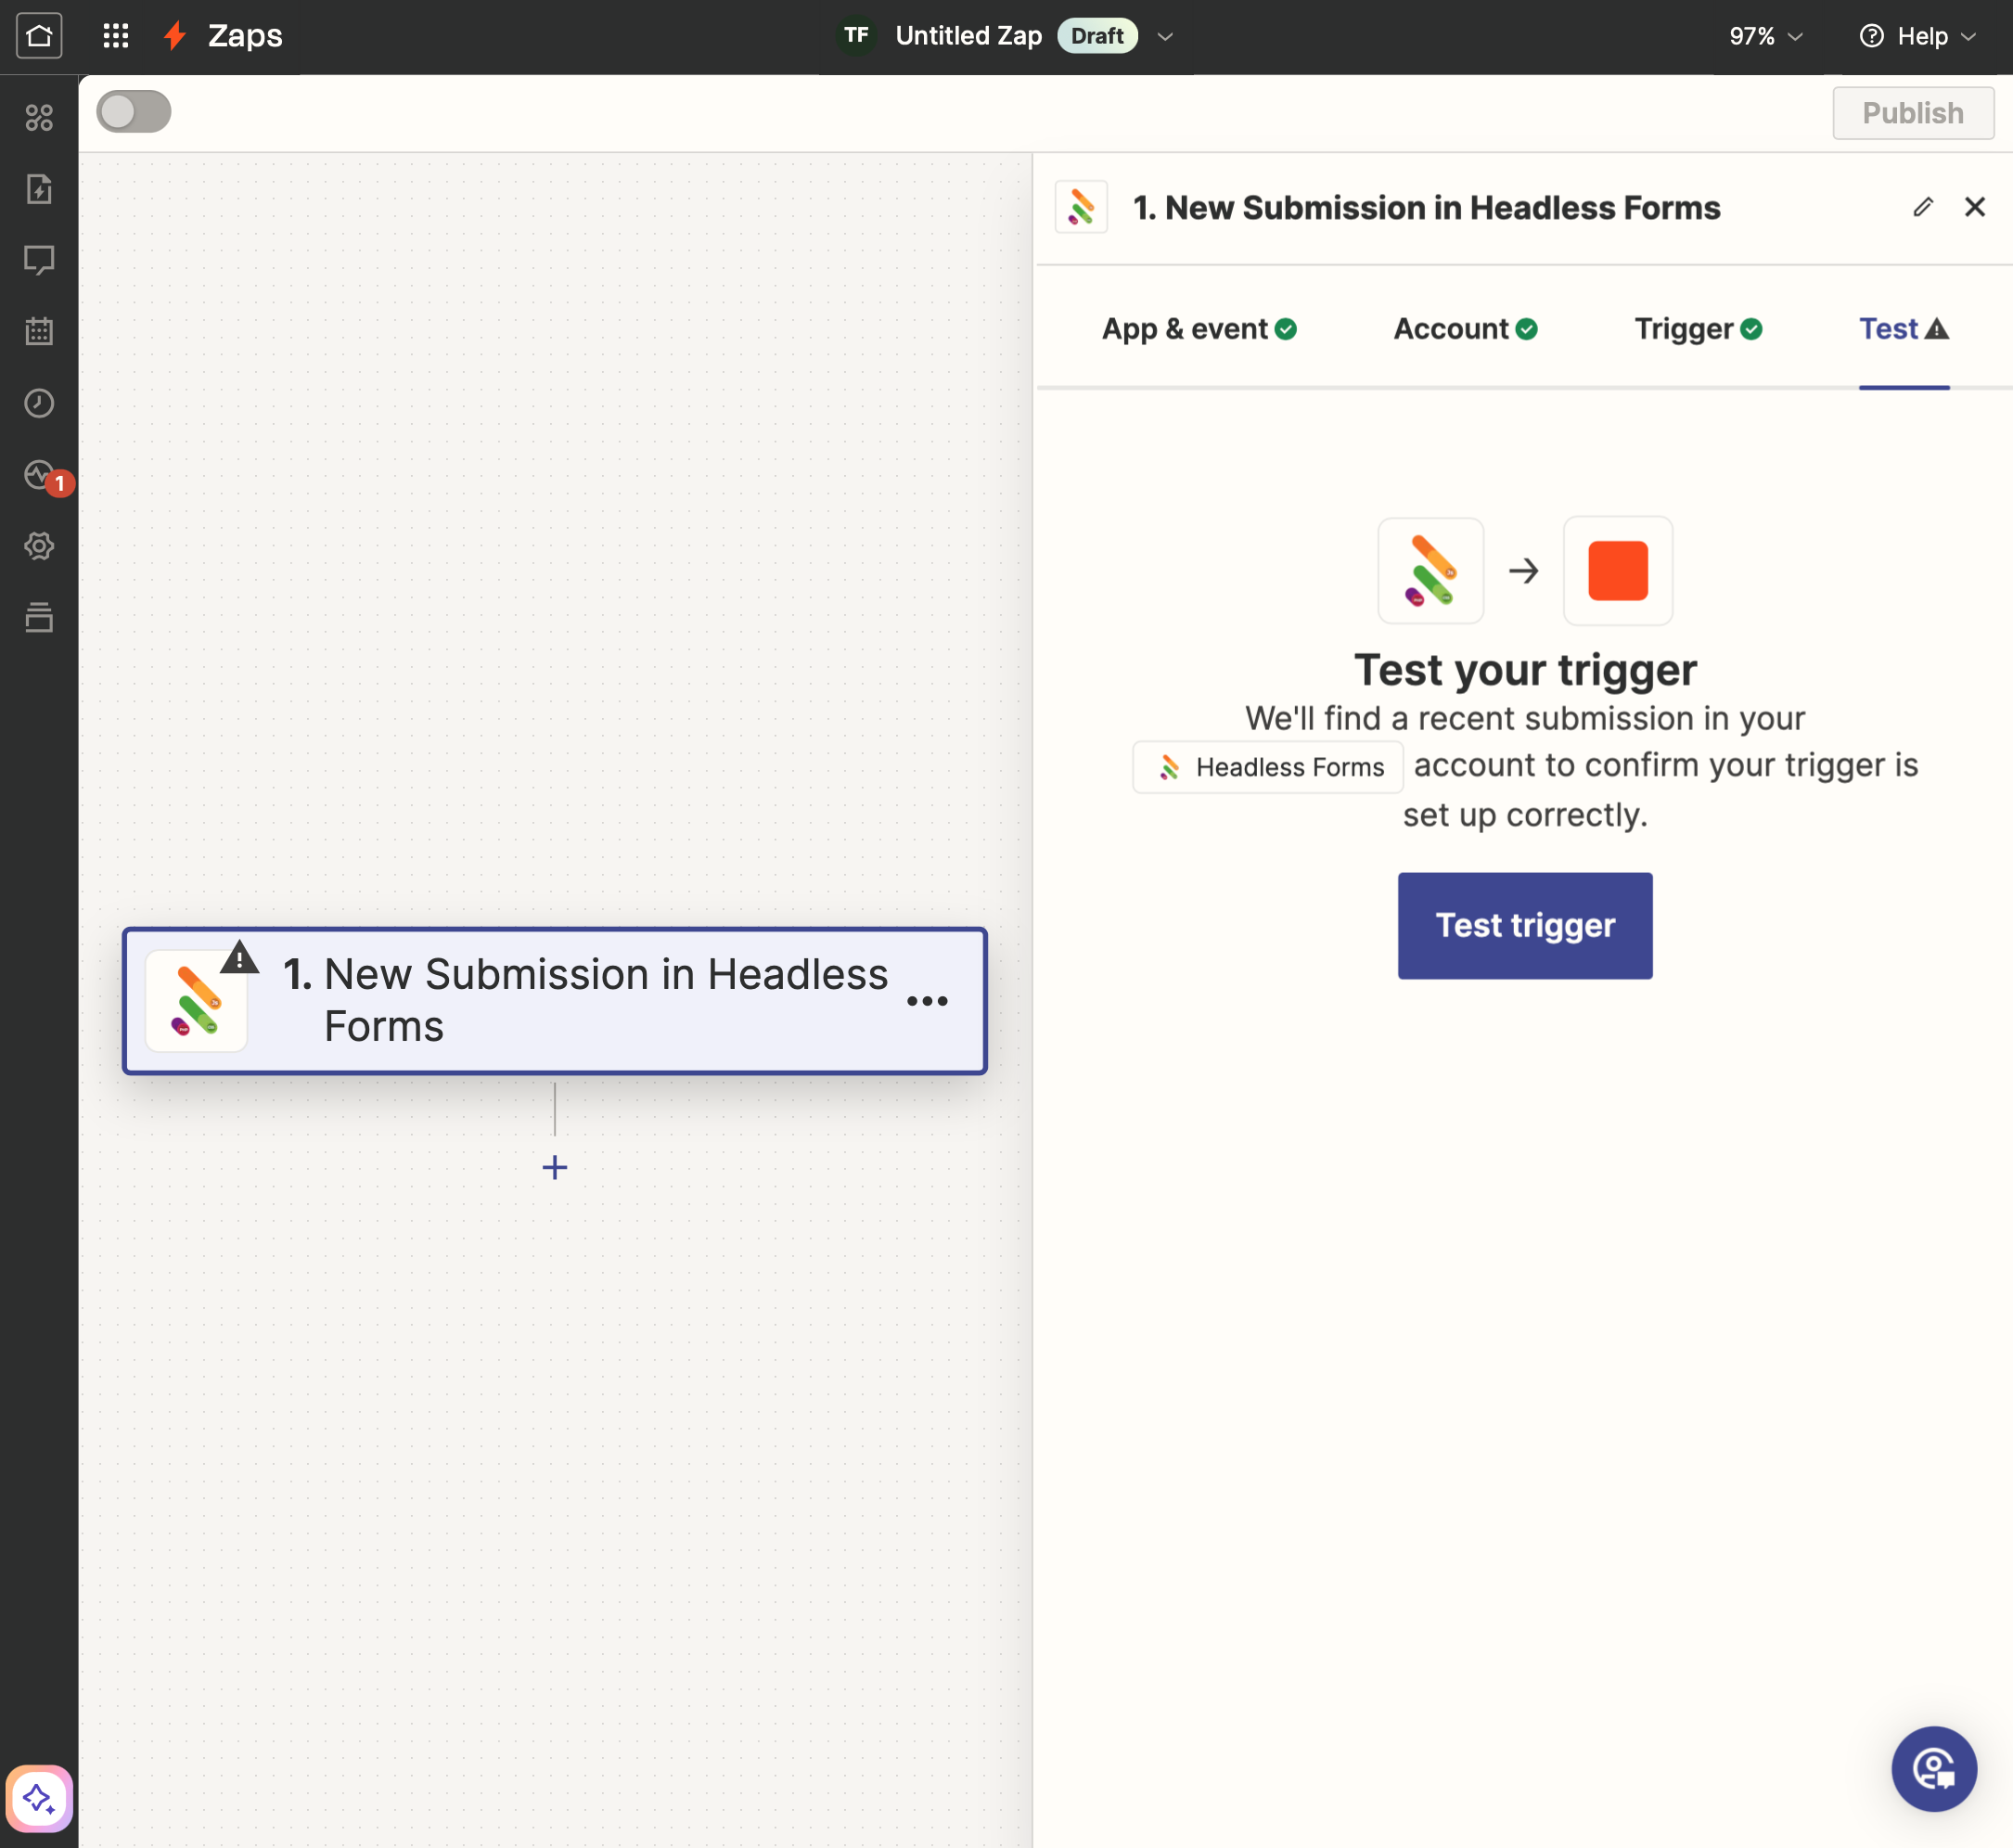
If your form has no submissions yet, you'll see a message indicating a lack of data. Submit a test entry and click "Test again".
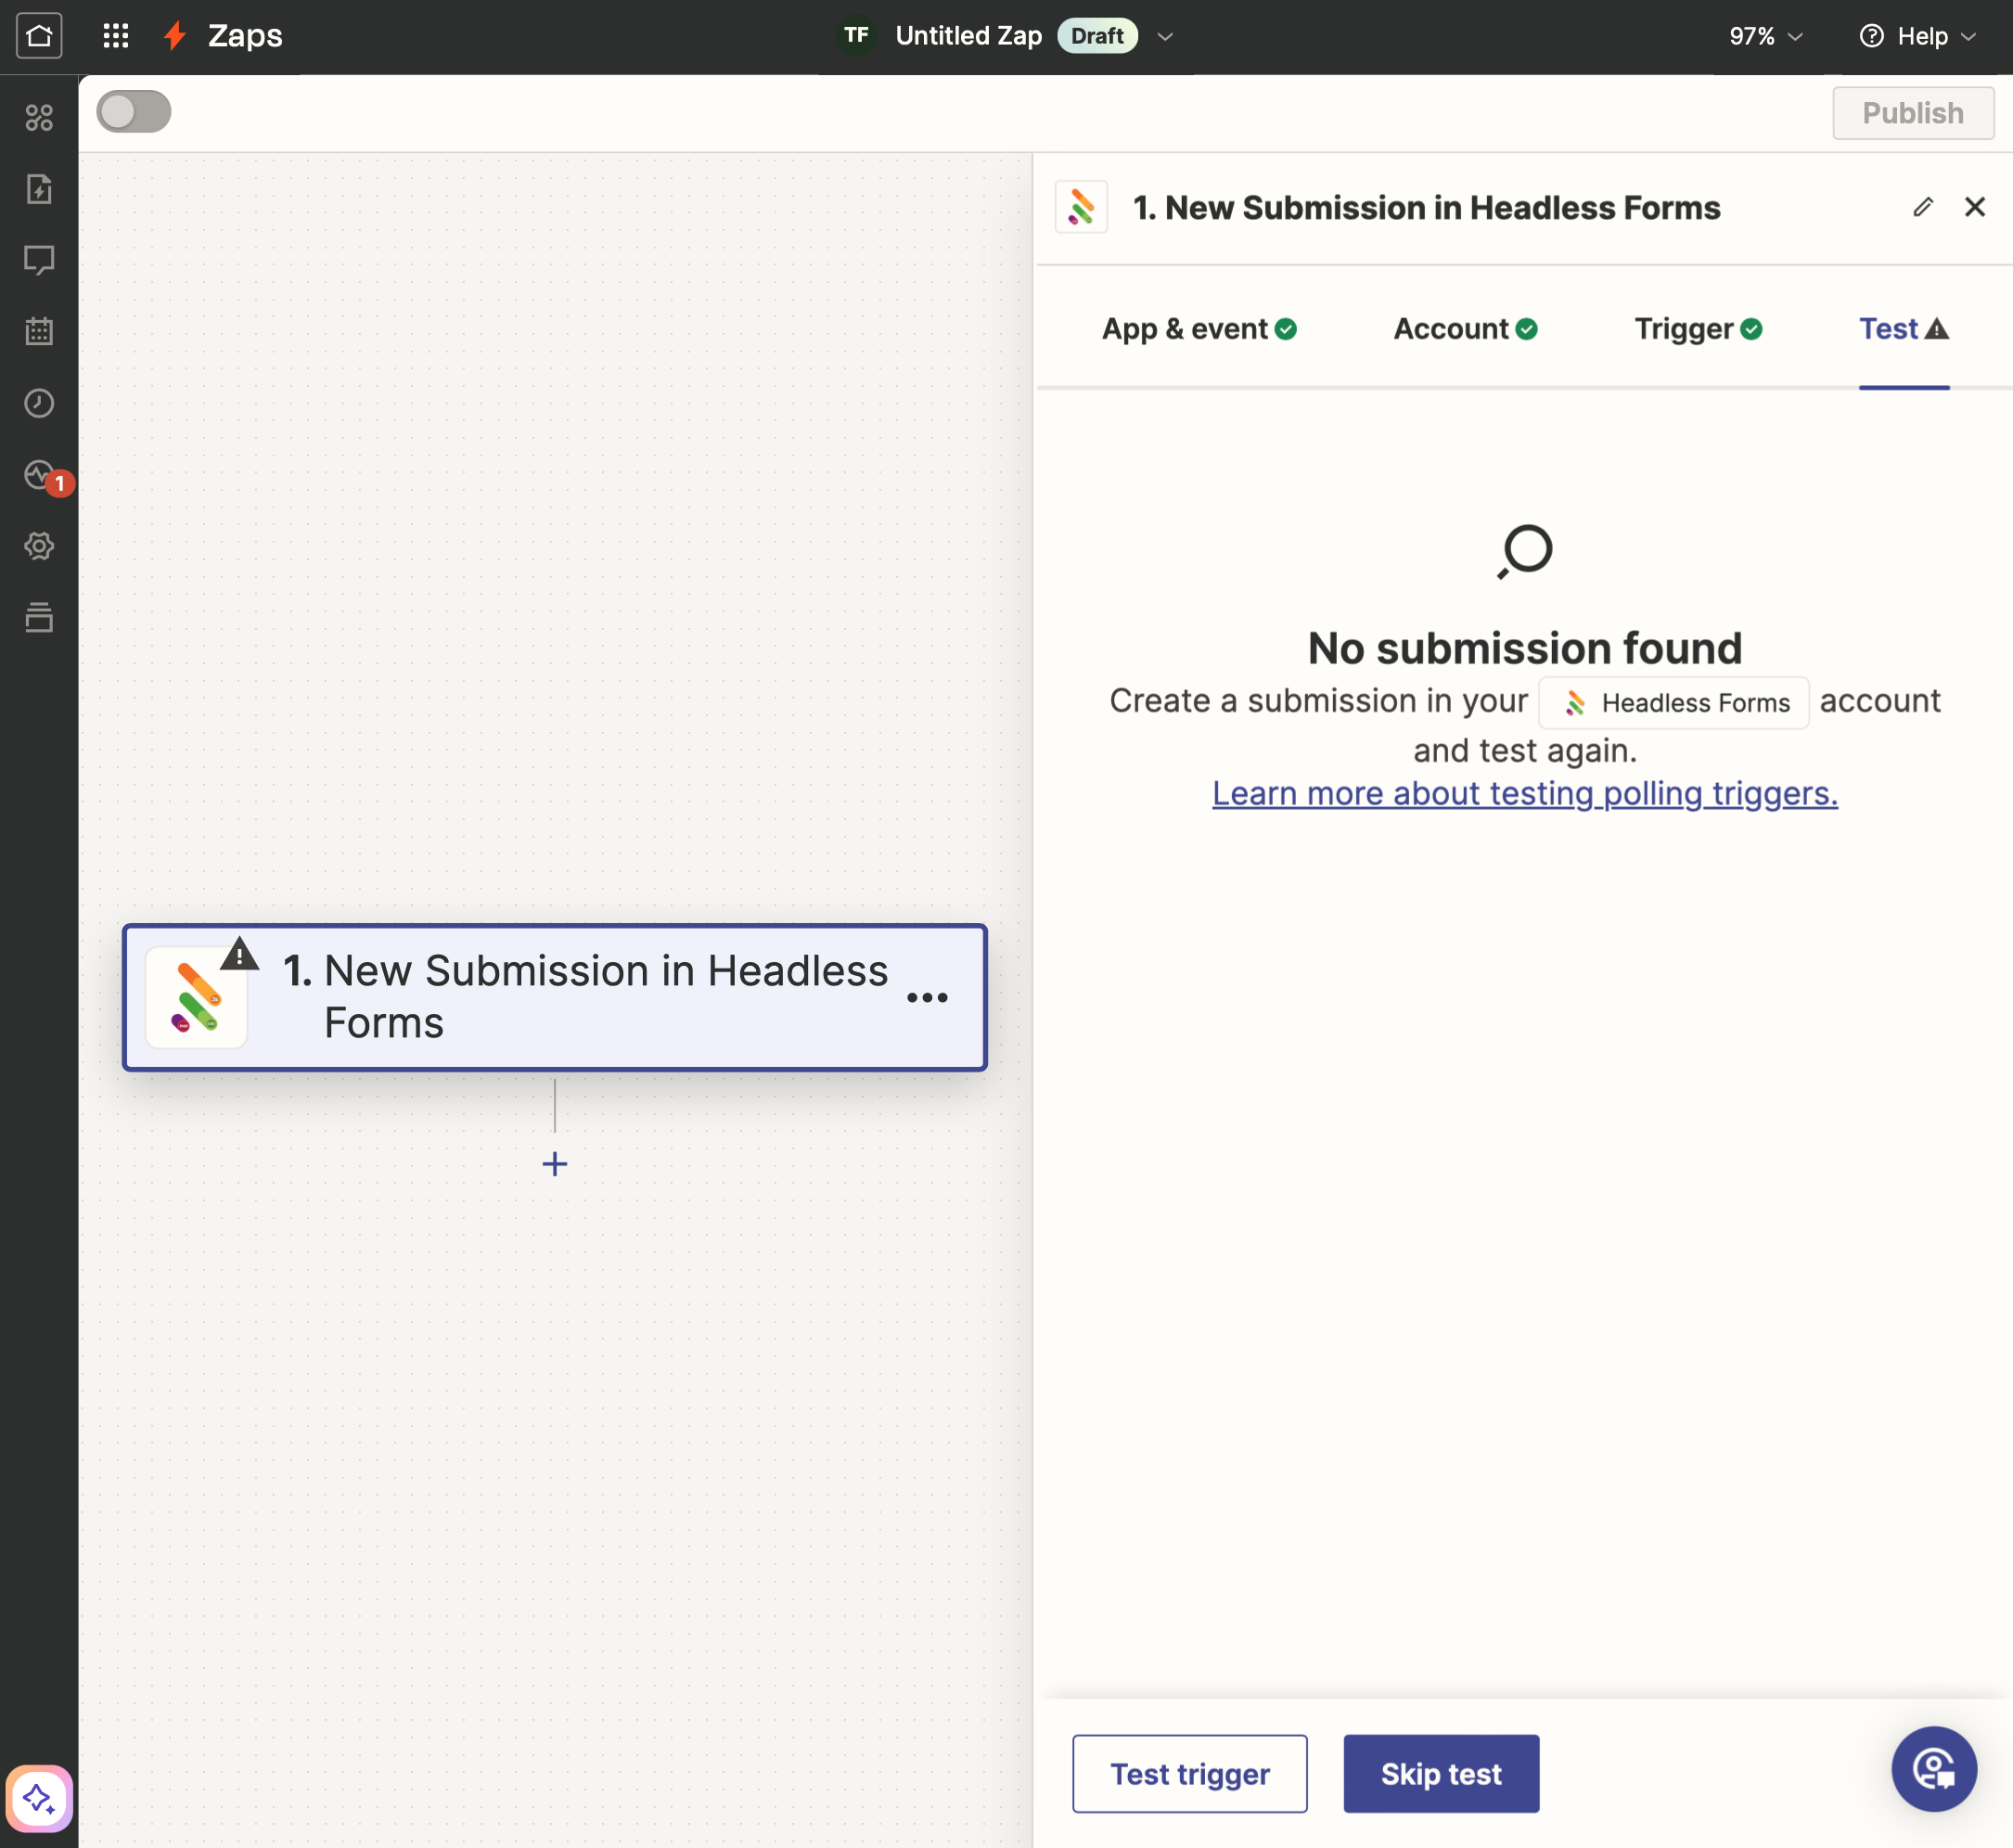
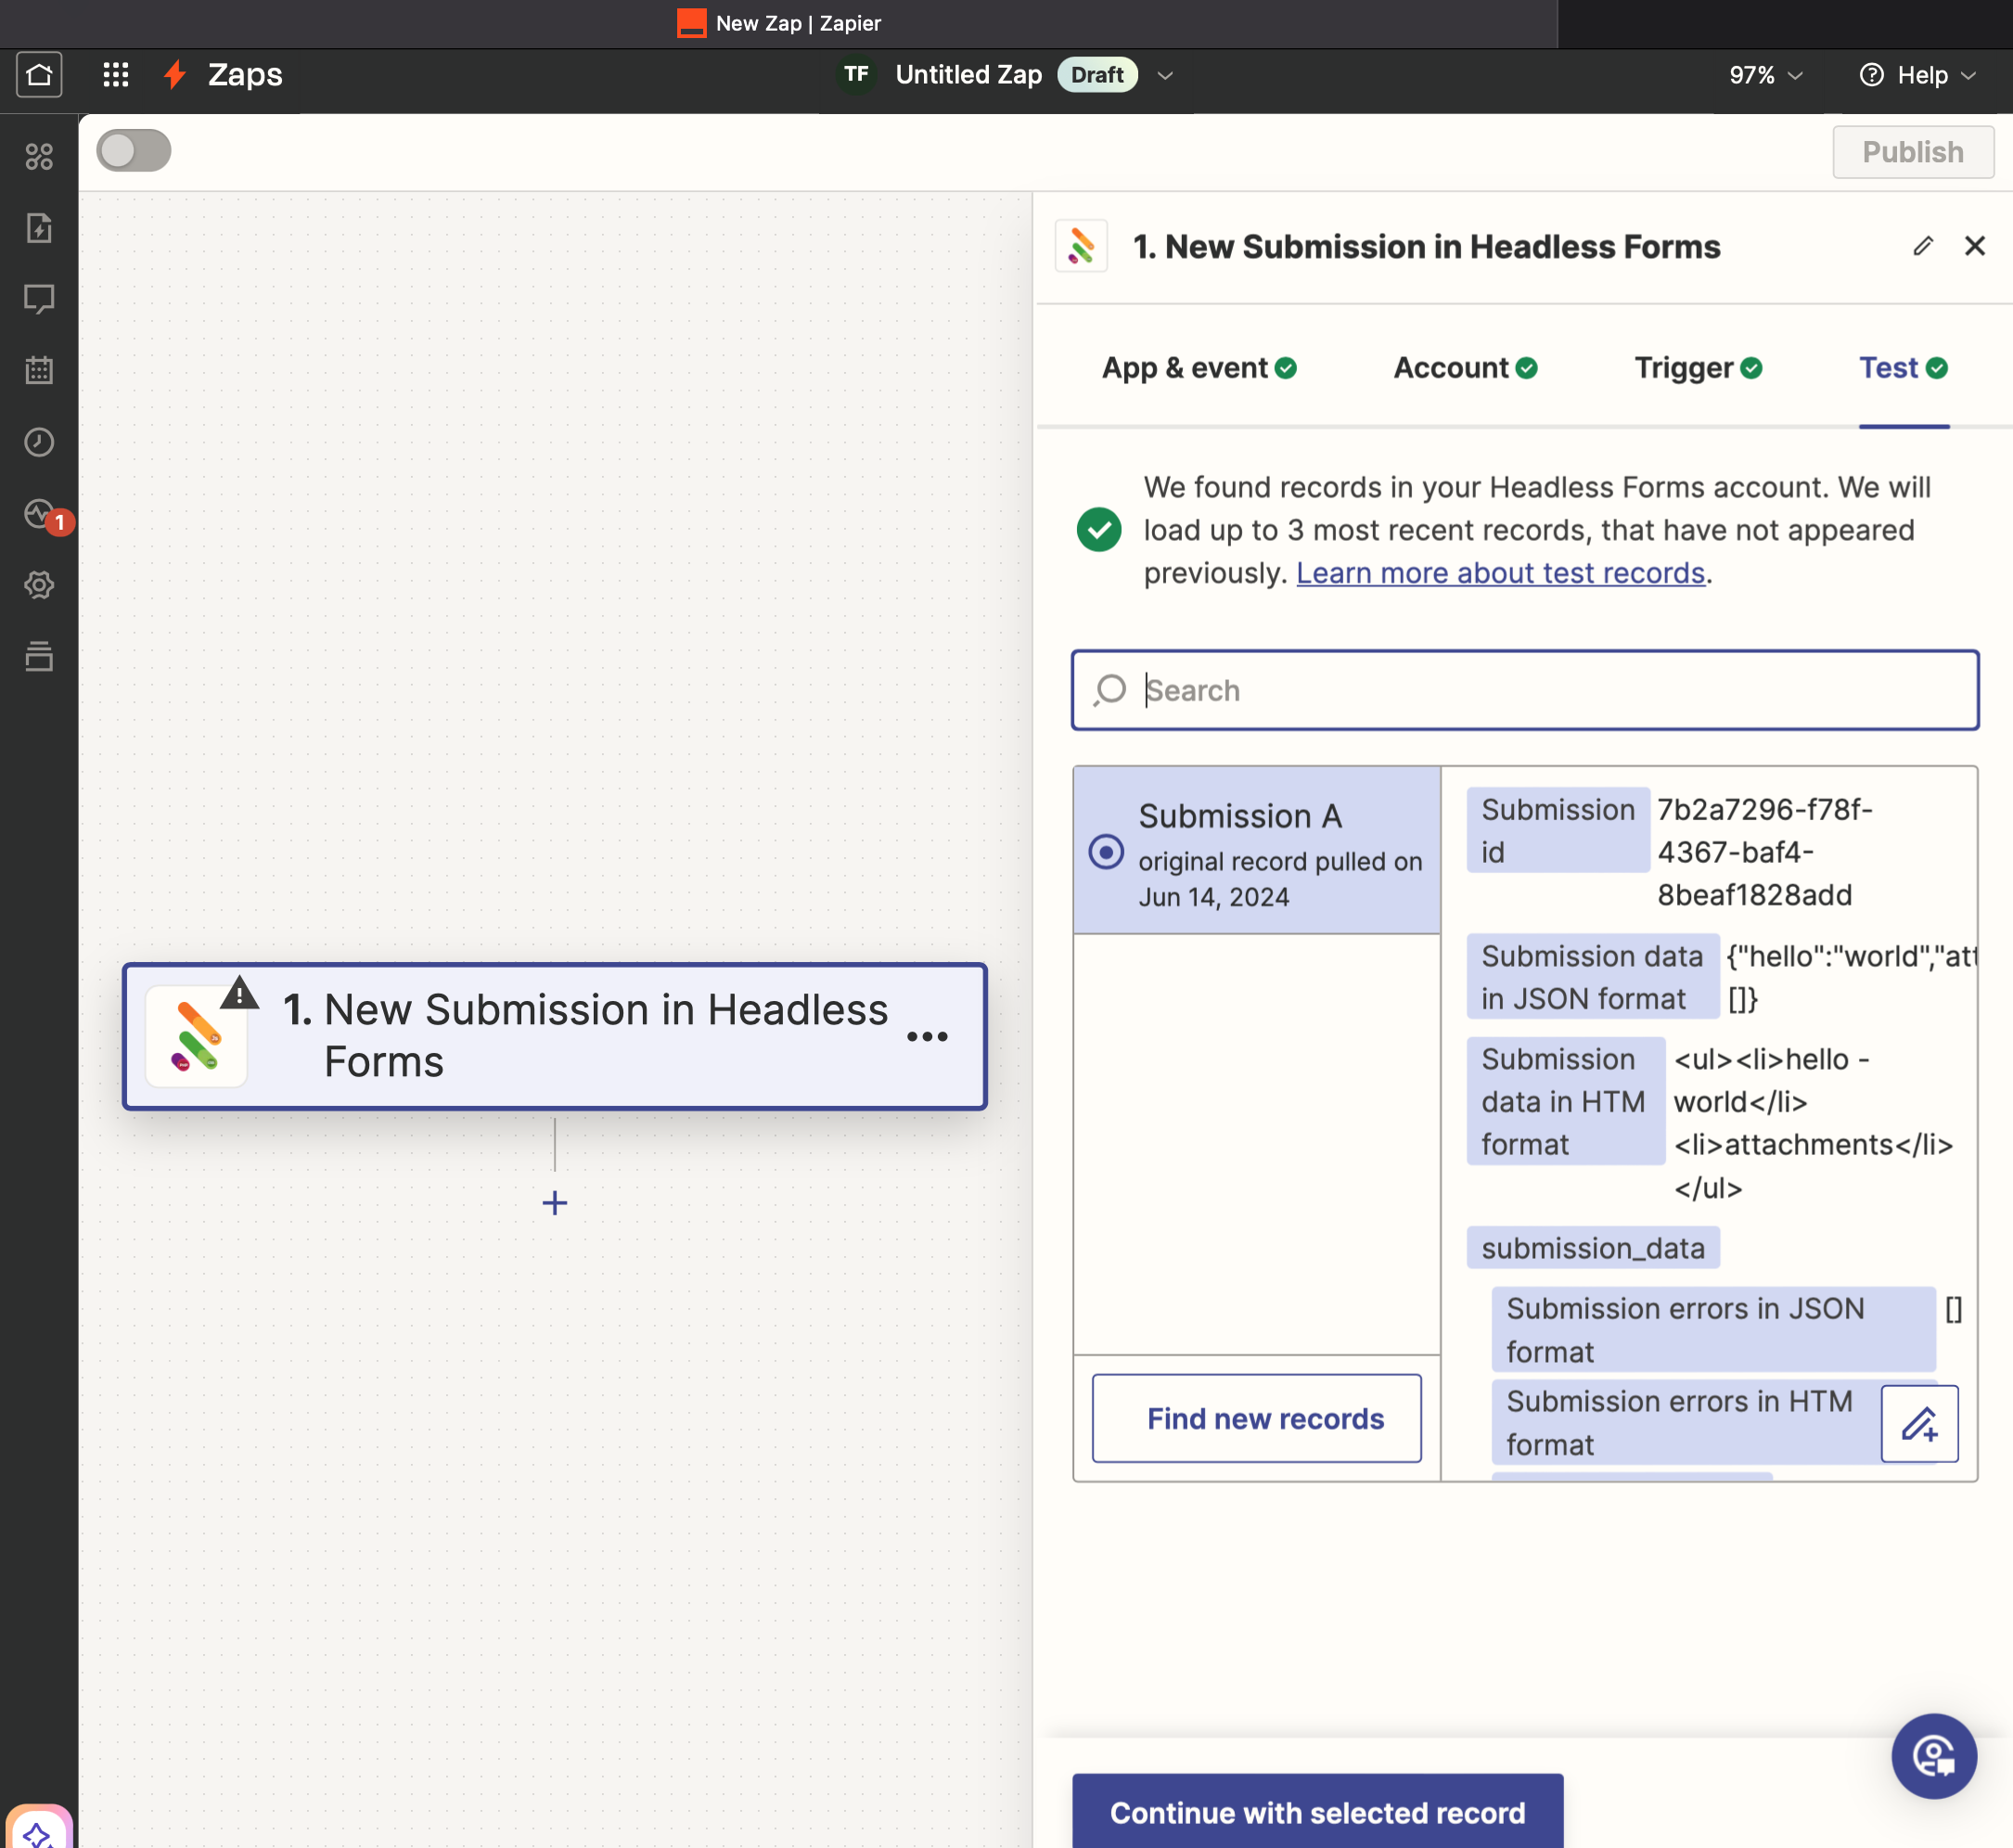
Once successful, click "Continue with selected record".
3.3. Set up "Action"
3.3.1. Set up Action
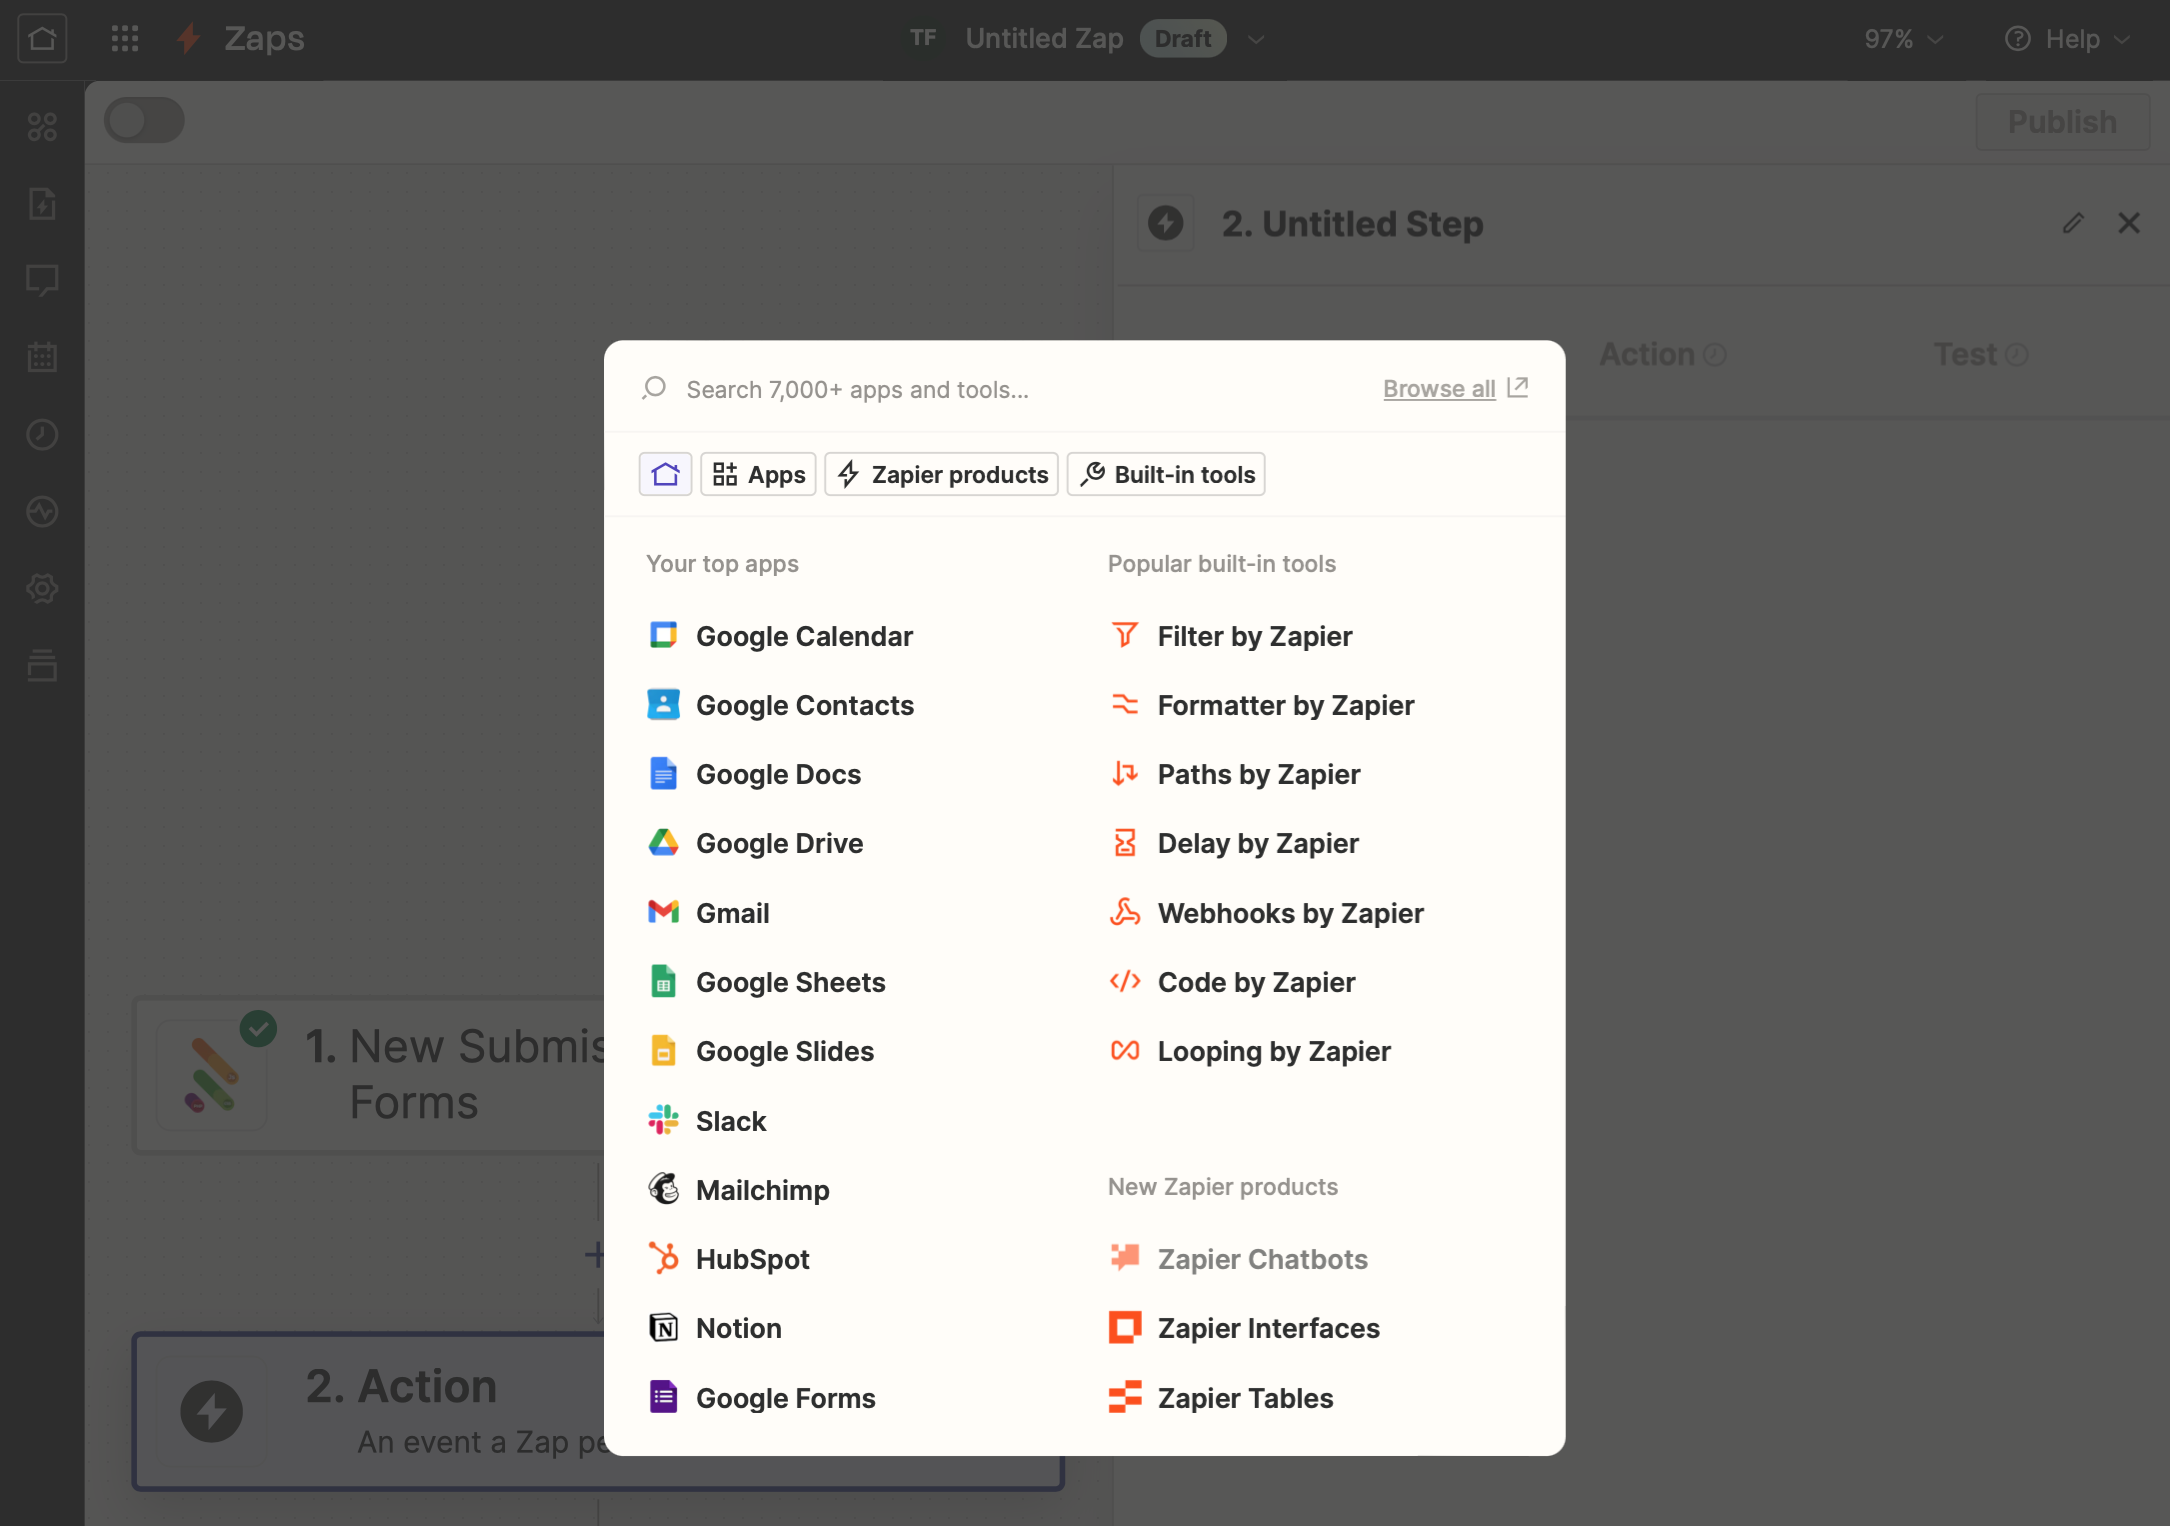
Let's send every form submission to an email. Choose the Gmail service.
3.3.2. Set up Event
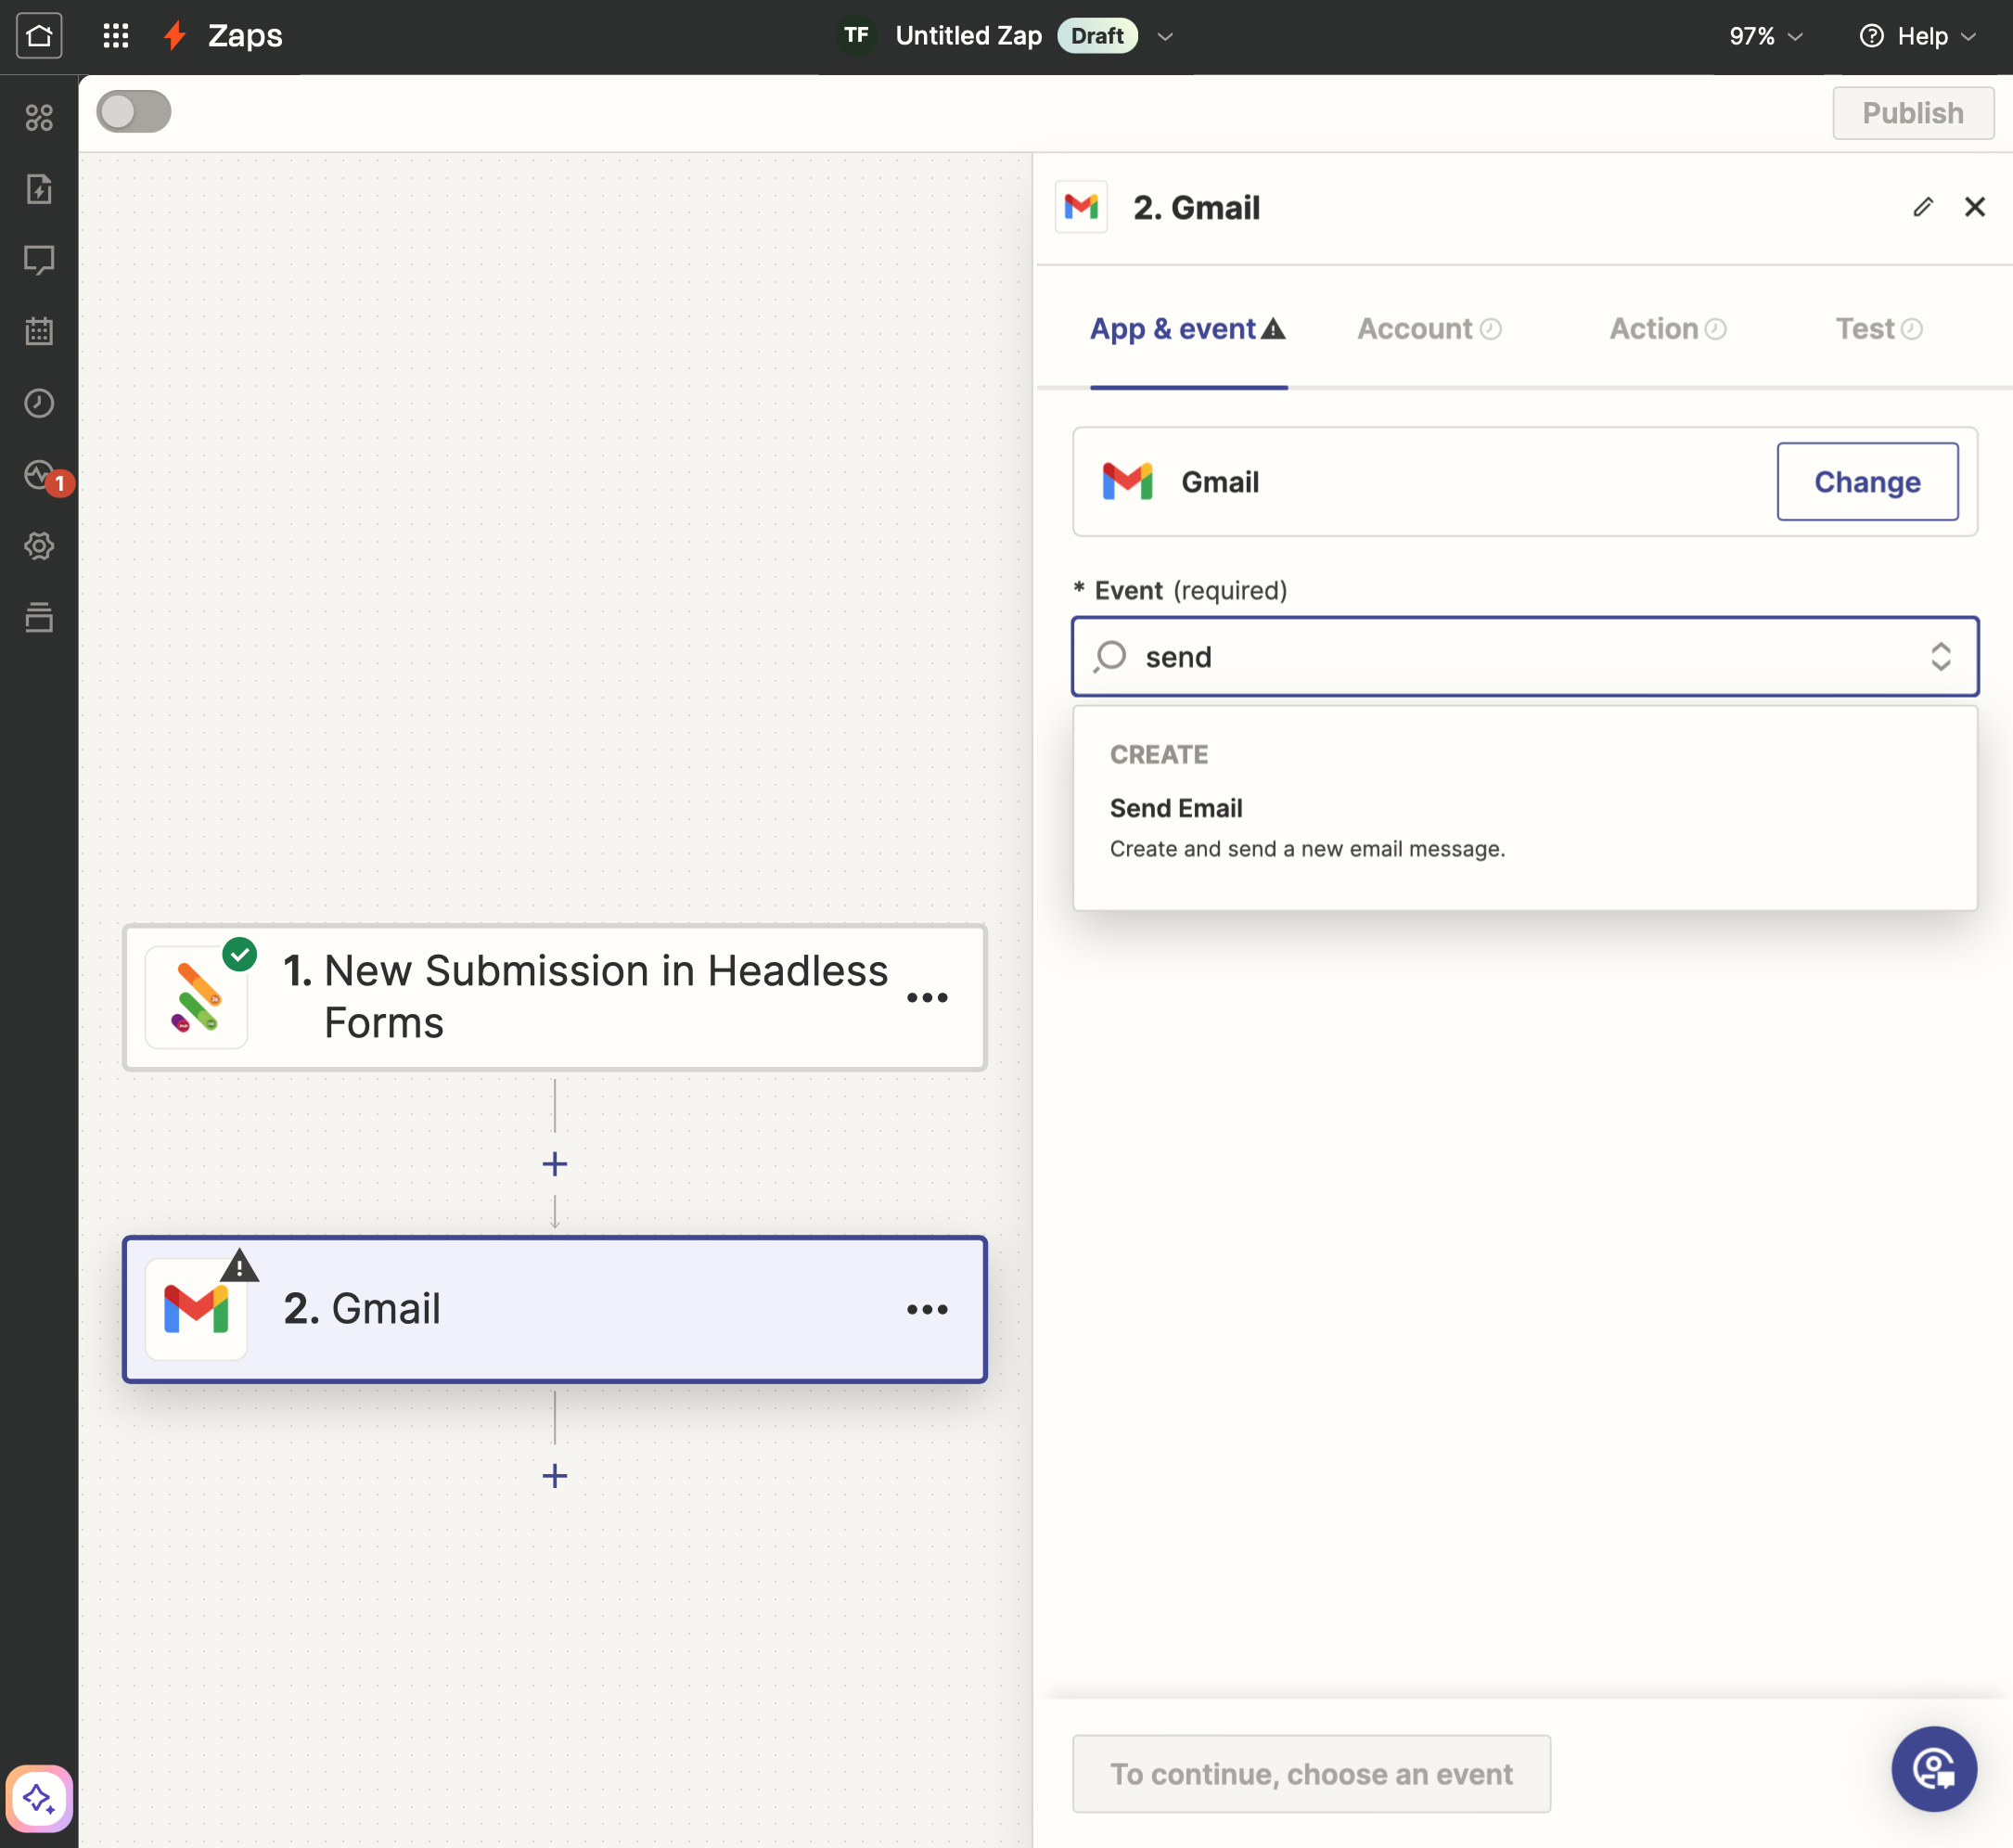
Look for "send email" under Gmail and click "Continue".
3.3.3. Set up Account
Authorize Zapier to use Gmail for sending emails.
step #1 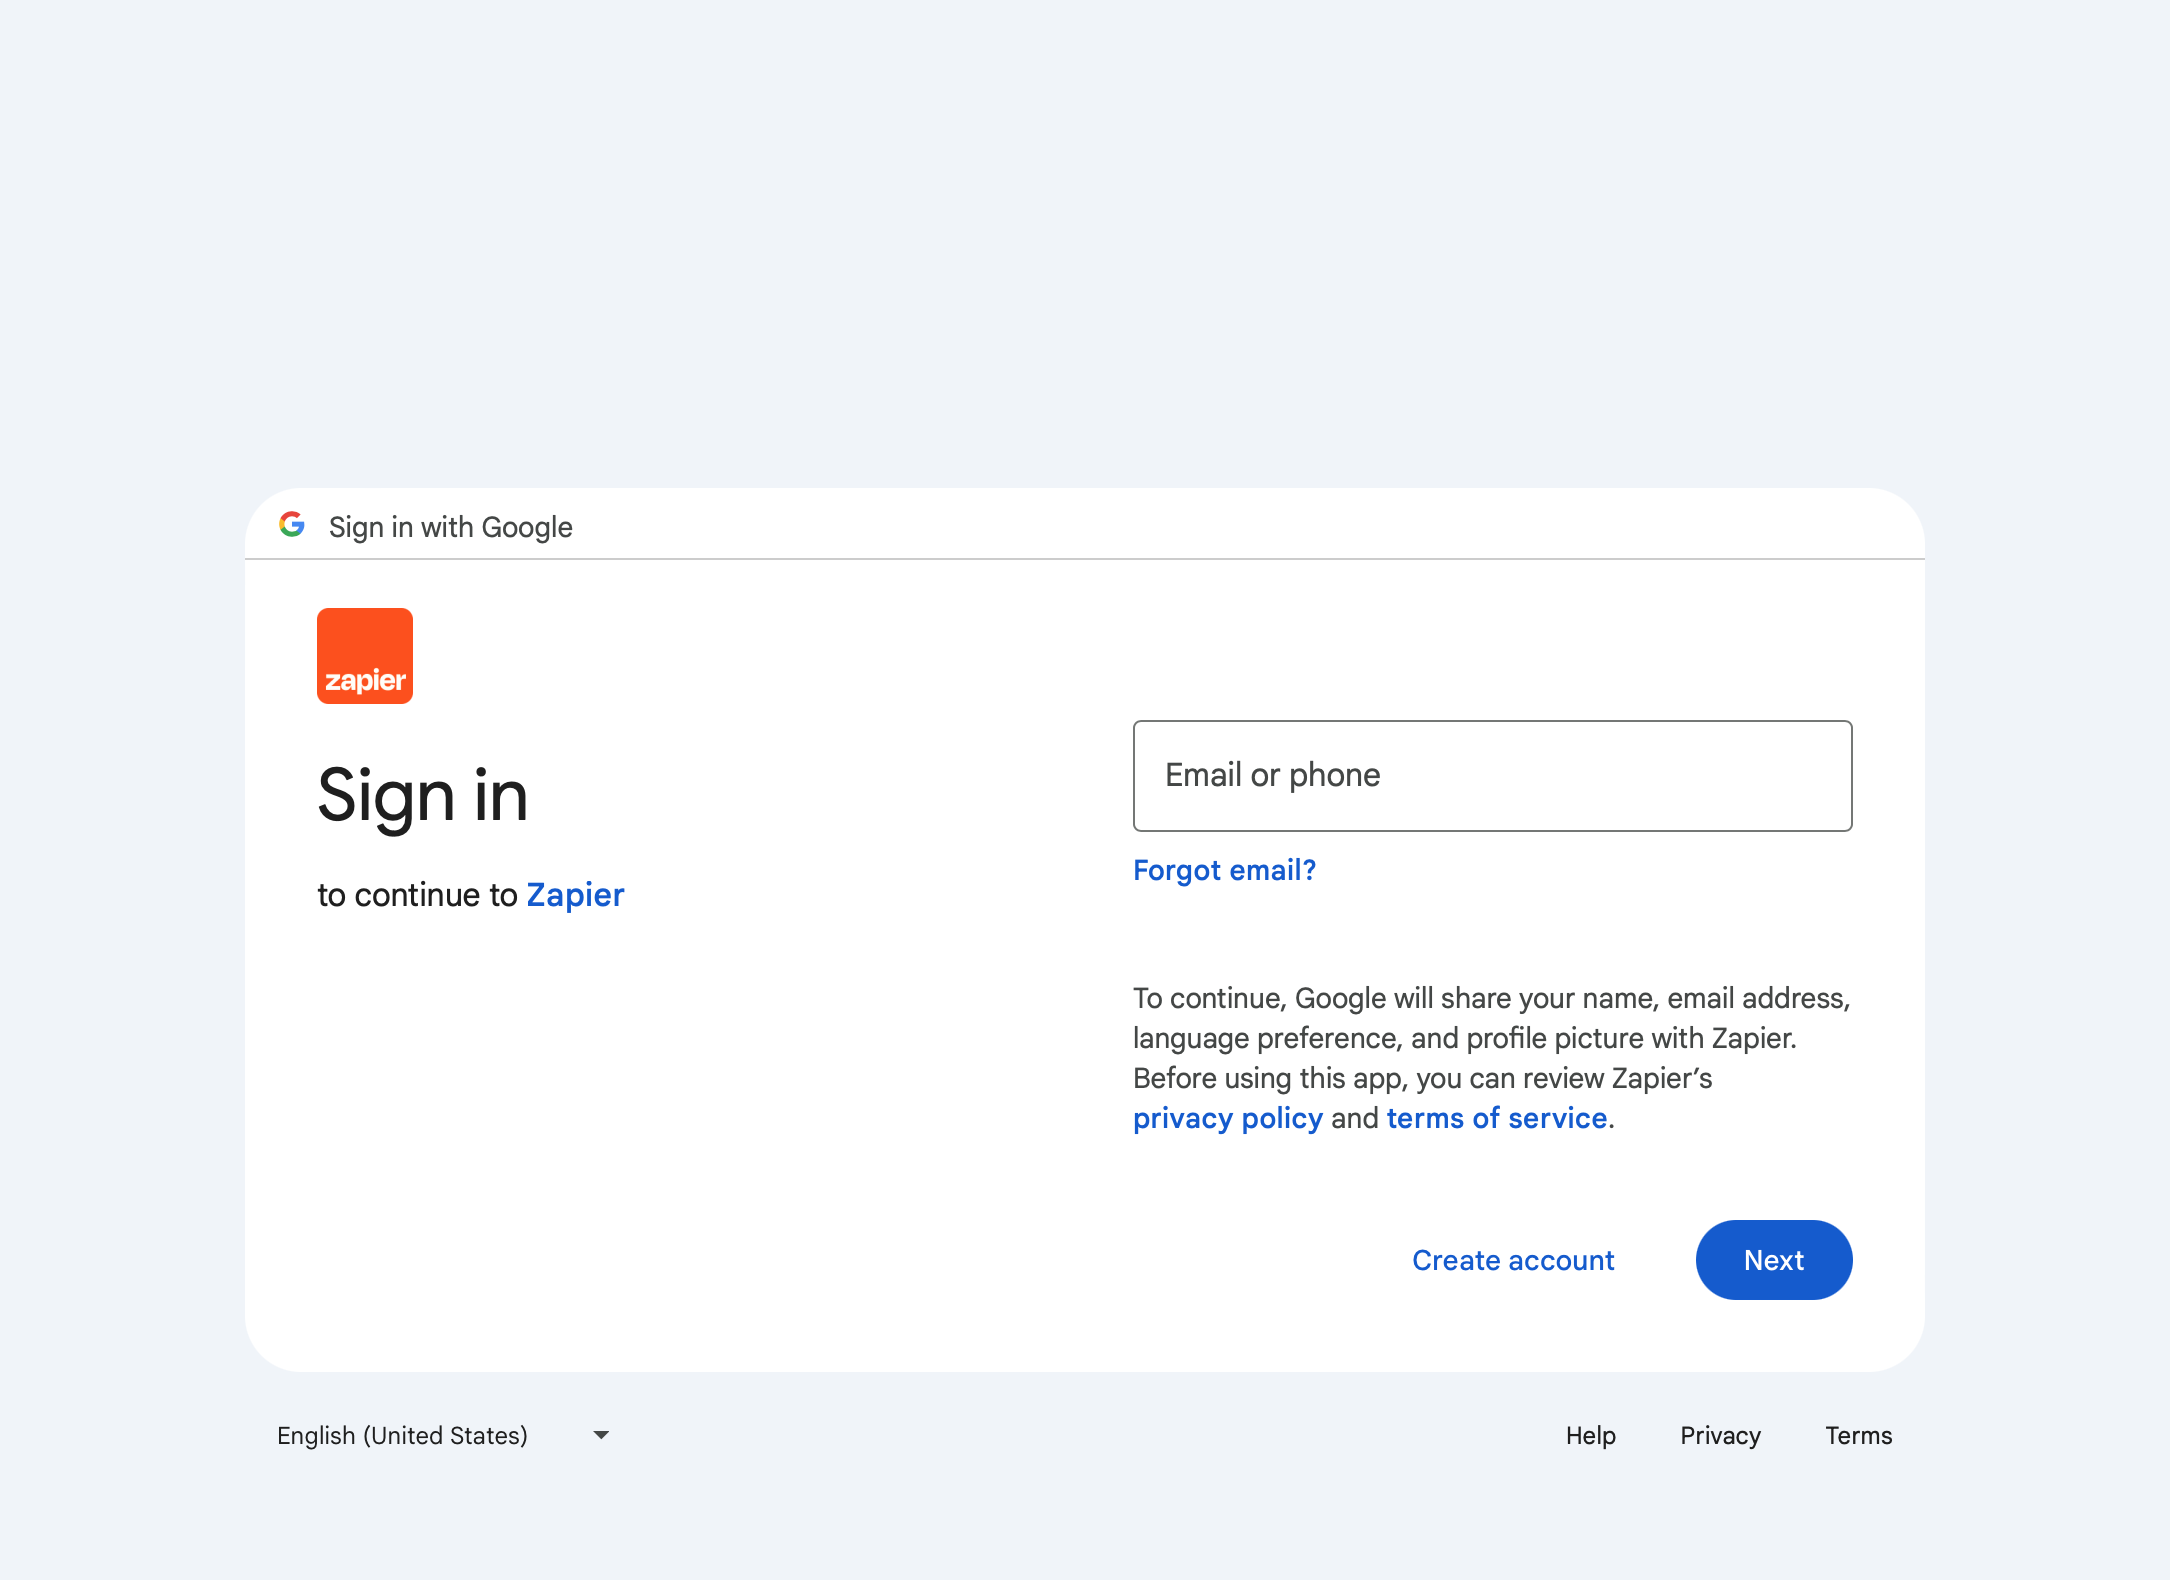
step #2 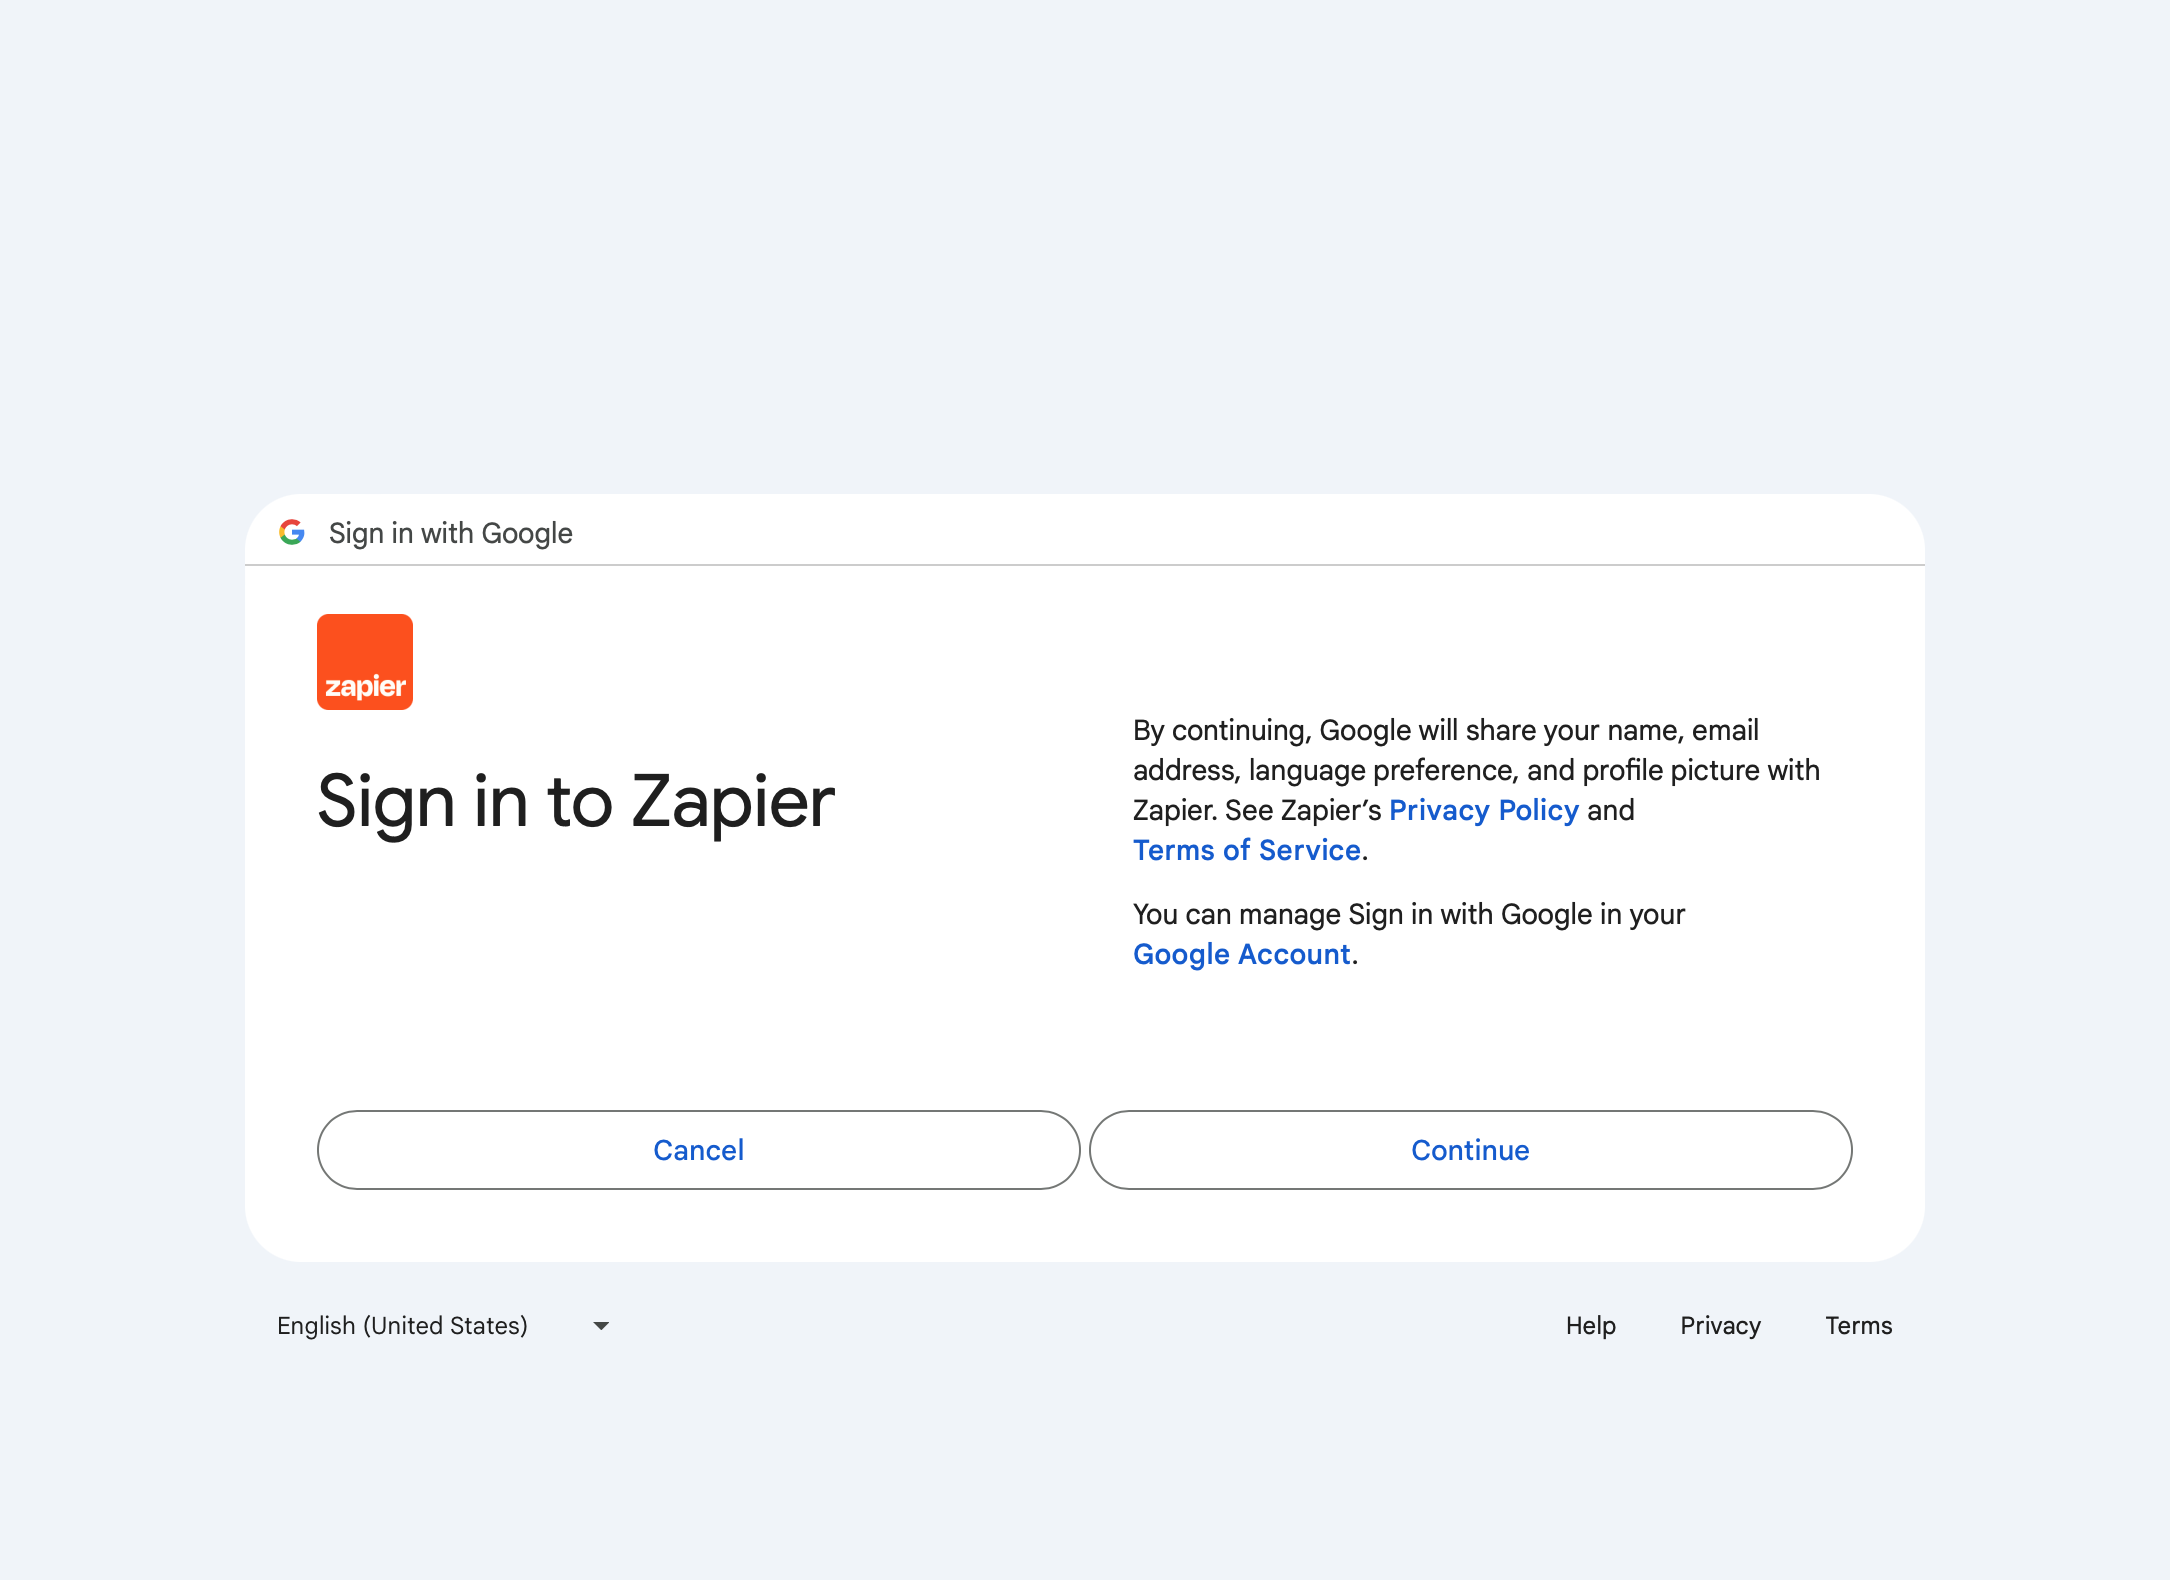
step #3 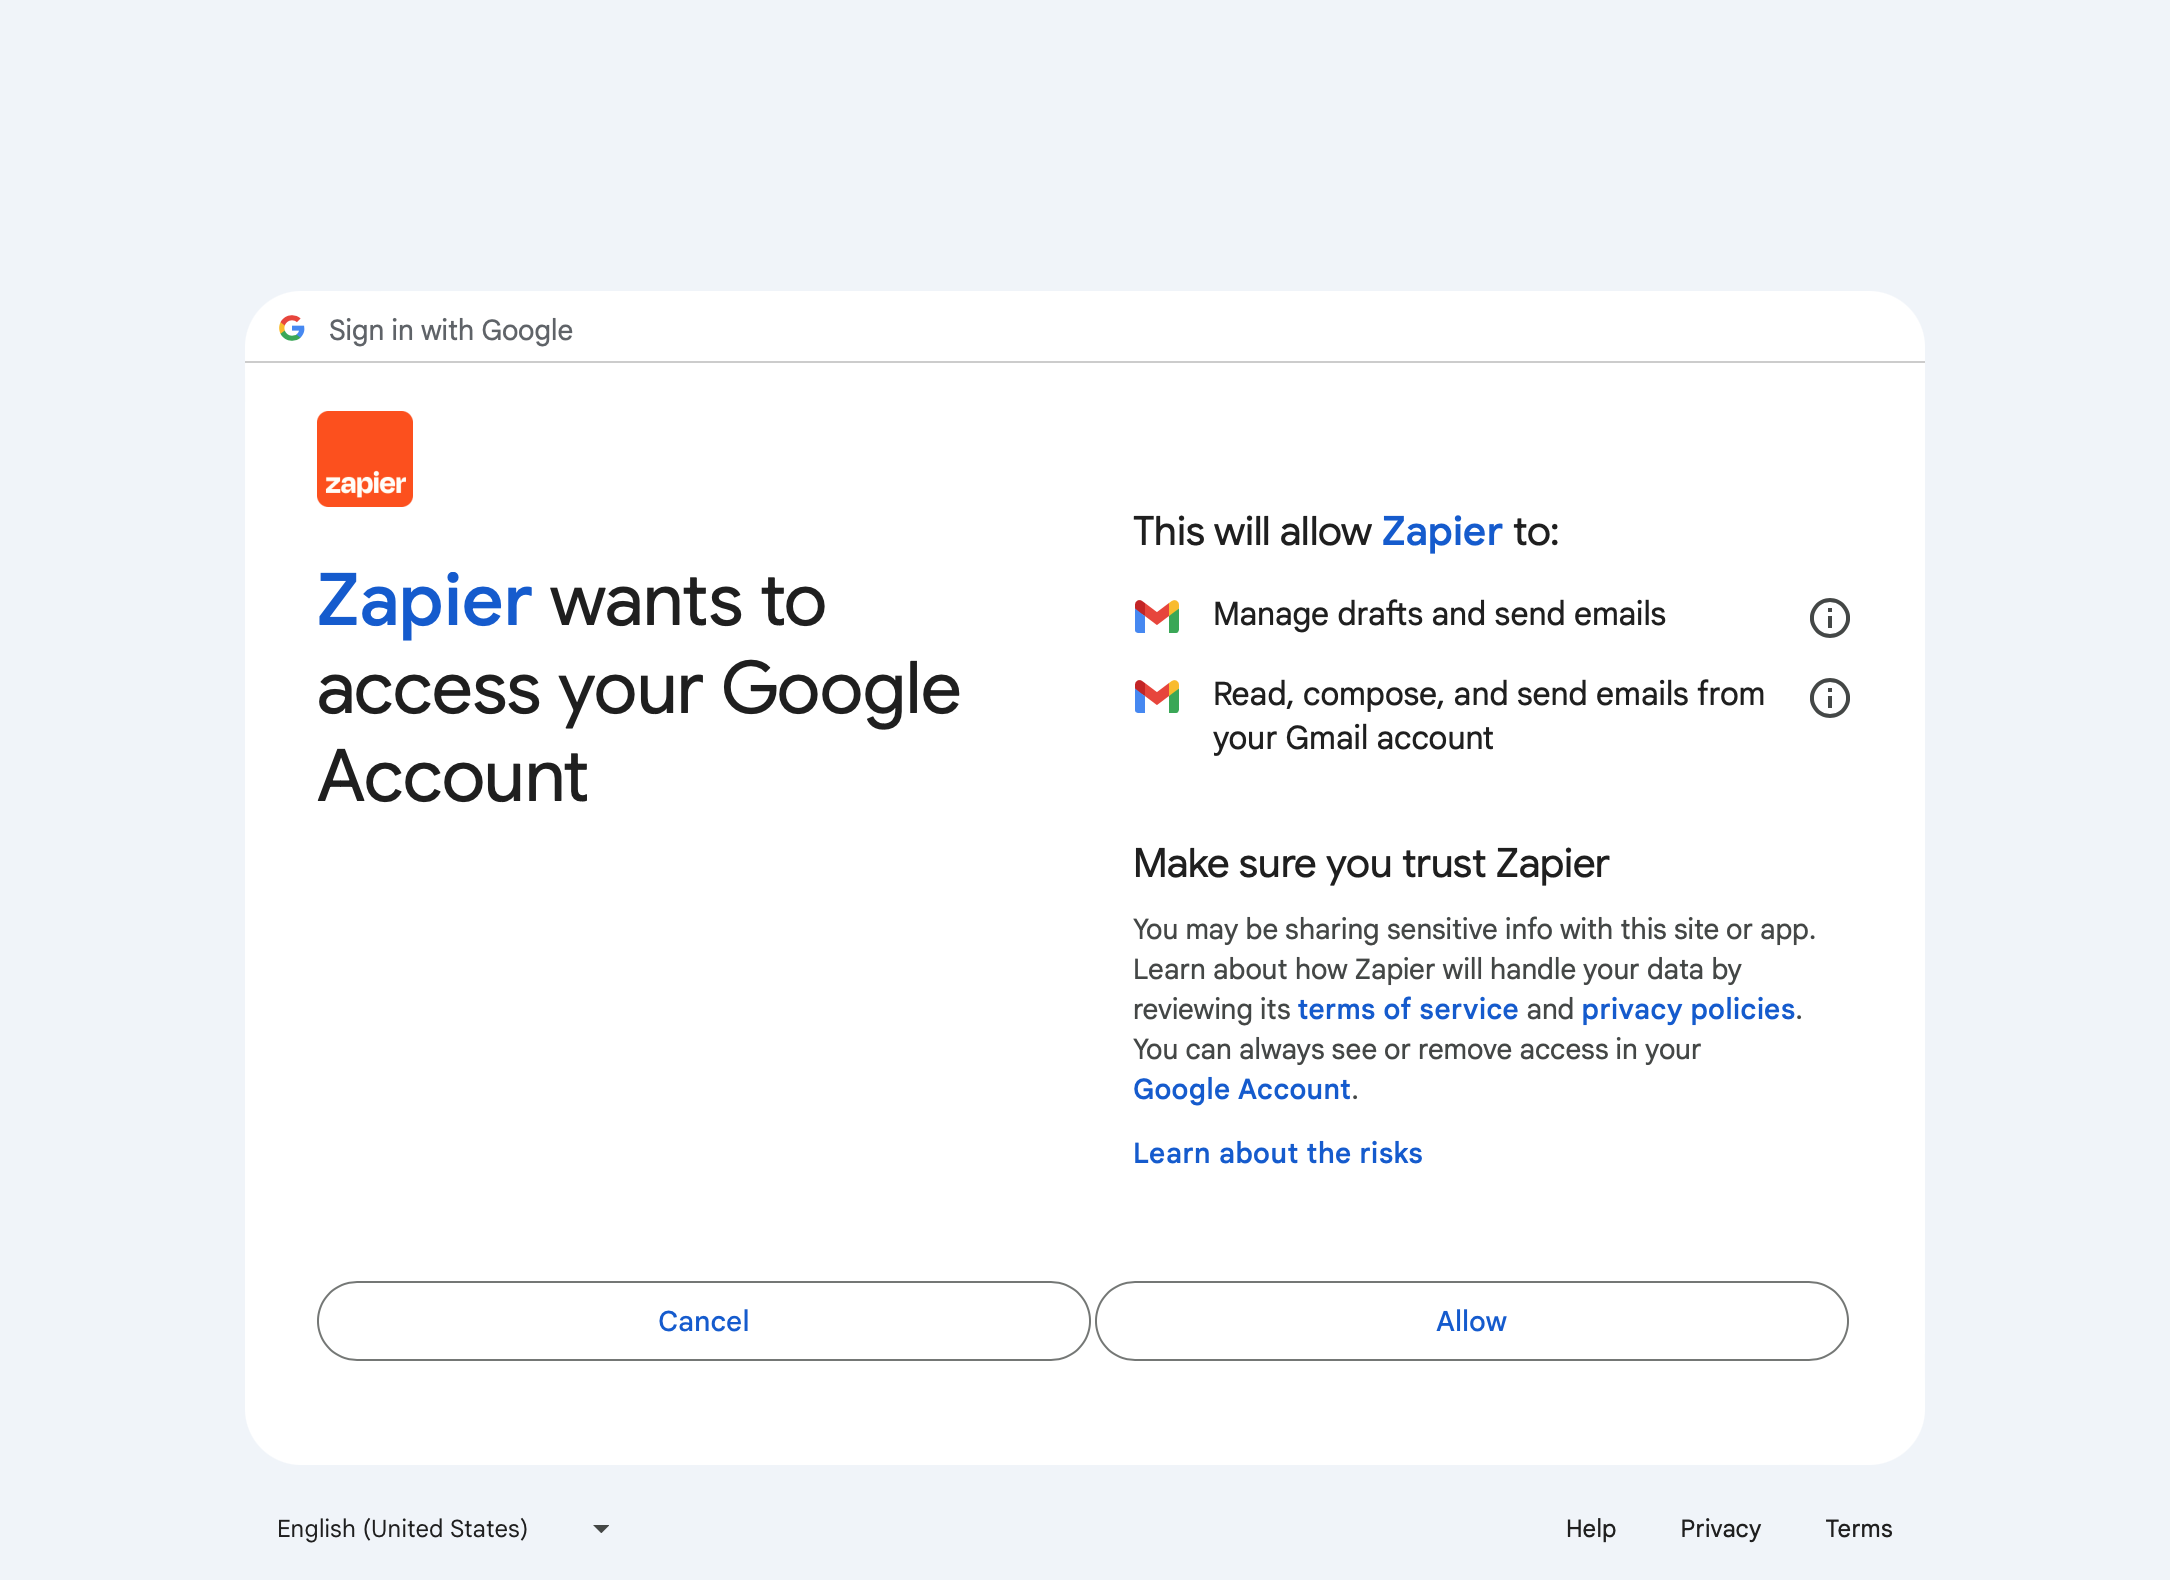
Click "Continue". 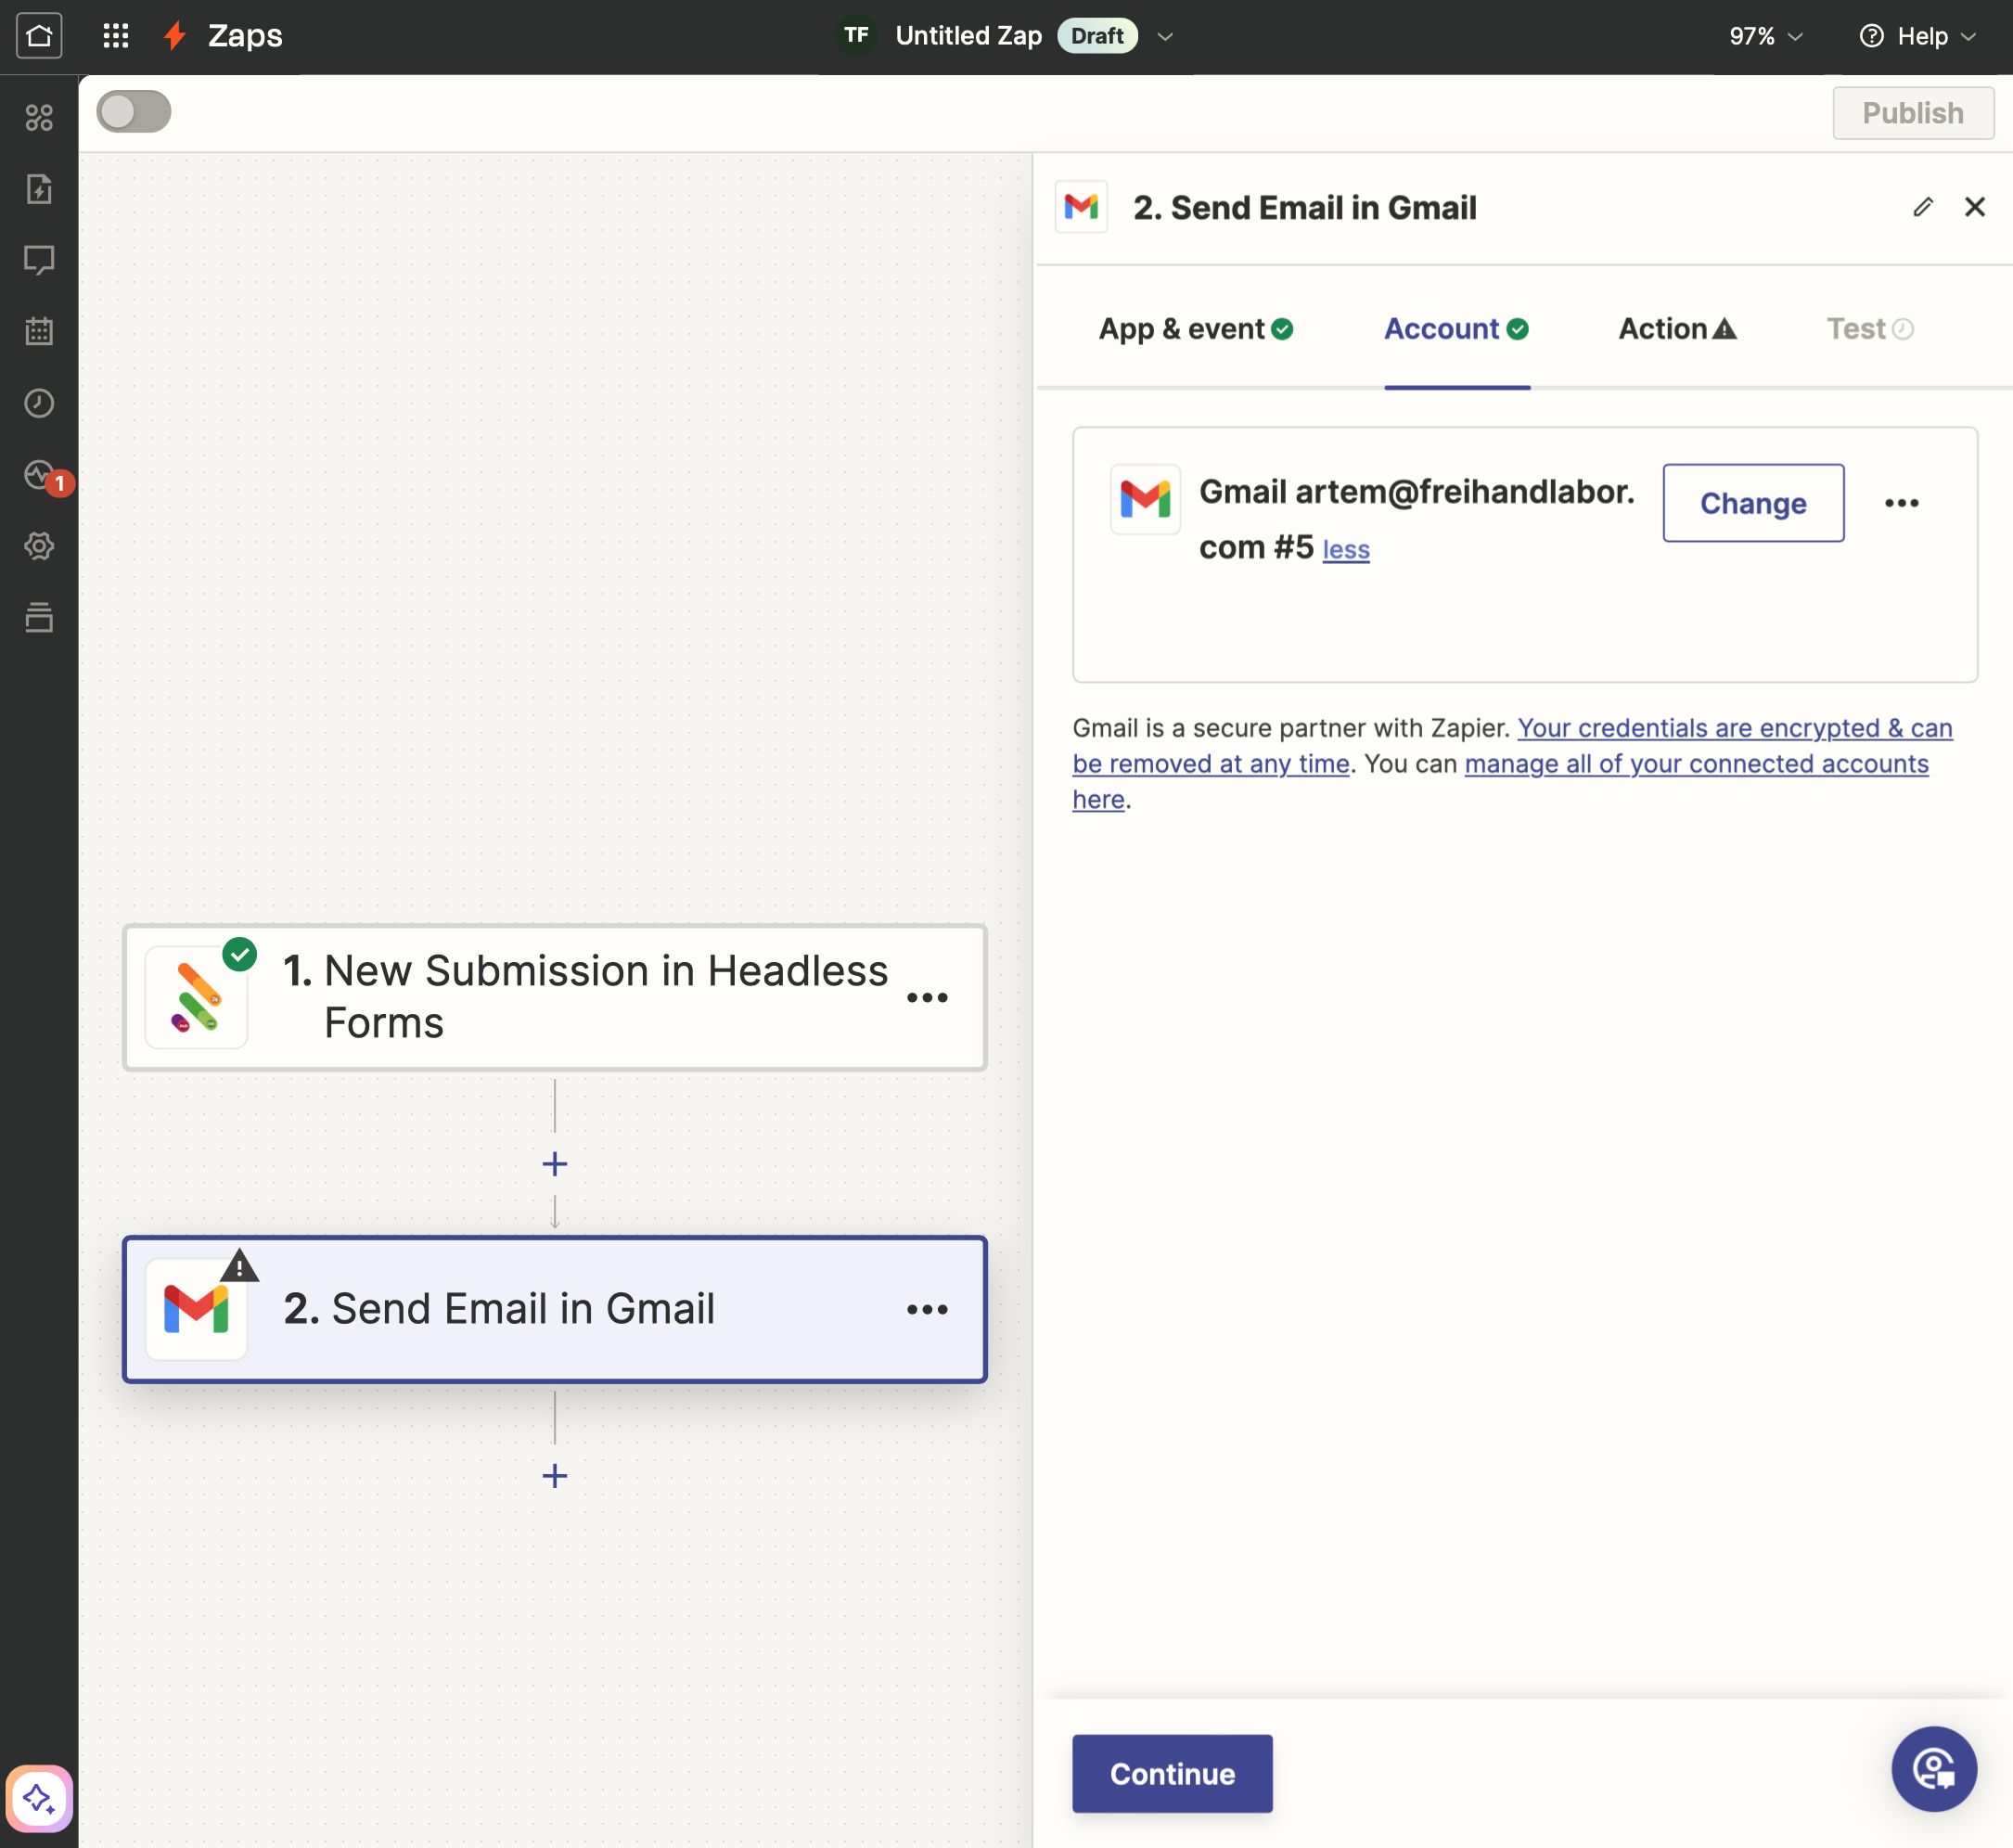
3.3.4. Set up Email
Configure the email details, including recipient, subject, and body. Use data from the form submission in step 3.2.3. Set up Form.
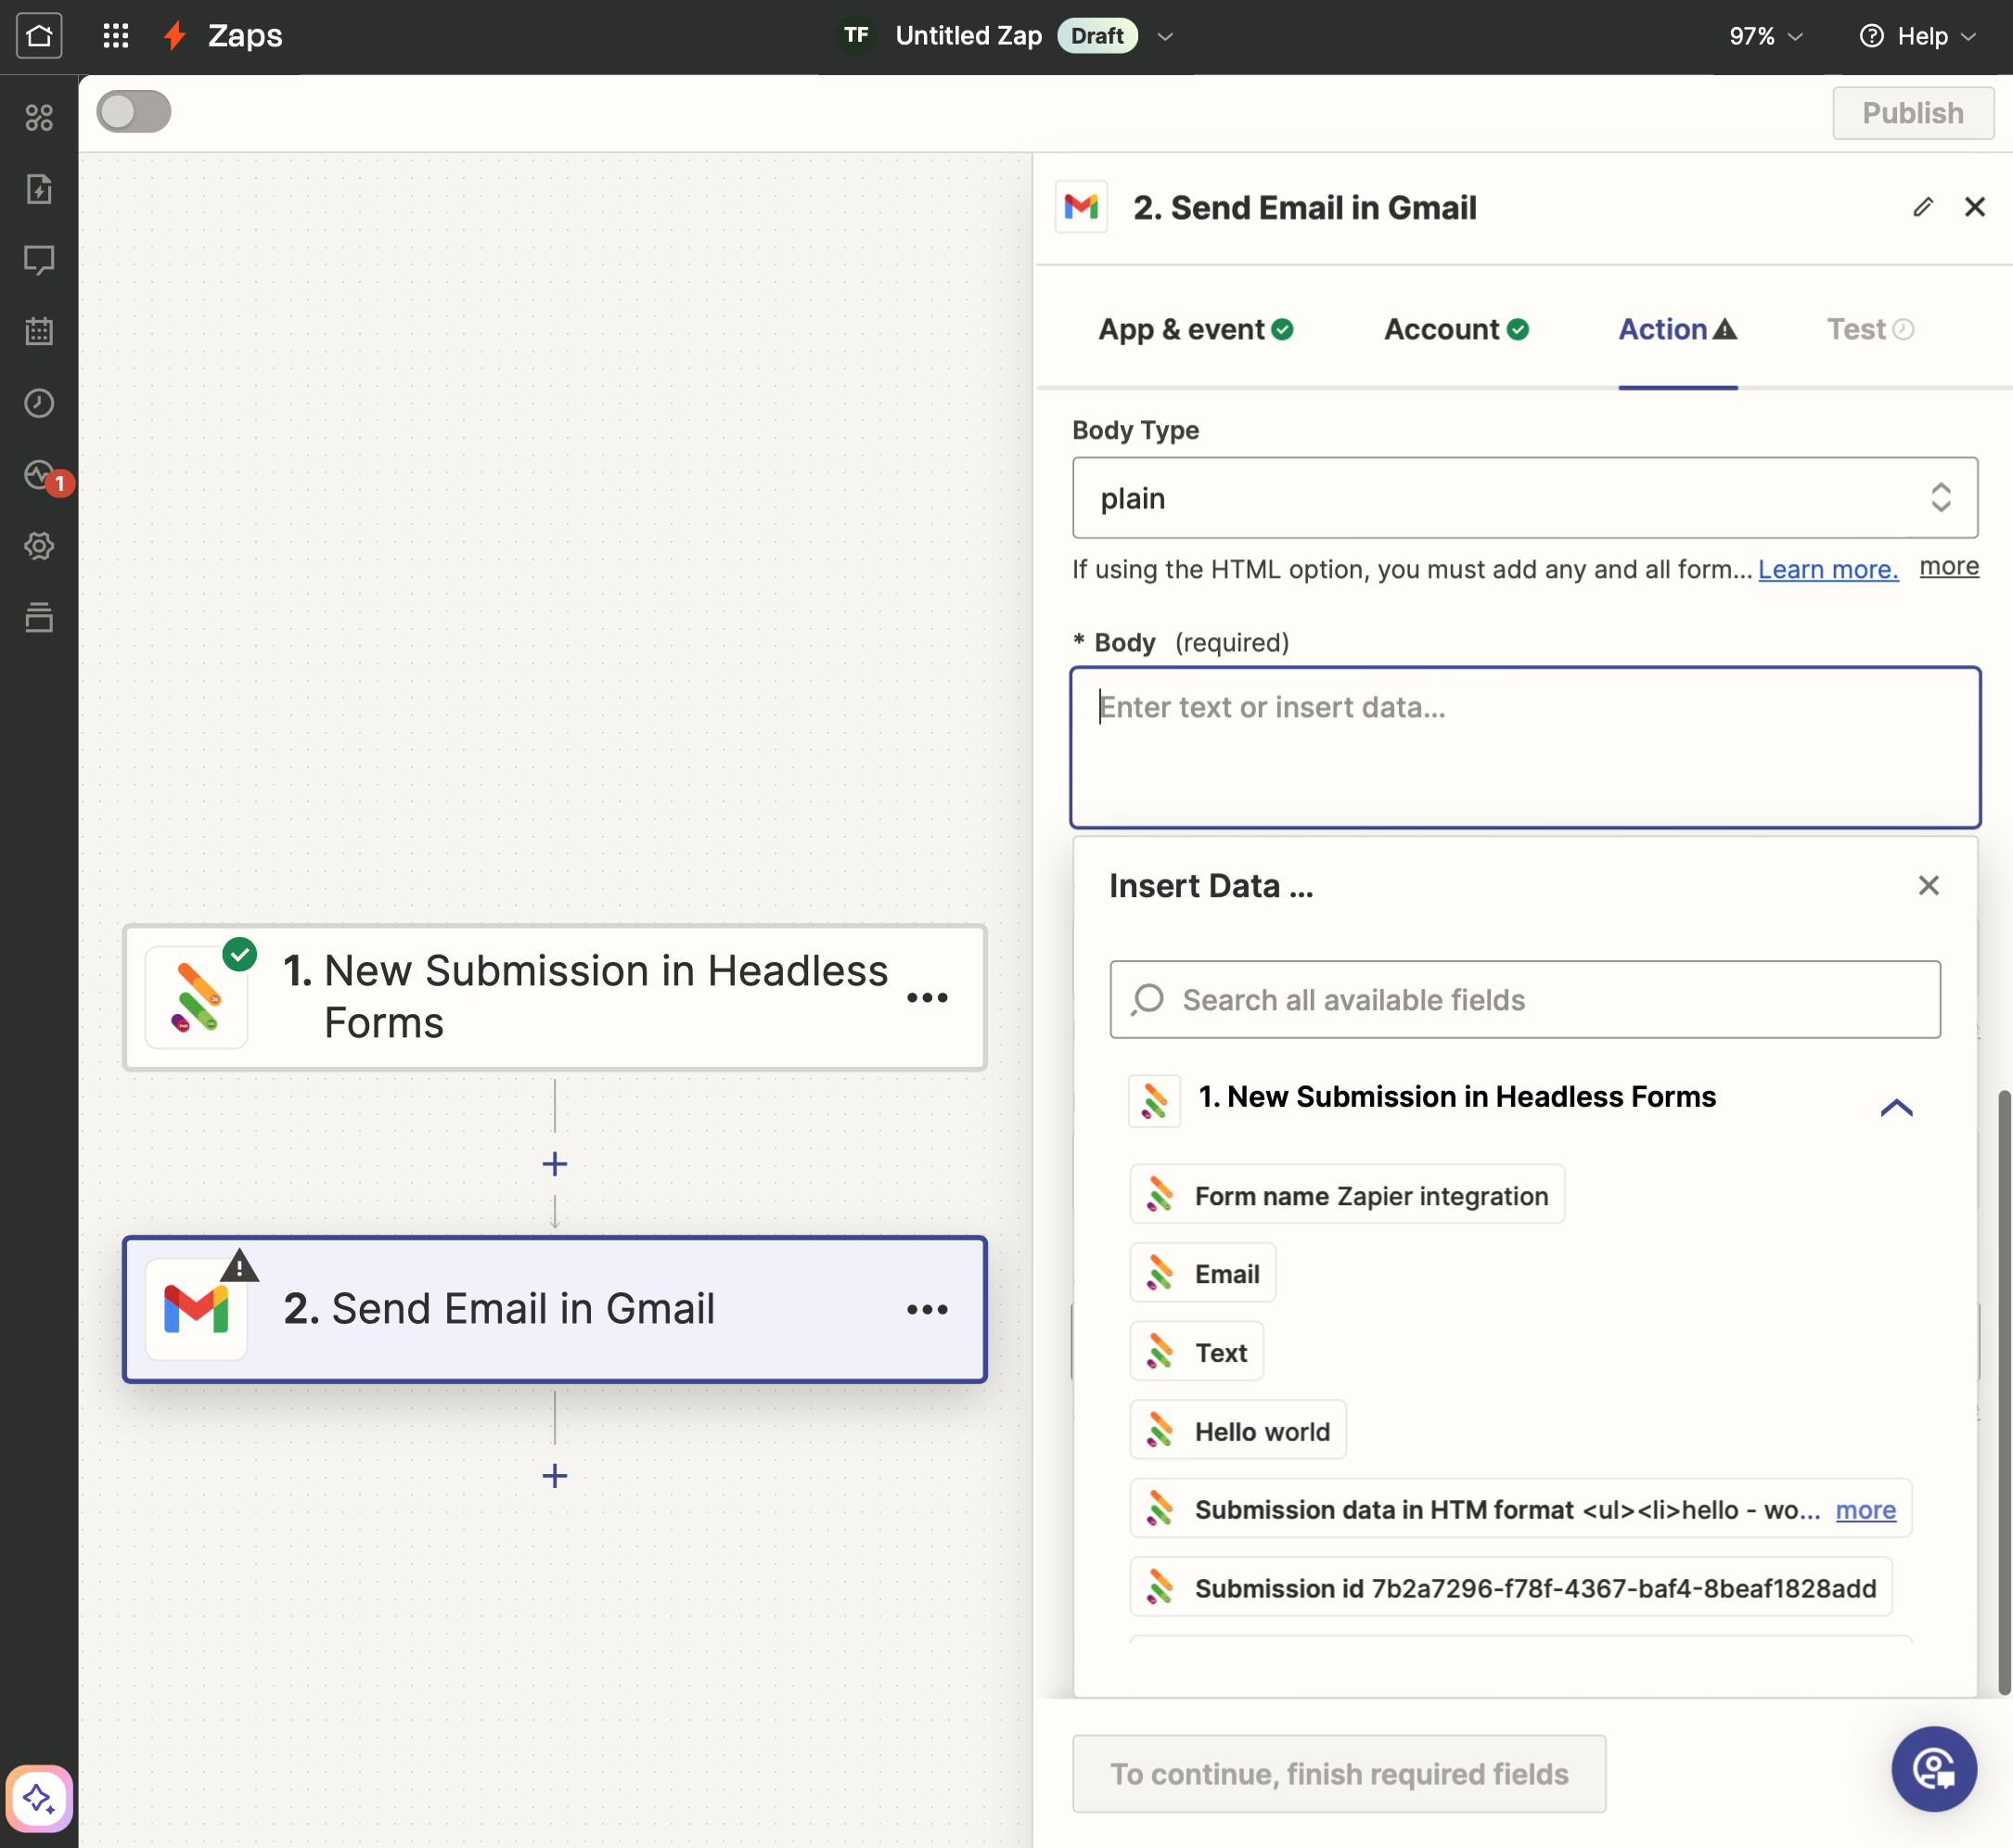
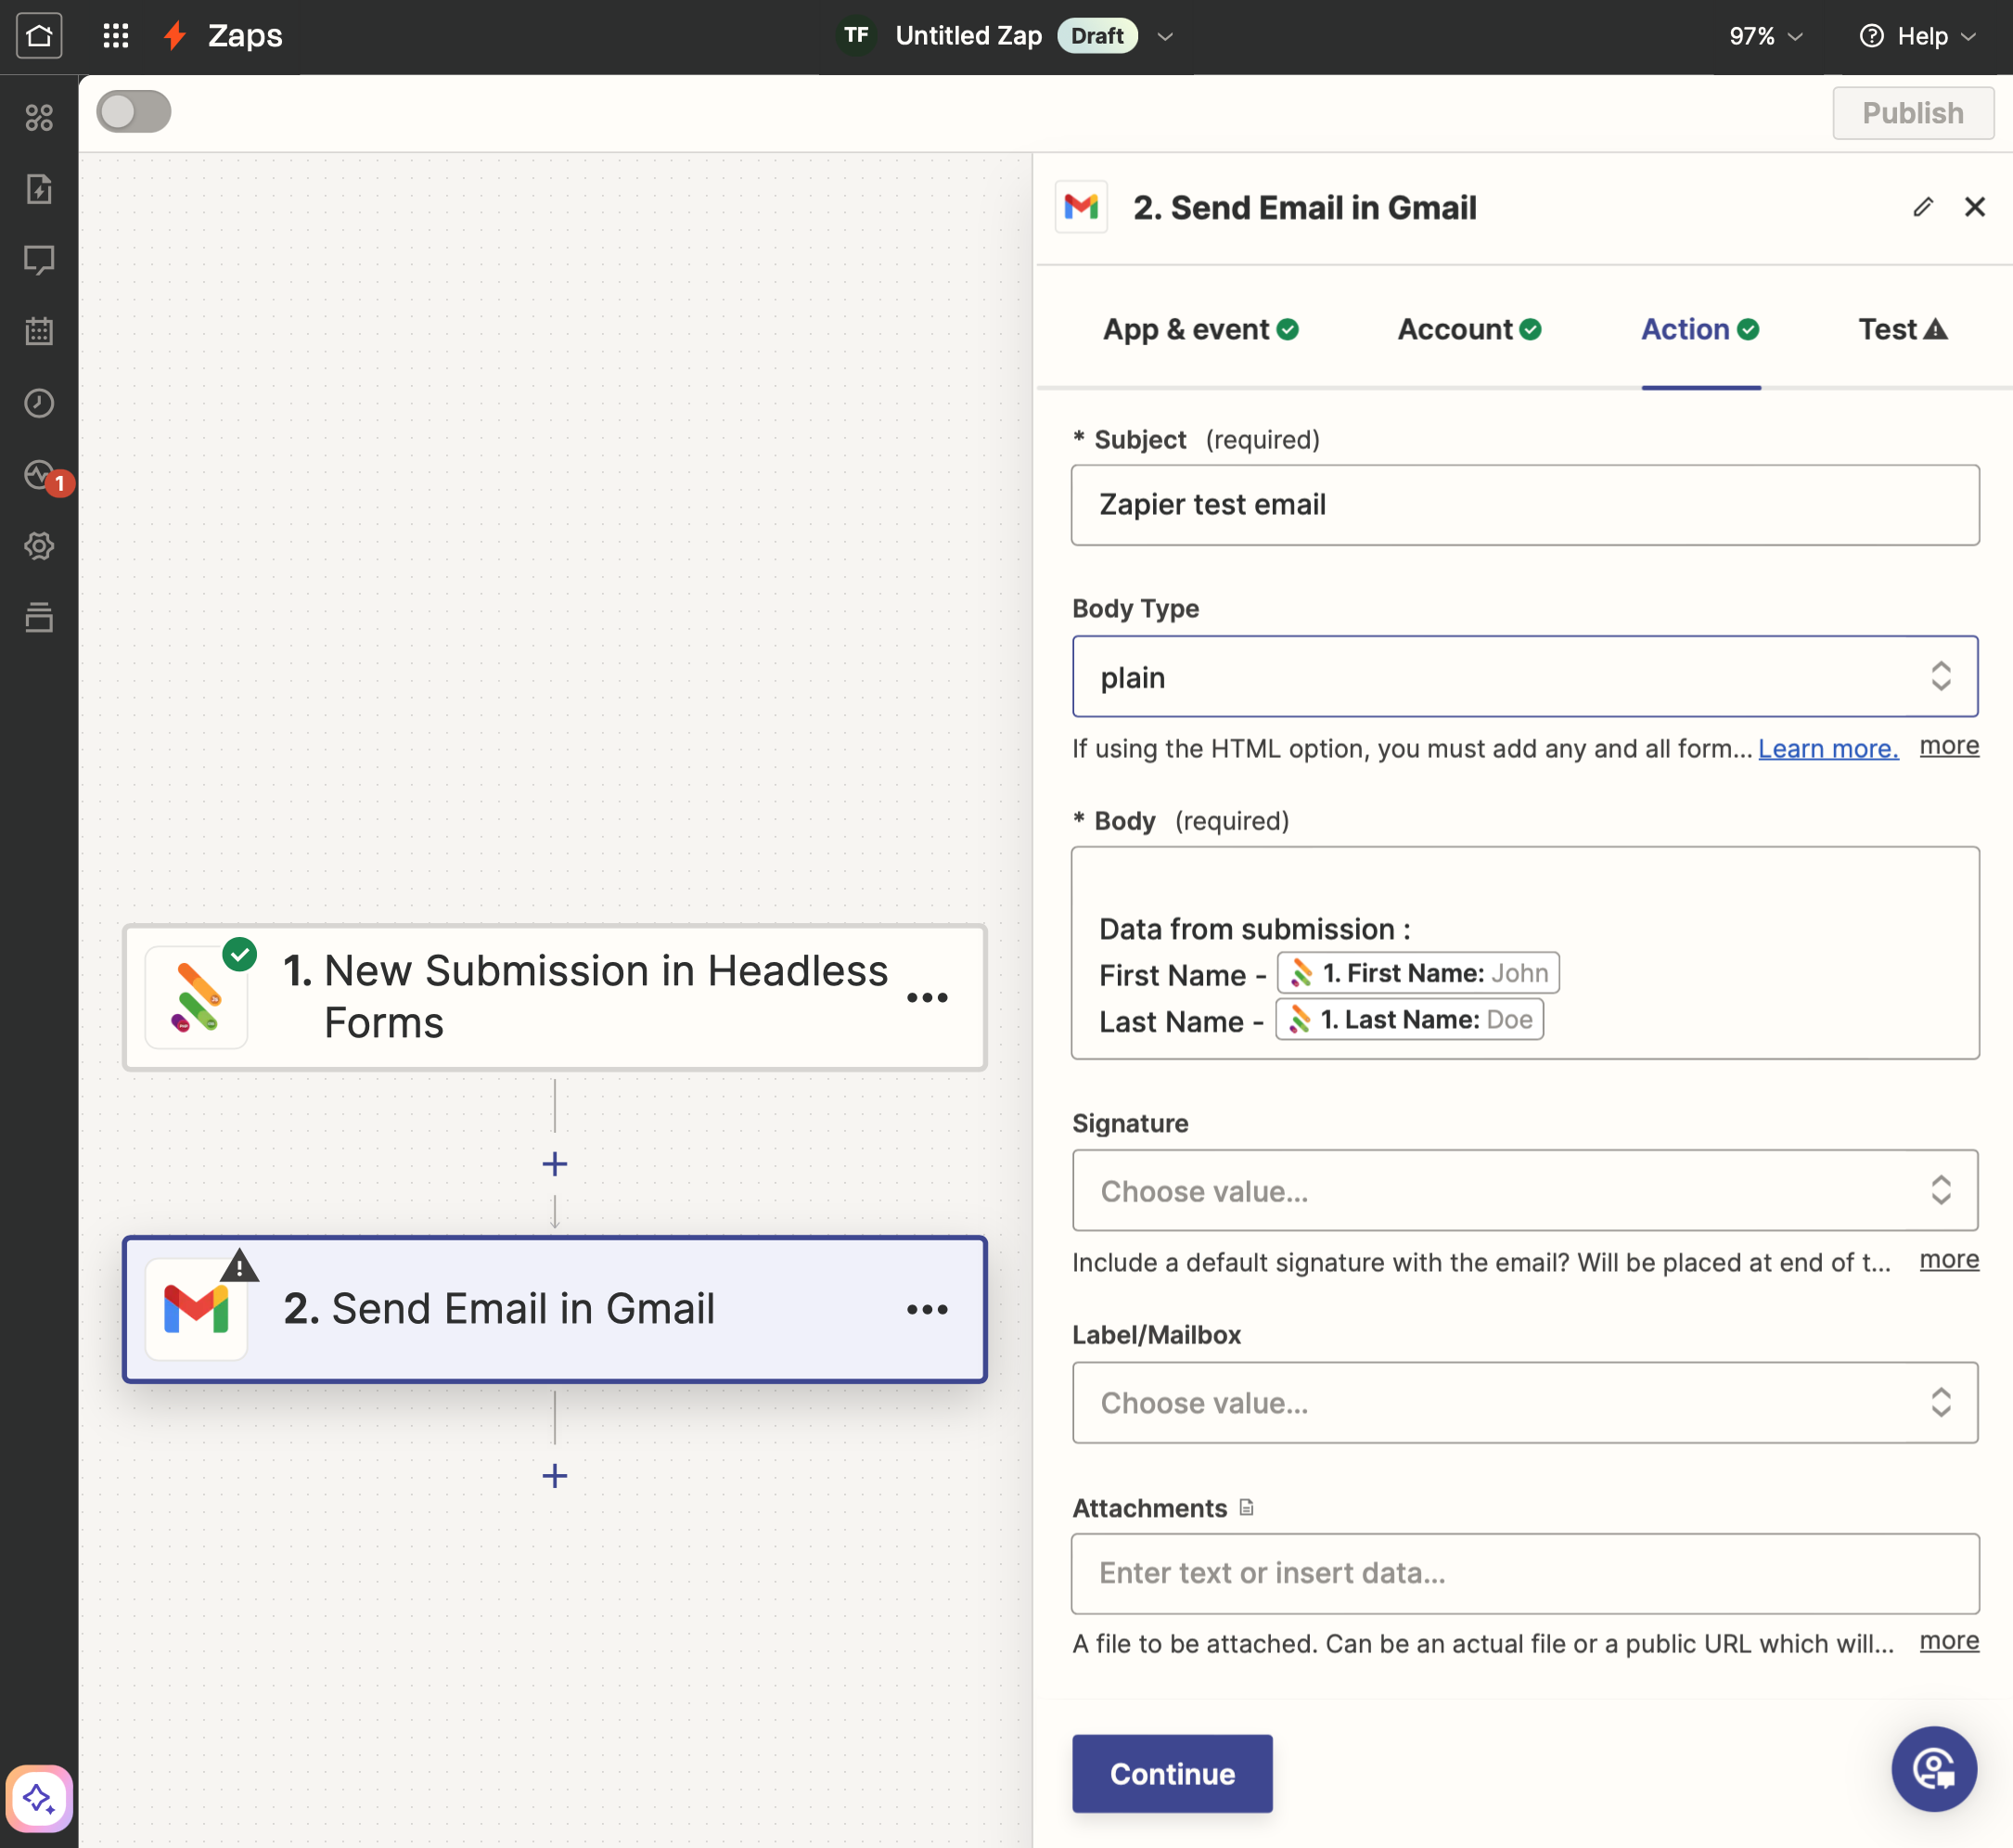
Click "Continue".
3.3.5. Test "Action"
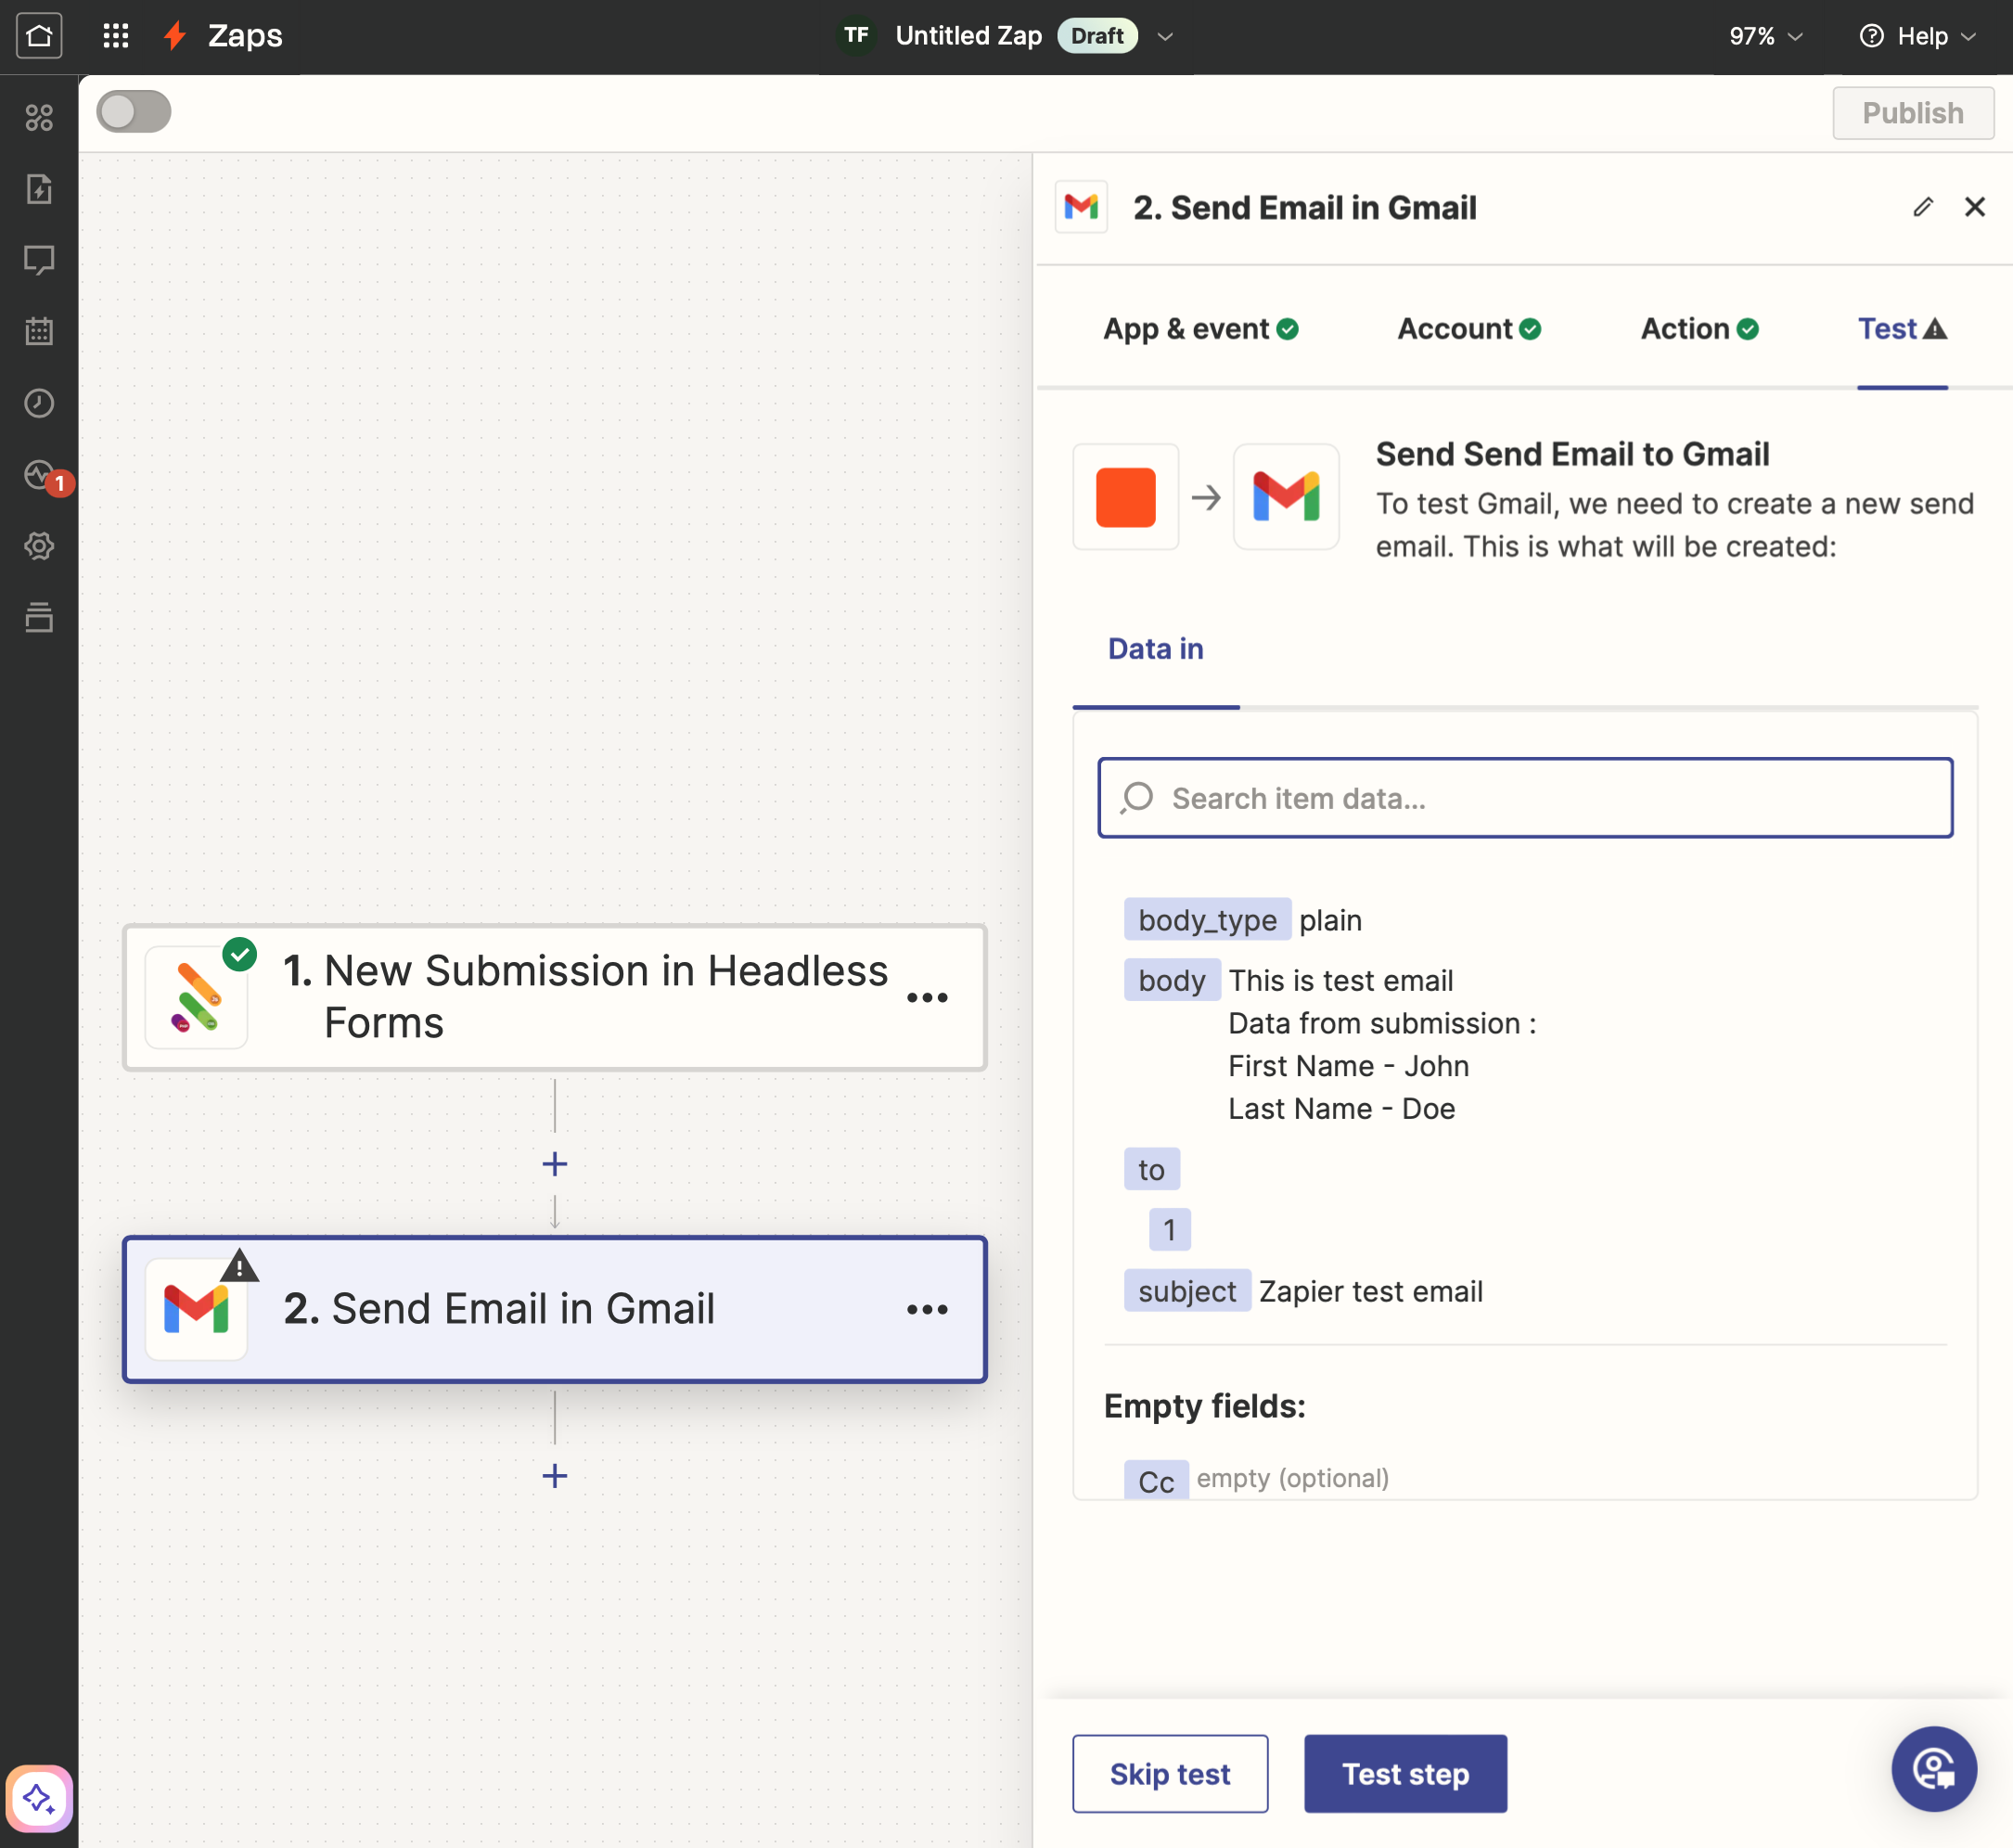 Verify the email is received to confirm the action is working correctly.
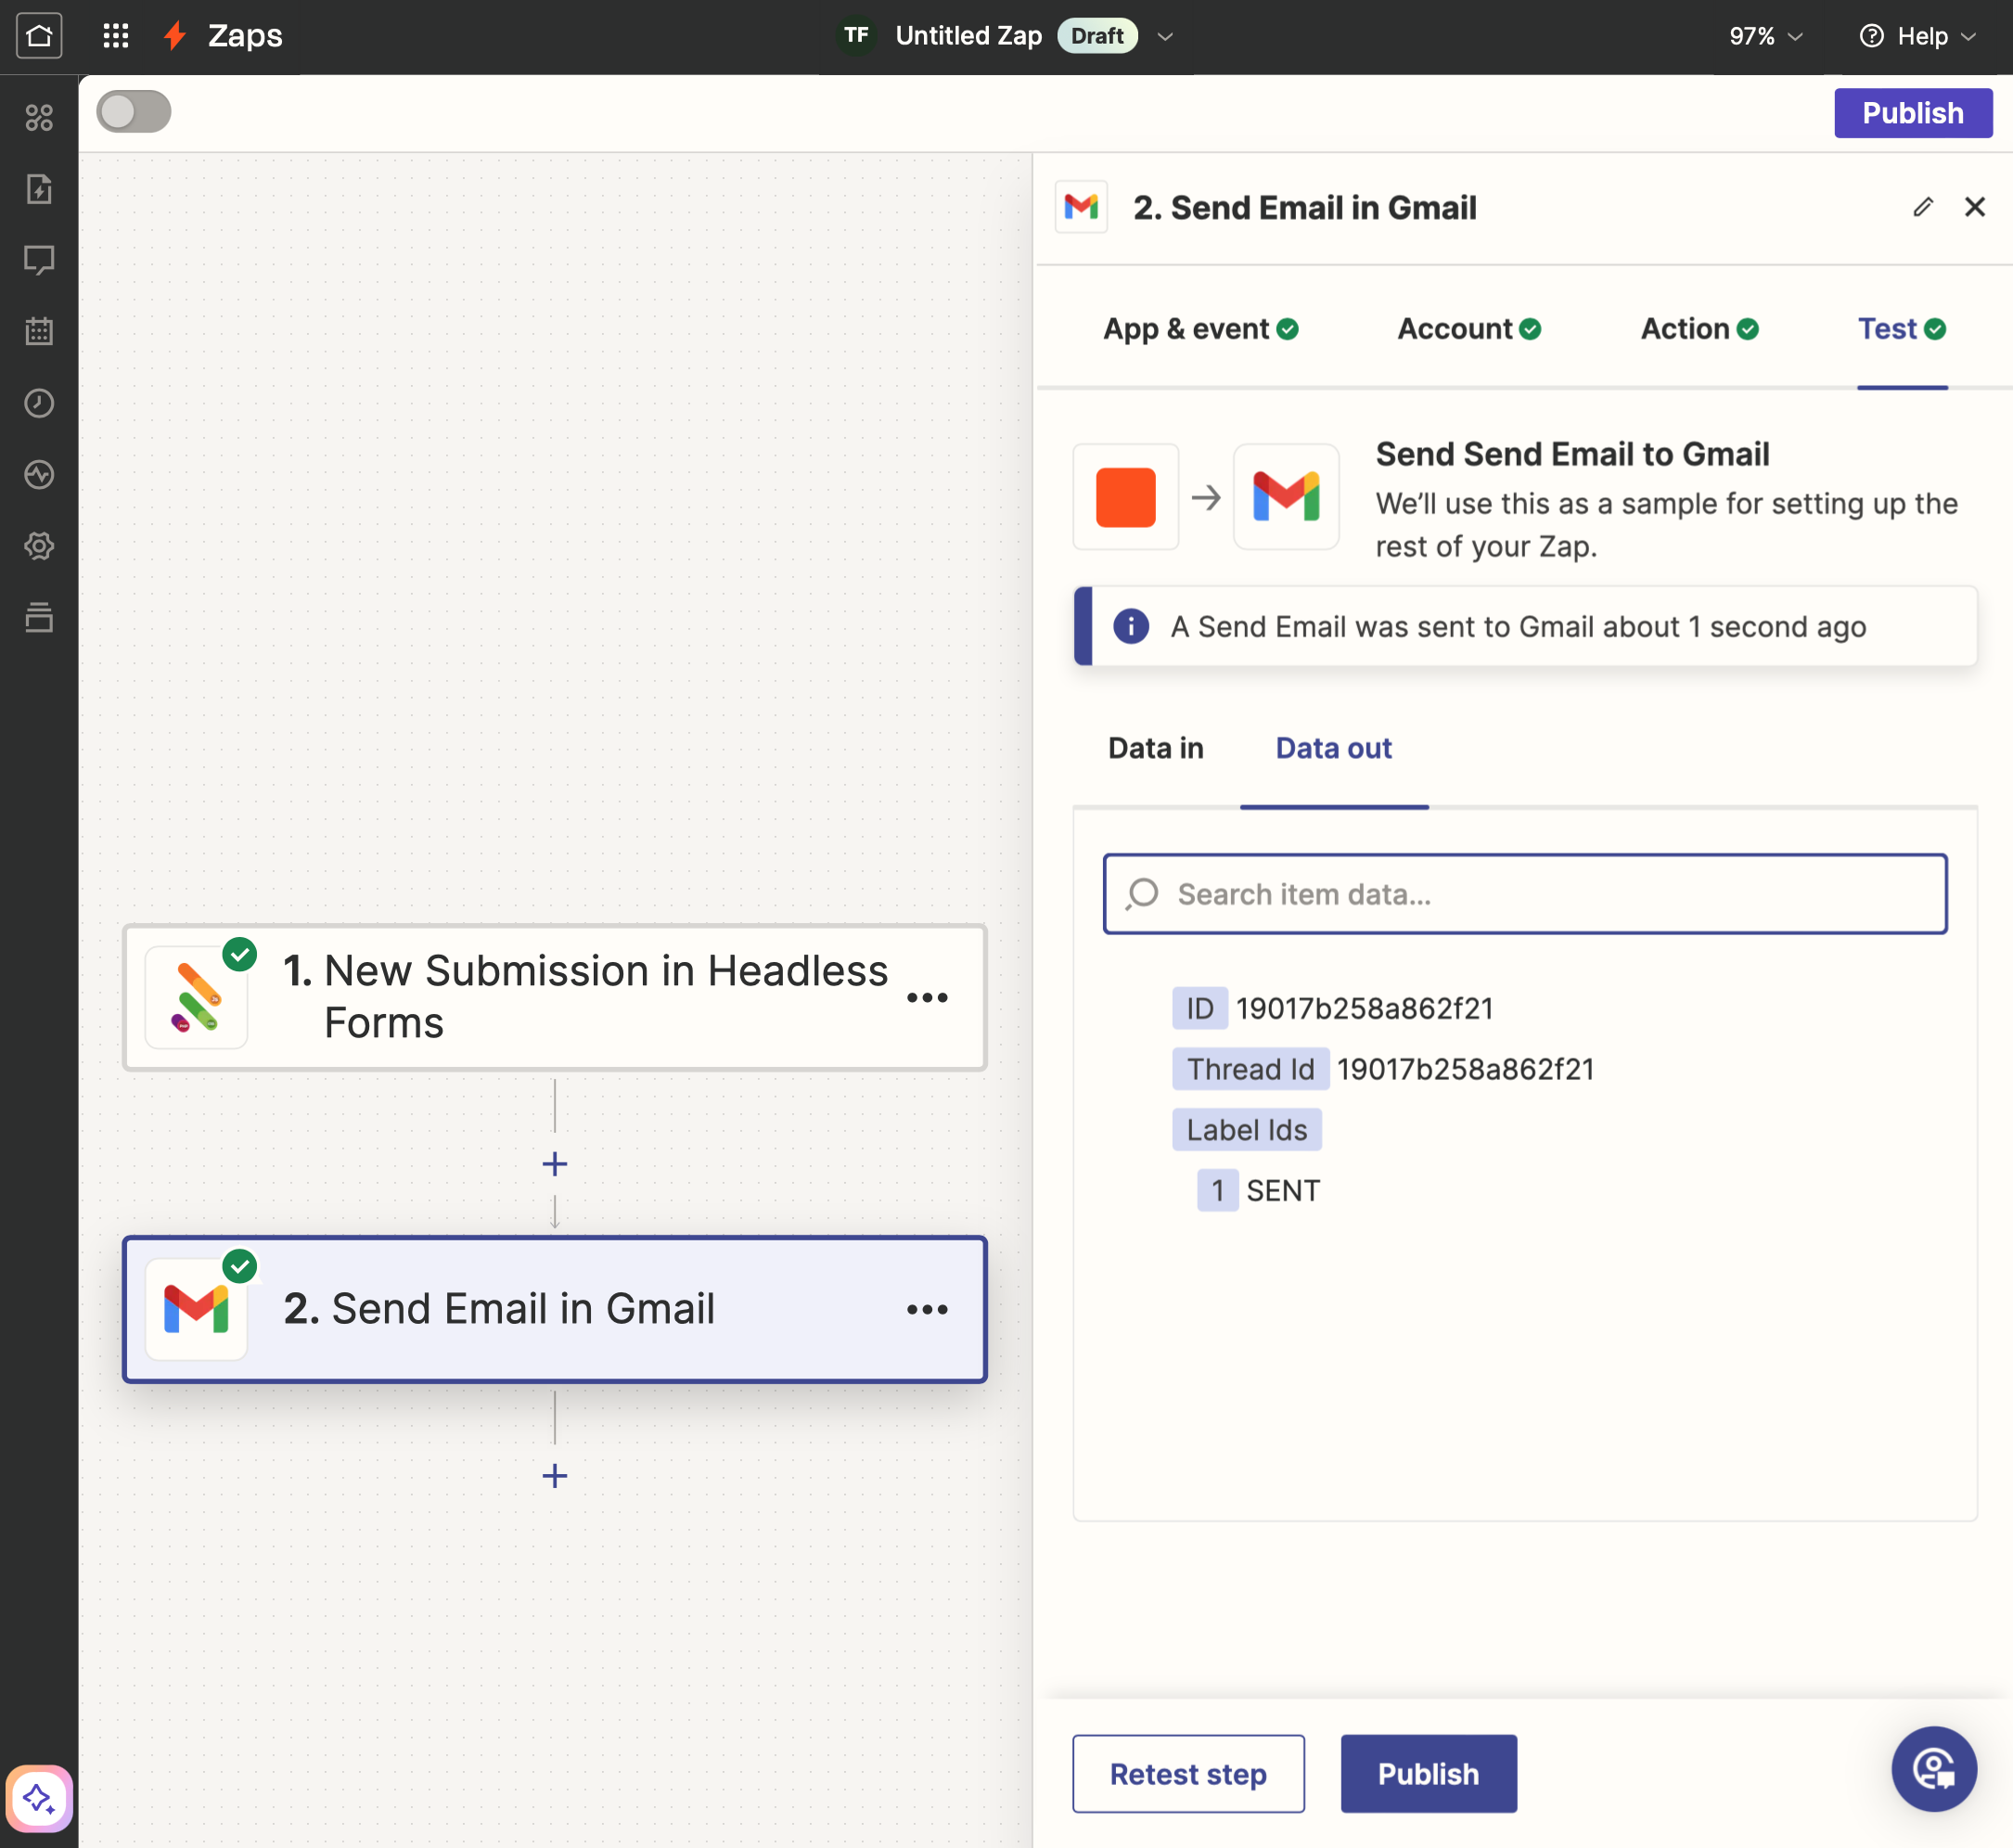
Once successful, you can publish your first Zap!
4. Launch
Press the "Publish" button. It may take a few seconds for the Zap to be published.
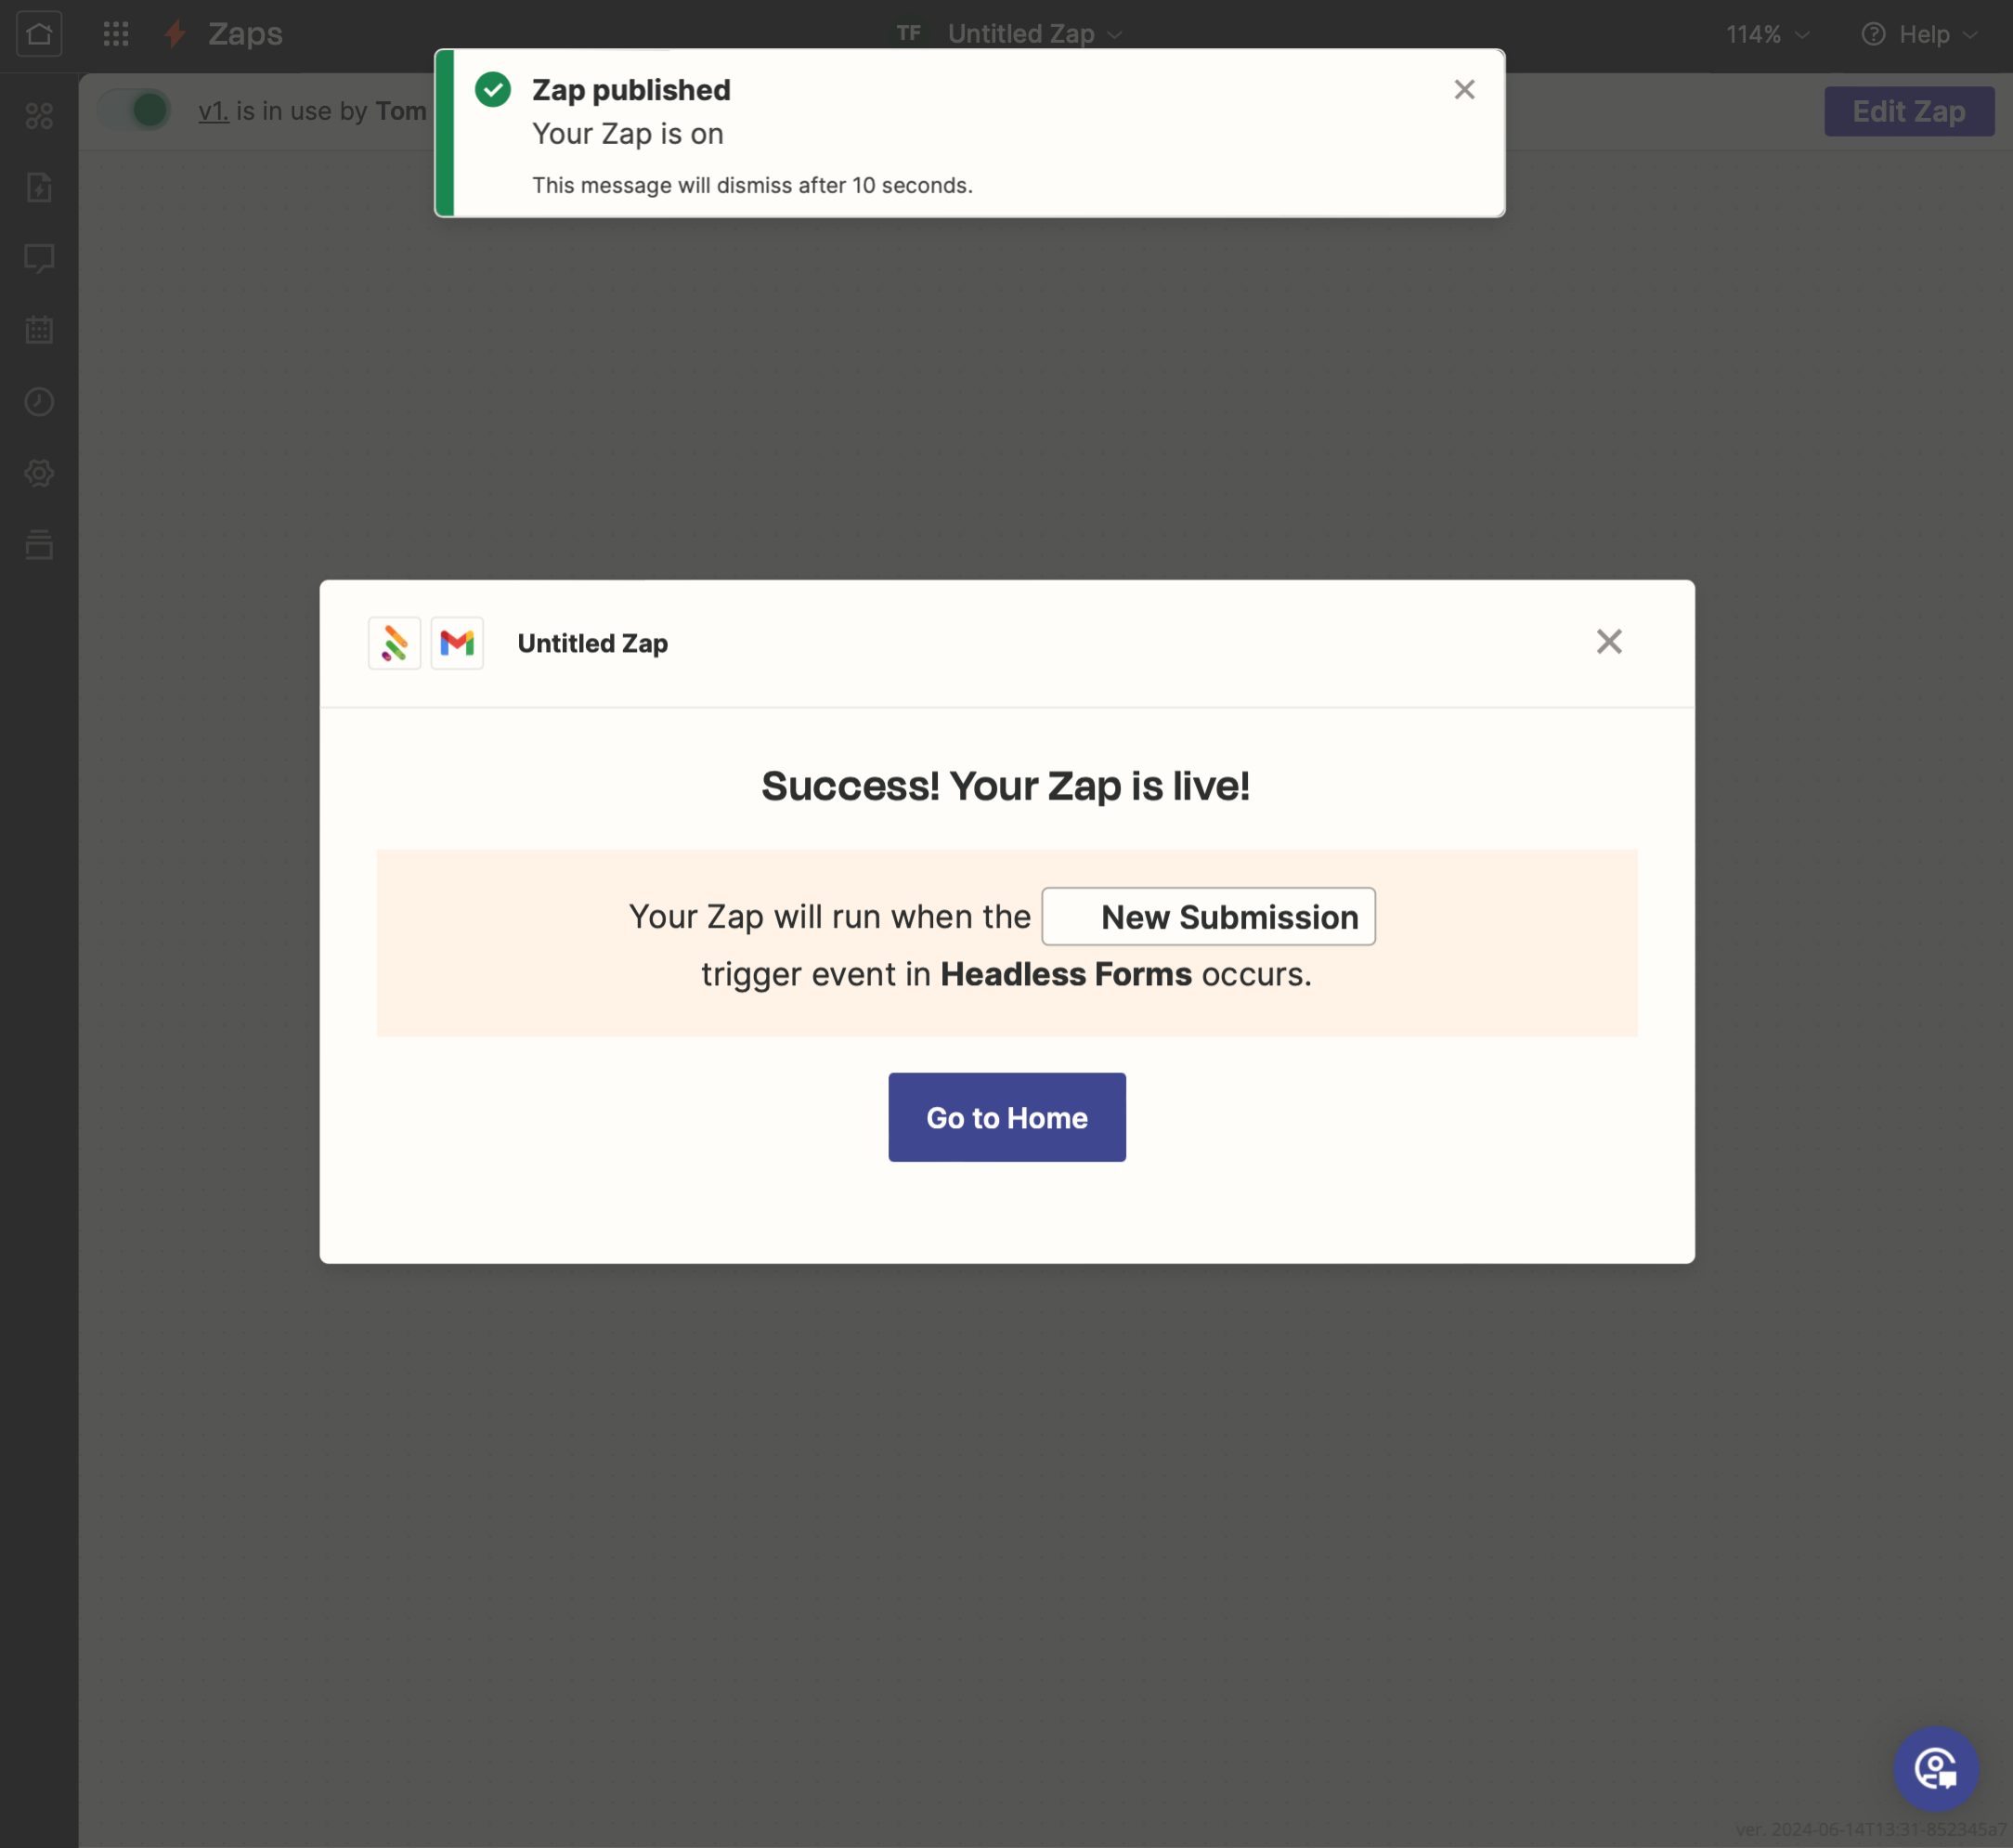
Your Zaps list will show the newly published Zap.
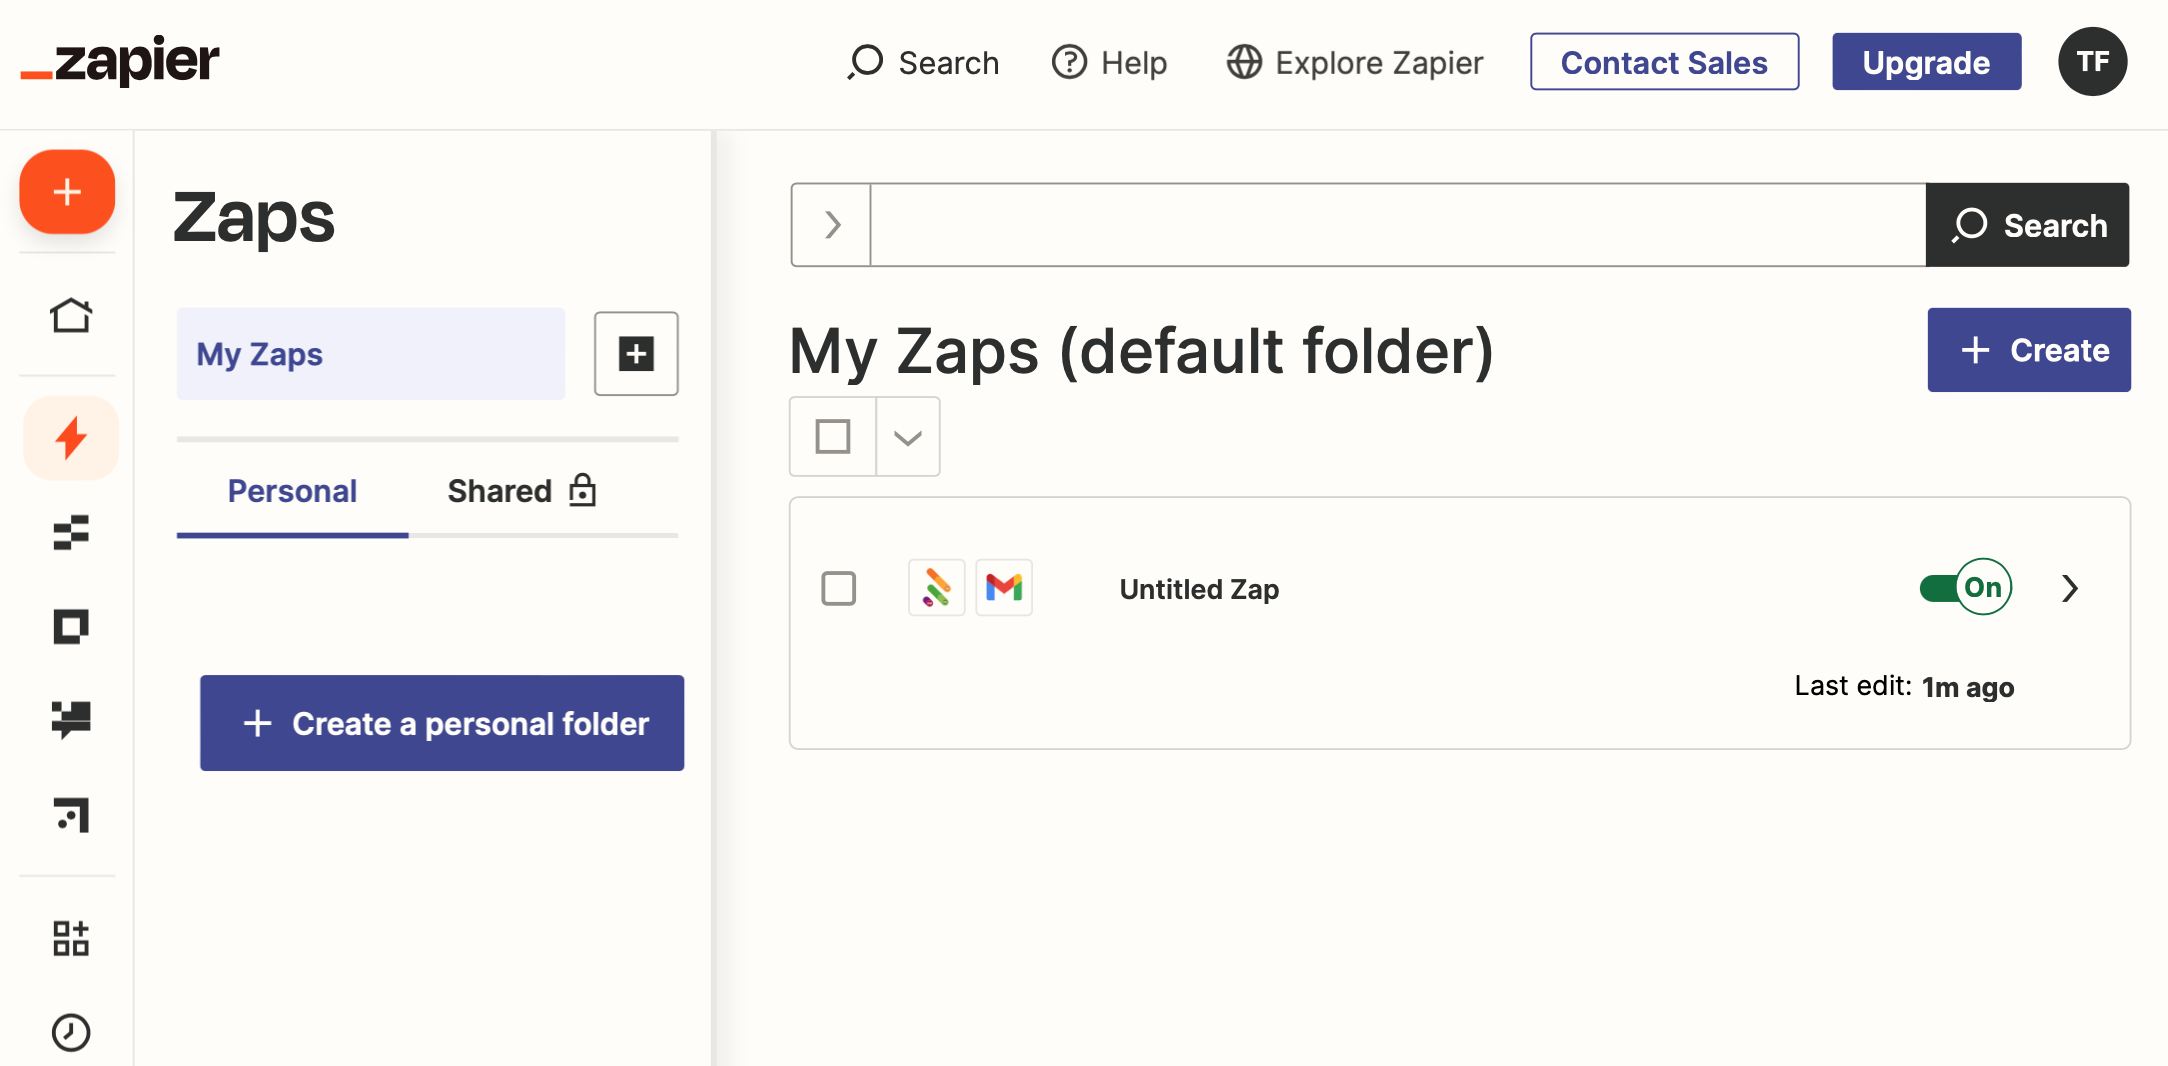
You can set up as many Zaps as you need.
You can revisit any step of any Zap to make adjustments.
If your form submission structure changes, return to 3.2.3. Set up Form to update it for use in the action section at 3.3.4. Set up Email.
Note: Zapier processes actions periodically; in this case, emails are sent every 15 minutes rather than immediately. For more info, visit the official Zapier site.
 HeadlessForms Docs