Appearance
Hosted Form
Hosted Form feature is useful if you don't have a website but still want to collect a data from users via web forms.
Setting up a Hosted Form
Firstly you need to create a Form on the HeadlessForms platform. As soon as it's done you are free to use Hosted Form at no cost, just open Form Builder and setup input fields and General data.
IMPORTANT
Submissions sent with the API endpoint and others submitted on the Hosted Form page will be displayed in the same inbox as the destination of all submissions is defined by the form's token. Only one Hosted Form is supported per
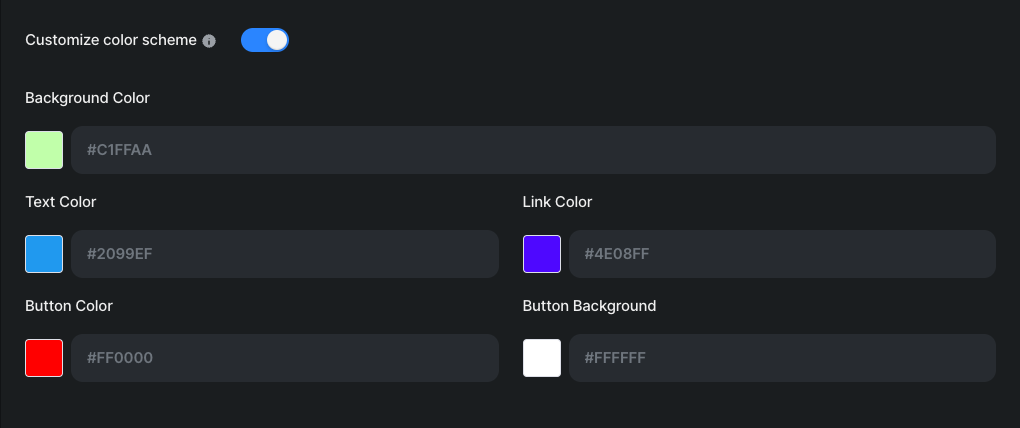
Hosted Form customization
You can set title and description of the Hosted form by filling out respective fields. Additionally it's possible to change default colors of the Hosted Form to any custom colors by using the color palettes
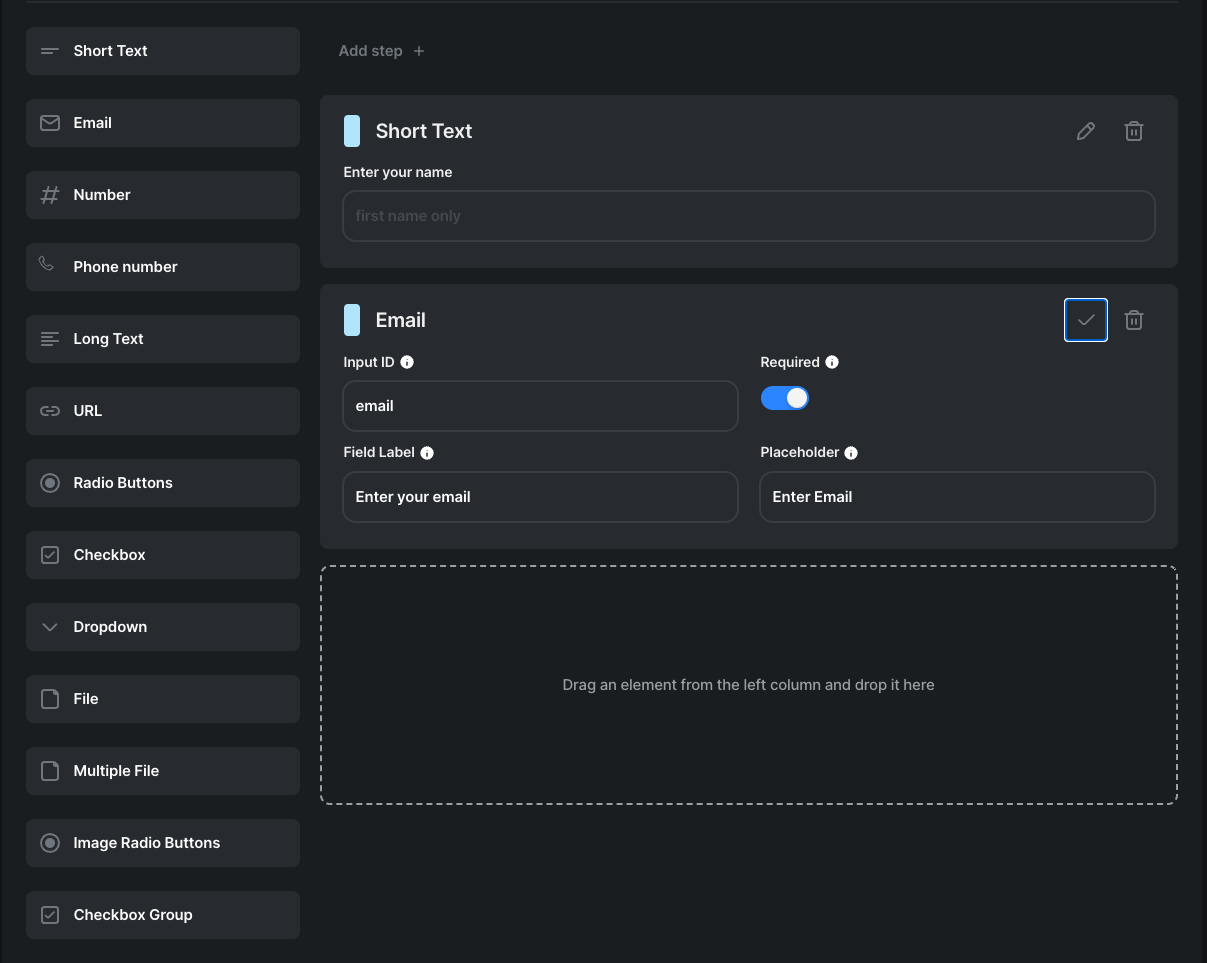
Add Input fields
Managing input fields of the Hosted Form is performed via "Inputs" tab described at Form Builder
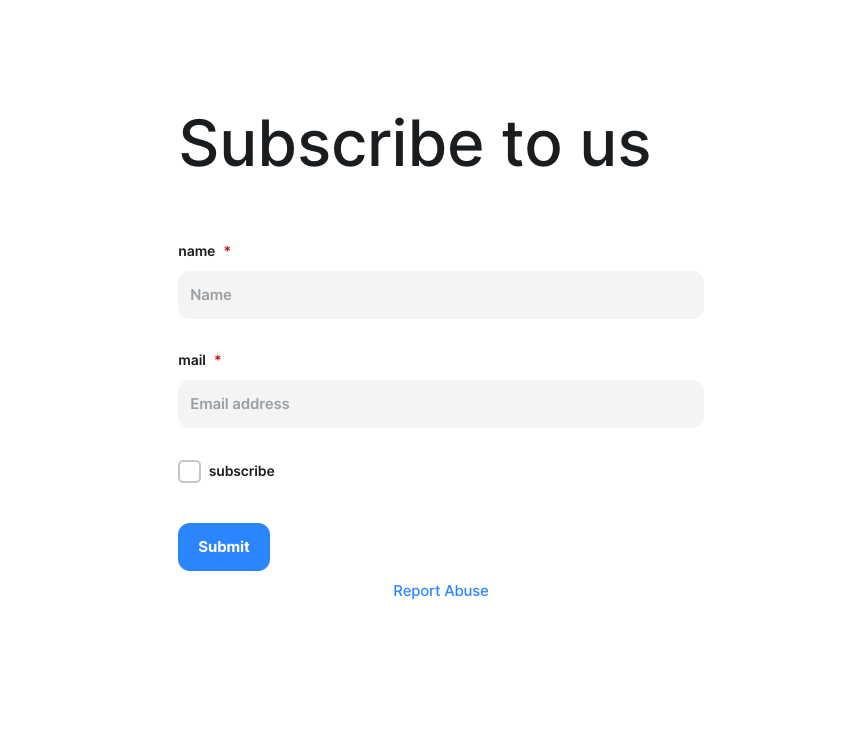
Publishing a form
Pressing the "Publish" button at the top of the Main Area will make the form available to all internet users if they have the unique link to the form. Once published, you can copy the live link and check out the result before sharing it someone else.
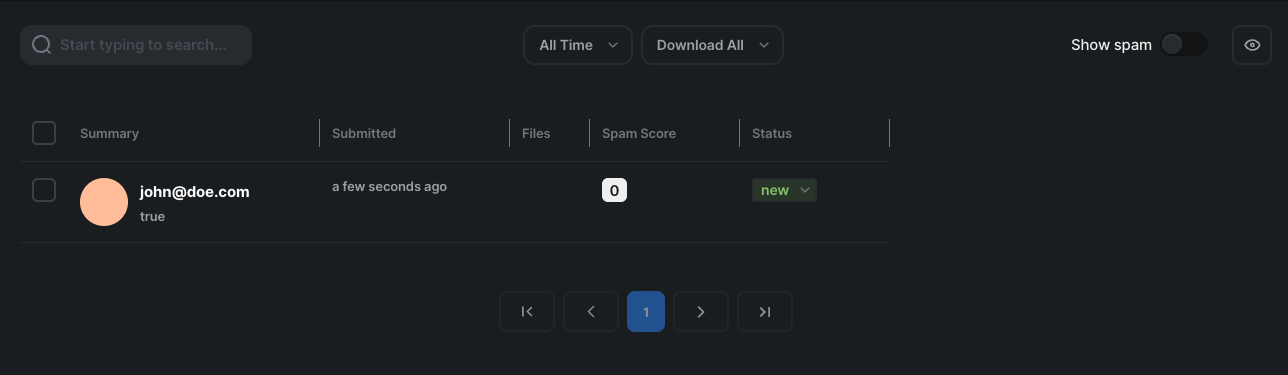
Checking submissions
You can easily check what your user's submissions will look like by submitting test data by yourself via the Hosted Form page. Open it's public URL, fill out the form and submit it. Now you can go to the Form Submissions page at HeadlessForms app and see the result.